
Have a mechanic or auto part store verify that the alternator is bad before deciding to change it.

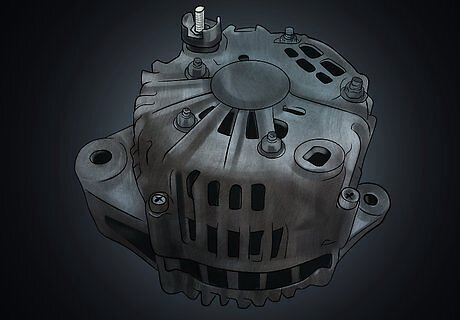
Purchase the correct alternator for your vehicle, remove wrapping and any other attached packaging, store in box until ready.

Park vehicle on a flat surface and wait till engine cools.
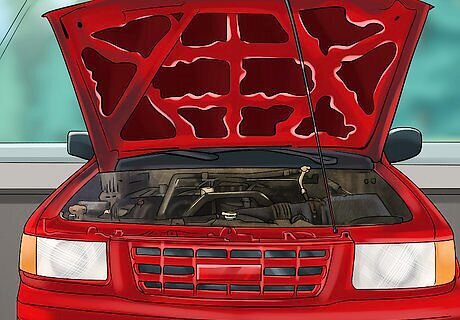
Pop open hood.

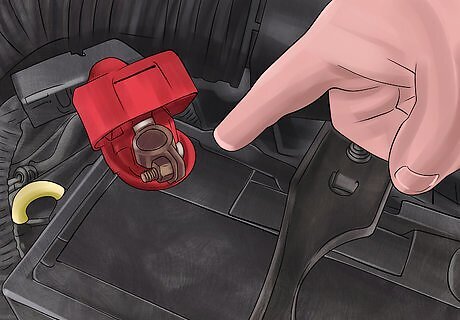
Using wrench and vice grips remove batter terminals, first (-)ground and then (+) positive.
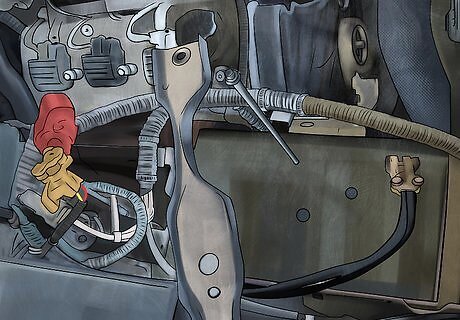
Remove battery, battery rod holders.
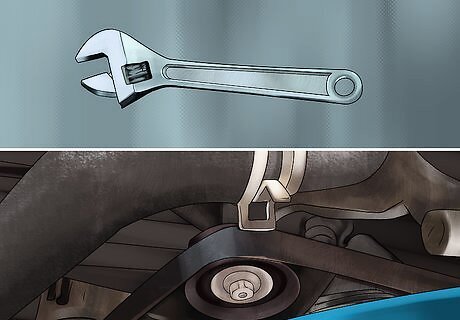
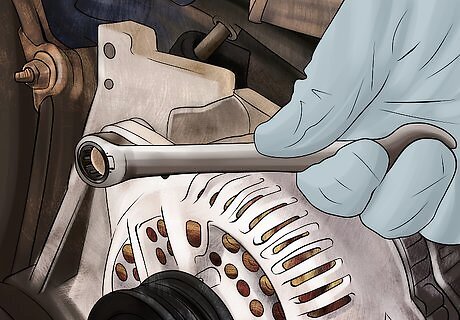
Using a wrench, pull the automatic tensioner pulley to the loose side (towards the driver side) and remove serpentine belt.
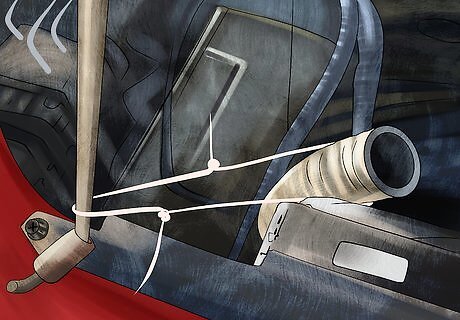
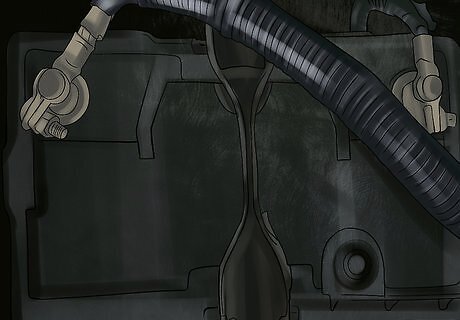
Dislodge the intake coolant hose from the engine intake and restrain with zip ties to the hood rod. Some spillage of coolant will occur. Make sure to hold up right to reduce spillage.
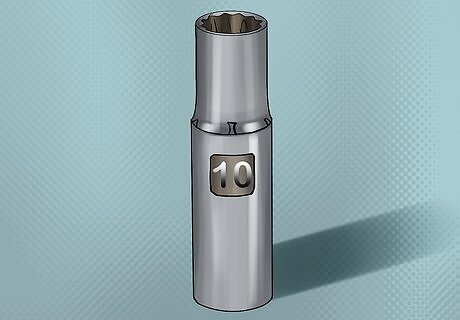
Using a 10mm extended socket wrench remove the nut & connection over the (+)positive connector to the alternator. There may be a red rubber cap, slide off before removing nut.
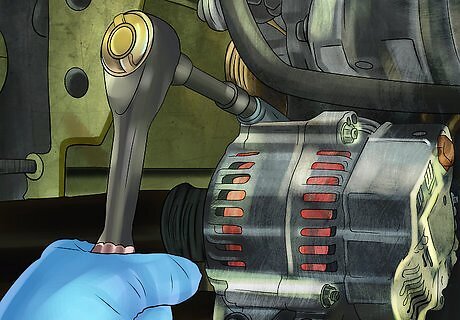
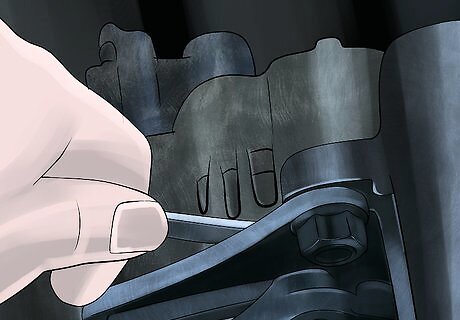
Using the socket wrench remove the three bolts from the alternator cover plate. The alternator cover plate is a curved plate underneath the alternator that shields it from debris and connects it to the engine.
Using the socket wrench remove the final alternator fixing bolt. This bolt allows the alternator to swivel in place for ease in attaching the alternator cover plate.
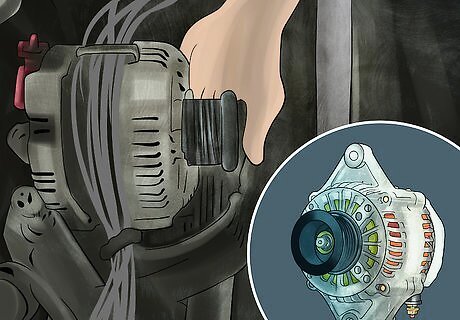
Carefully wiggle the old alternator and alternator cover plate out of place and adjust so the back connection wire is visible. Set alternator cover plate aside for later.
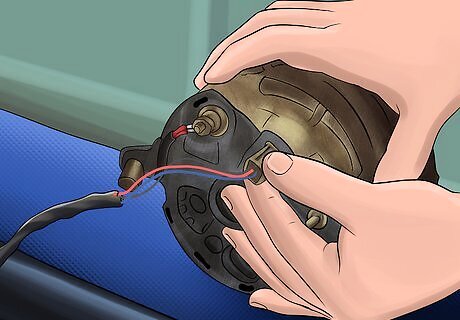
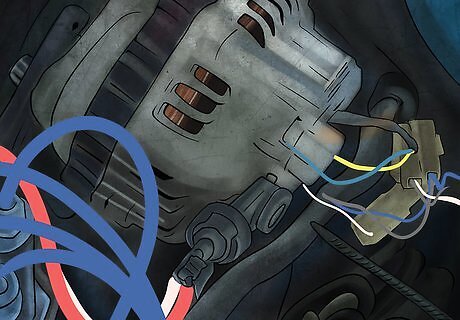
Using your fingers, you may or may not be able to pinch the wire clip and disconnect it from the alternator. If not, use the vice grips to pinch down on the clip to dislodge it from the female connector in the alternator.
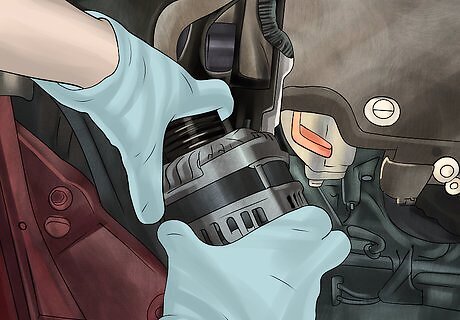
Bring up old alternator carefully between the engine and fan blades. Store in box to be returned to auto parts store for core refund ($)
Before installing the new alternator, remove the nut on the positive terminal, store in pocket for later.
Lower the new alternator into engine and connect the male wiring clip into female back end of alternator
This likely is the most difficult step; mount the new alternator into alternator mount. If the alternator mount is a tight fit, you may need to use the wood and hammer to gently tap the alternator into place. The mounting holes must be nearly perfect in alignment for the housing bolt to pass through and thread at the end.
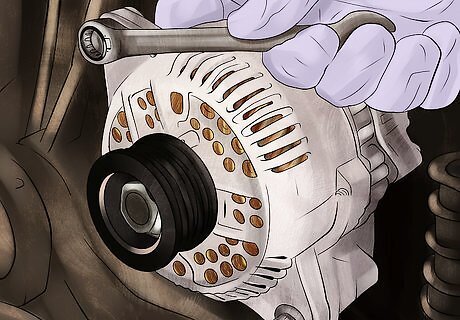
Once the housing bolt is in place you should be able to swivel the alternator back and forth. Reinstall alternator cover plate first attaching it to the alternator then swiveling it in place to insert the last two bolts.
Tighten all bolts that hold the alternator in place
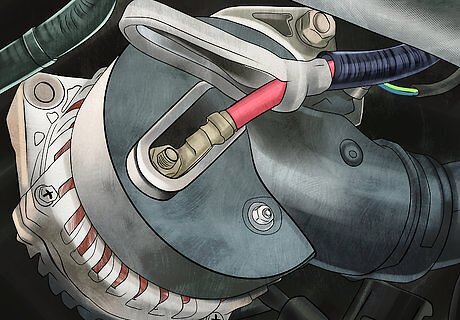
Connect (+)positive terminal to alternator and cap with nut and rubber sleeve.
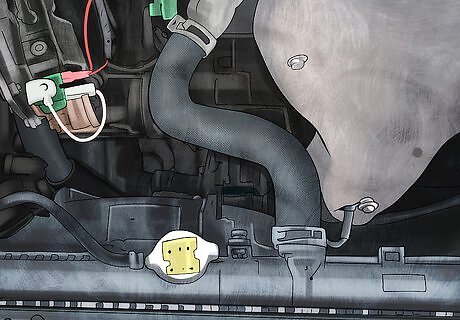
Reconnect coolant hose to engine.
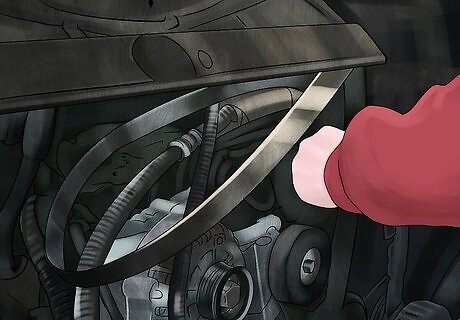
Re-install serpentine belt.
Reconnect battery, rod holders, and battery terminals (+)positive first then (-)negative.
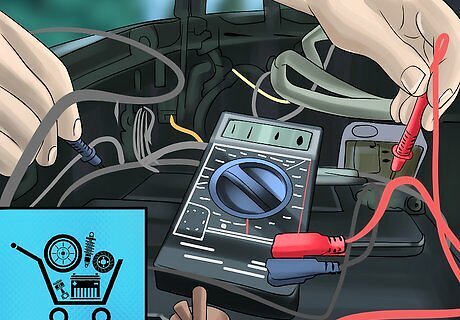
After starting the engine return to an auto part store to have them run an alternator test to verify everything is in good order.


Comments
0 comment