
views
Windows Users

Go to the start menu by clicking on the "Start" button at the bottom-left of your screen.
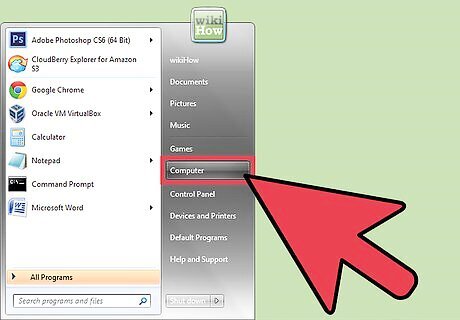
Select "Computer." For other windows version like Windows XP click My Computer.
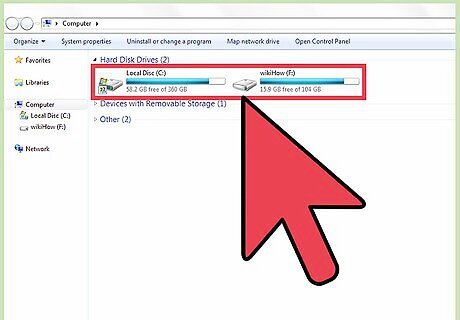
Choose the drive where you want to create the new folder. Most people choose the "C:" drive, since it is usually the primary drive. This is more reliable because it is the same drive used to run the Windows operating system. However, you can choose any drive that you want including external hard drives, depending on your storage needs.
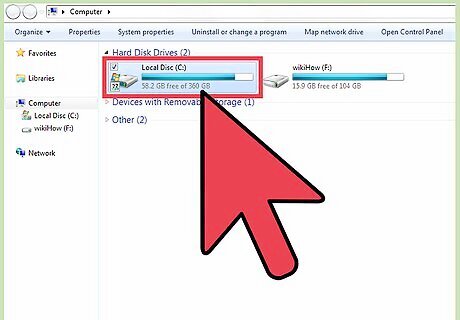
Double click on "Drive C" of the "Computer" window.
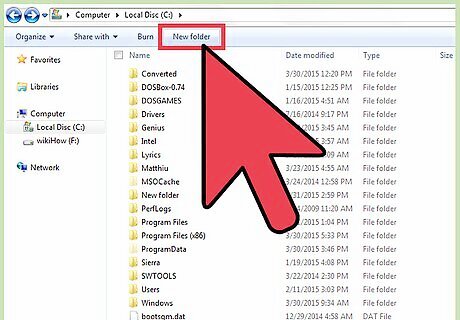
Hover your mouse cursor over "New Folder" and click it.
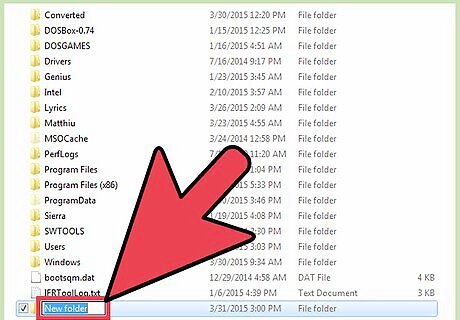
You will see the new folder appear in the main window. The new folder will be highlighted.
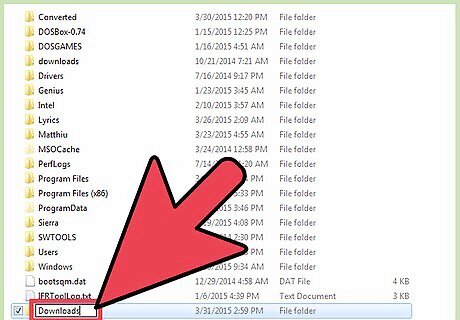
Type "Downloads." This will change the folder name from "New Folder" to "Downloads."
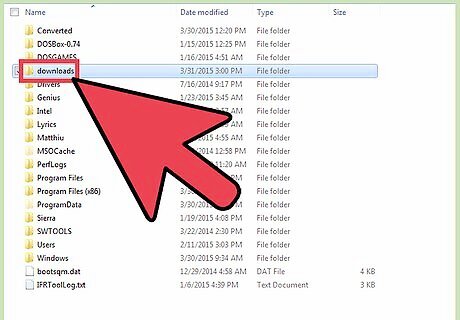
Press the Enter key on your keyboard to save your changes. You can now start saving your downloads in the download folder that you have created.
Mac OS X Users
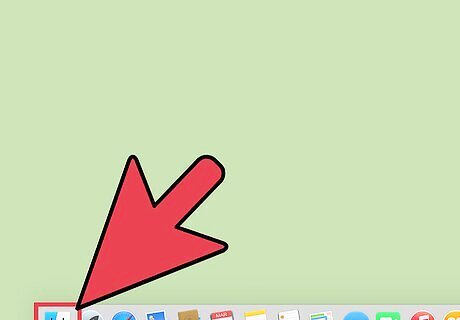
Use the Mac Finder to browse to the location where you want to create the new download folder.
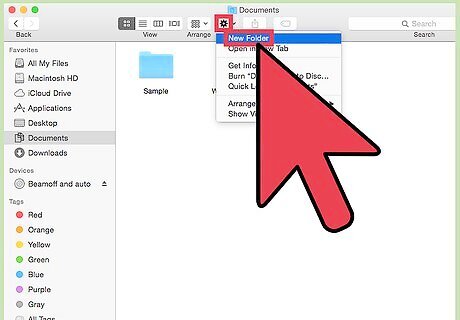
Push the gray cogwheel button in the taskbar at the top and select "New Folder" from the dropdown menu. You will see a new folder appear named "untitled folder."
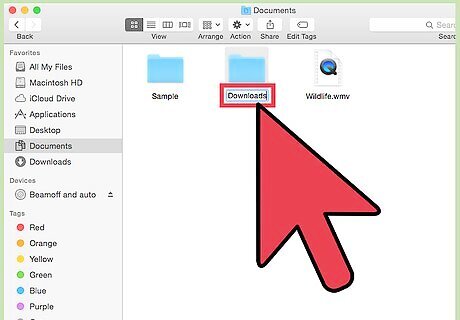
Type "Downloads" to change the folder name so you know it is the folder that you are using to save downloads.
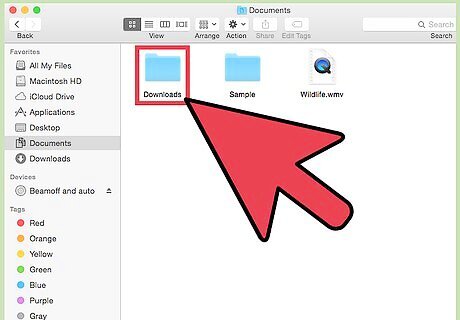
Click on an empty area anywhere on your screen to deselect the download folder. The folder is now ready to be used for saving downloaded files.




Comments
0 comment