
views
Using Outlook Web Application
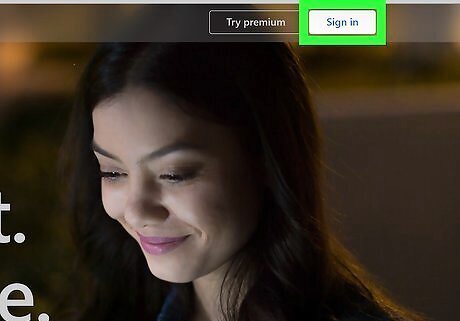
Navigate to the Outlook sign in page. If you are using a work or school email address, you can log in at https://login.microsoftonline.com. If you are using a personal email account, you can log in at https://www.outlook.com. If you are using a free Outlook email account, you cannot redirect email.
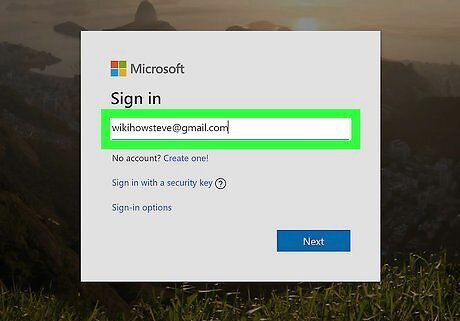
Enter your email address and click Next. Type your email address in the light-blue box and then click the blue button that says Next.
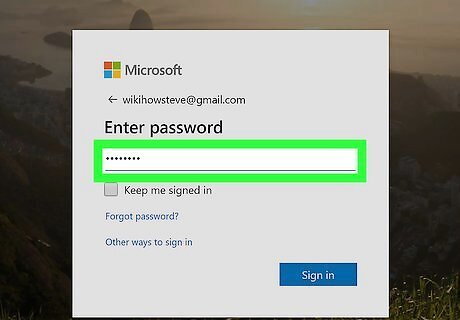
Enter your password and click Sign In. Type your password in the light-blue box and then click the blue button that says Sign In. If you can't remember your email address or password, click Can't access your account? and follow the instructions, or contact your administrator.
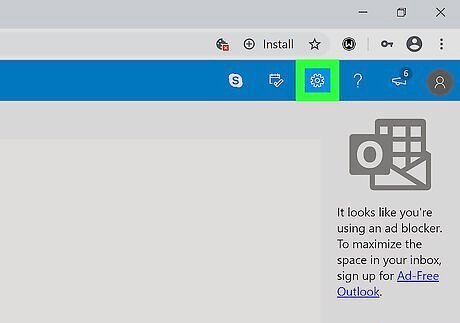
Click the Settings Windows Settings button. It's the button that resembles a gear in the upper-right corner of the Outlook Web Application.
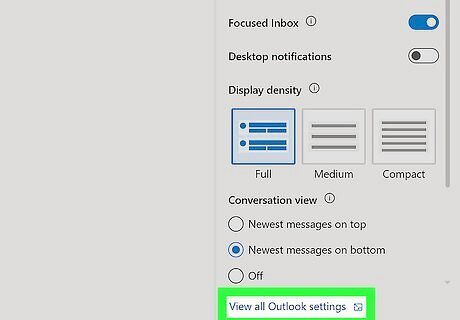
Click Options. It's at the bottom of the Settings menu. This displays the Options menu in a sidebar to the left.
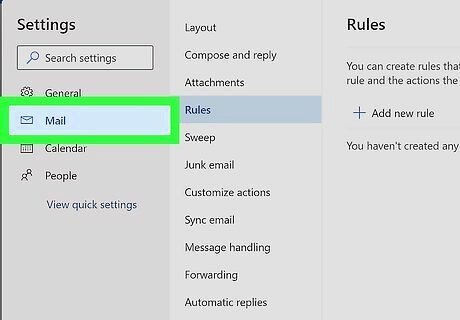
Click Organize Email. It's in the Options sidebar on the left side of the screen.
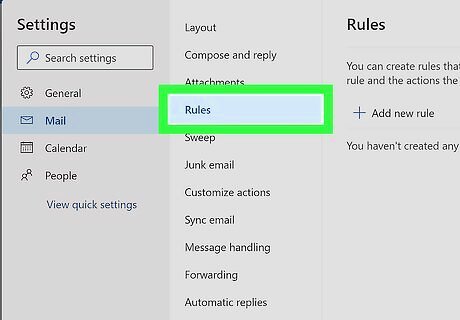
Click Inbox Rules. It's below "Organize Email" in the sidebar to the left.
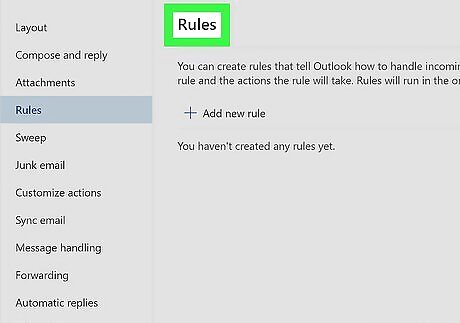
Click the arrow in the "New Rules" tab. It's next to the plus sign (+) under the "New Rules" tab. This displays a drop-down menu.
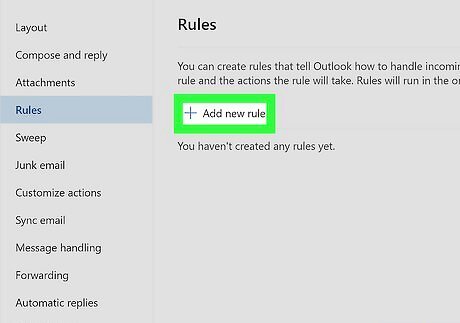
Click Create a new rule for arriving messages. It's in the drop-down menu that appears when you click the arrow next to the plus sign.
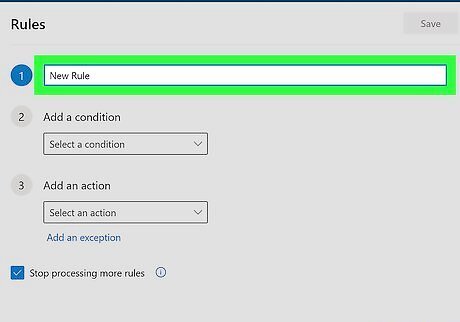
Type a name for the rule (optional). If you want to create a name for the new rule, type it in the box labeled "Name". This is not required.
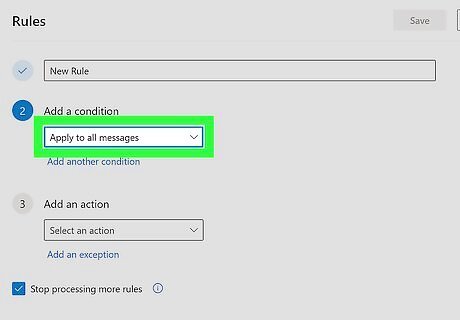
Select Apply to all messages under "When messages arrive". Use the drop-down menu below "When messages arrive" to select "Apply to all messages".
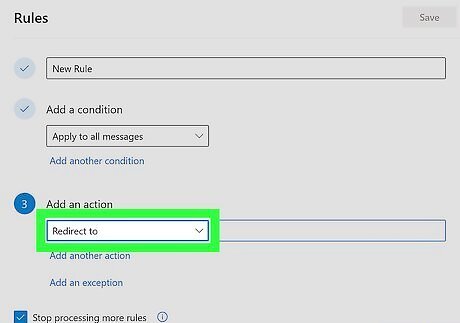
Select Redirect the message to under "Do the following". Use the drop-down menu under "Do the following" to select "Redirect the messages to". This displays a list of your contacts.
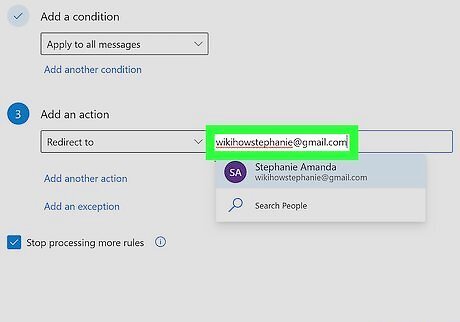
Select or enter an email address. If the email address you want to redirect to is in your list of contacts, click the contact to select the contact's email address. Otherwise, type the email address you want to redirect to in the field next to "To:". Then press Tab ↹ to deselect the email.
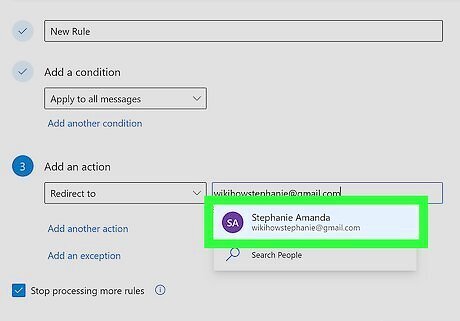
Click Ok. It's above the "To:" field. This returns you to the "New Rule" window.
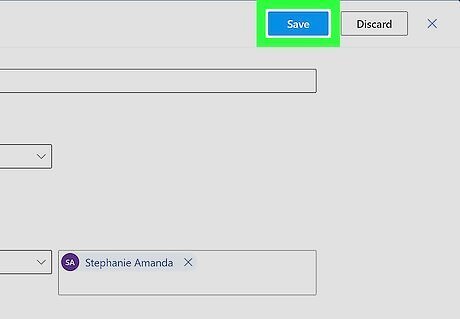
Click Save. It's at the top of the "New Rule" window. This takes you back to the "Inbox Rules" tab.
Forwarding Using Outlook 2016
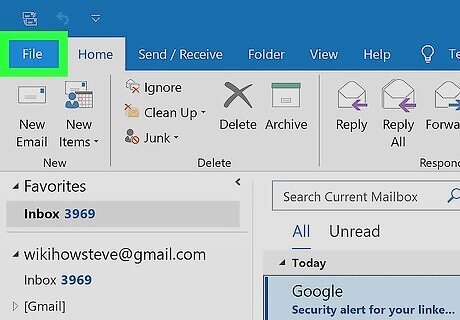
Click File. It's in the menu bar at the top of the page. This displays a drop-down menu.
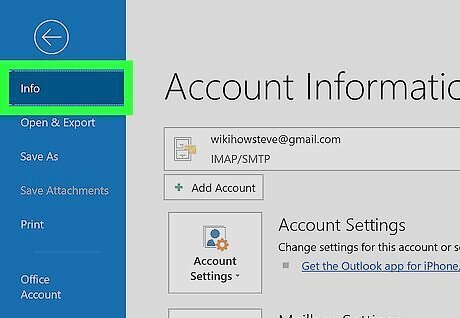
Click Info. It's the first option in the sidebar to the left. This displays Account Information page.
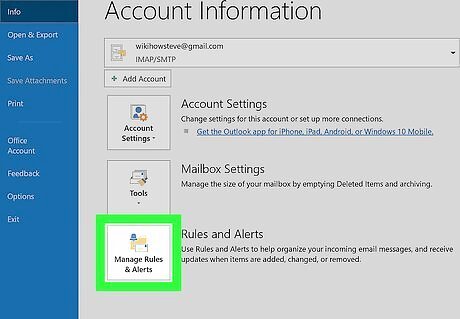
Click Manage Rules and Alerts. It's the third option on the Account Information page. It has an icon with an envelope and a bell.
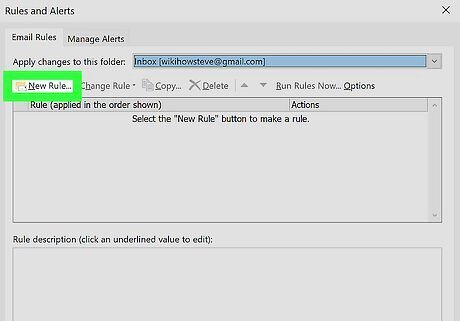
Click New Rule. It's the first button at the top of the "Rules and Alerts" window.
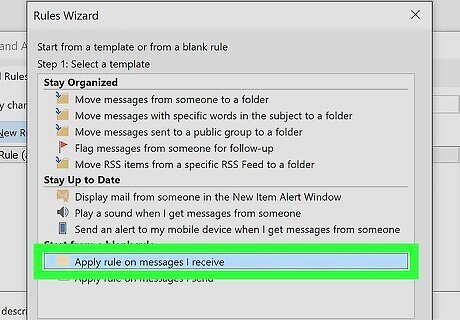
Click Apply rule on messages I receive. It's under "Start from a blank rule" at the bottom of the Rules Wizard window.
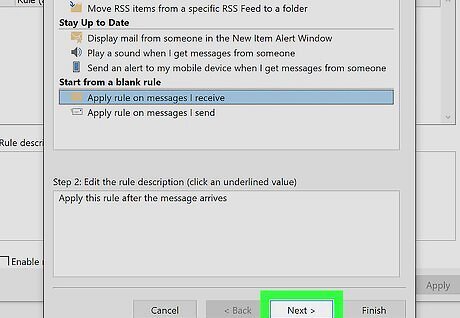
Click Next. It's in the bottom-right corner of the Rules Wizard window.
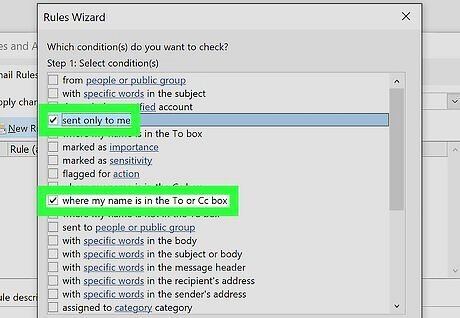
Click the checkbox Windows regchecked next to "sent only to me" and "when my name is in the To or Cc box". They are in the box labeled "Step 1: Select condition(s)" in the Rules Wizard window. You can also check any other conditions you want to apply. You can select conditions such as emails that contain a specific word, or are from specific people or group, as well as emails that are marked as important or sensitive. Then click the blue link in the "Step 2" box at the bottom of the Rules Wizard window to select the specific word or group of people you want to be redirected.
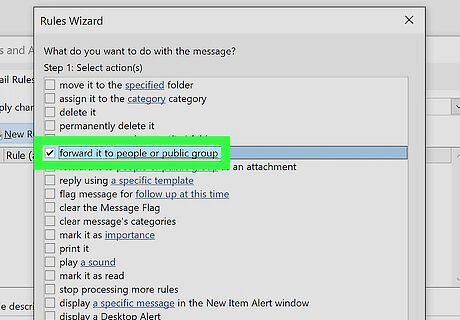
Click the checkbox Windows regchecked next to "forward it to people or public group". It's under the box labeled "Step 1: Select action(s)" in the Rules Wizard window.
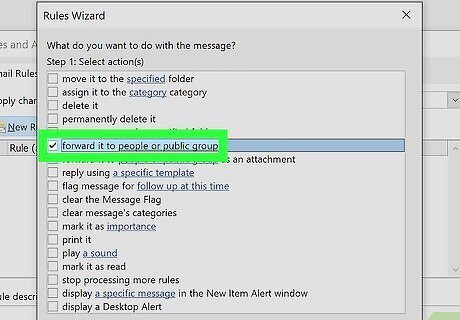
Click People or public group. It's the blue text in the box labeled "Step 2: Edit the rule description" at the bottom of the Rules Wizard window.
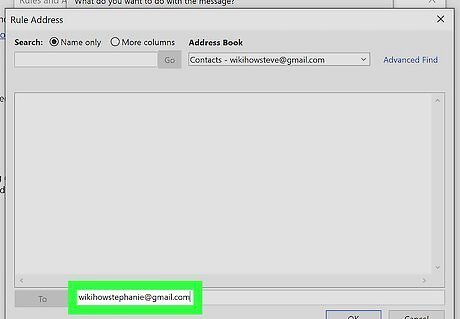
Enter a new email address and click Ok. This is the email you want your email messages to be forwarded to. You can either click an email from your address book or type it in the line labeled "To:" at the bottom of the window. Then click Ok in the lower-right corner of the window.
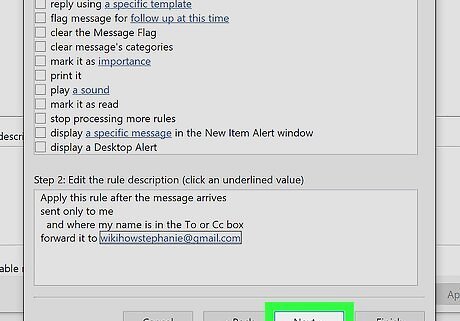
Click Next twice. It's in the lower-right corner of the window.
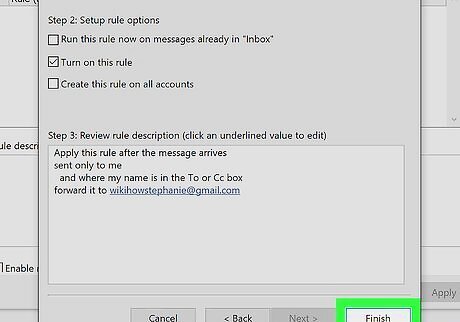
Type a name for this rule and click Finish. Use the line below "Step 1" at the top of the page to type a name for the rule. Then click Finish in the lower-right corner of the window.
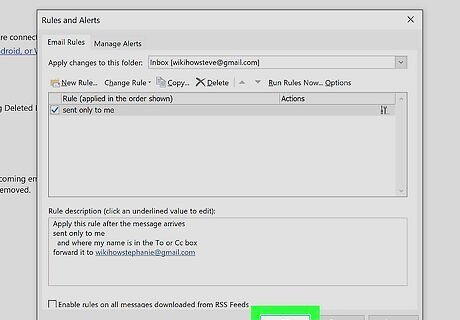
Click Apply and then click OK. This applies the rule changes and takes you back to the Account Info screen. You can also forward Gmail messages to another account.


Comments
0 comment