views
Attaching Your Bike to the Back of Your Car

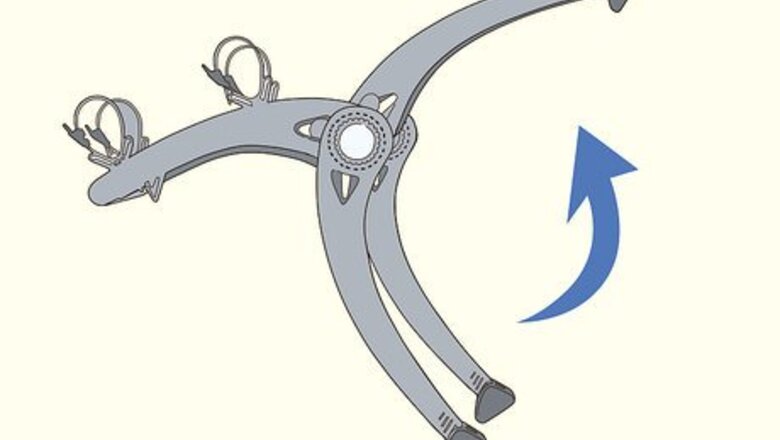
Open up the rack so it has a nice arc shape. The exact open shape of your rack will vary depending on the make and model but most form a big arc when fully opened. On hatchbacks and SUVs, one end mounts against the rear window and the other mounts against the bottom of the trunk. For coupes and sedans, the rack mounts to the top and back of the tunk. If you’re having trouble figuring which side should be facing upwards, look at the clamps that hold the bike in place. If you position these so they are facing upwards, the rest of the rack will have the correct orientation.

Attach the clips to the top, bottom, and sides of the trunk. The clips hook into the spaces where the trunk actually separates from the car. Make sure you don’t force the clips in, just find a spot where they easily hook in. There is writing on each clip so you know where it is supposed to be attached. This writing will either say “top”, “bottom”, or “side”. Each clip is there for a purpose so be sure to look around the rack to check you haven’t missed any.
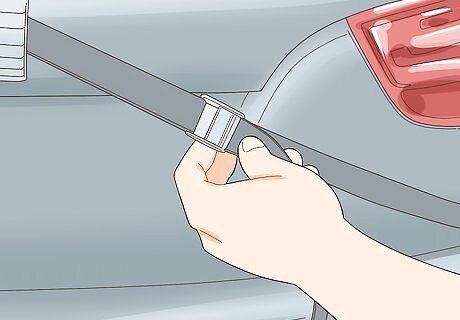
Tighten all straps so the rack is firmly in place. Most of these operate by you just pulling on the excess strap that comes out from the clip. It needs to be very firmly in place as you will be driving with this rack on so pull the straps nice and hard here. If, for some reason, a clip won’t tighten and you can’t get the rack securely in place, don’t use it. If a rack comes loose while you are driving, it poses a huge risk to you and other motorists.
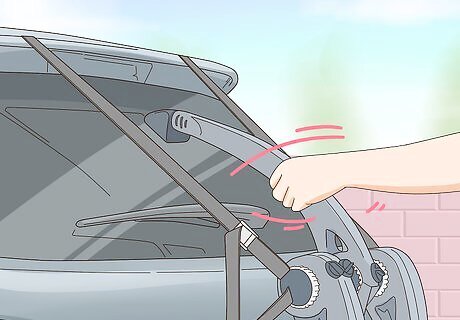
Test the strength of the rack by shaking it side to side. Grab the rack with both hands and try and move it side to side. If the rack is firmly in place, it will move side to side with the car as though they are one entity. This means that when you turn corners, accelerate, and slow down, the rack won’t move around the back of your car. If the rack moves around when you do this, go back over each strap to make sure they are all securely fastened.
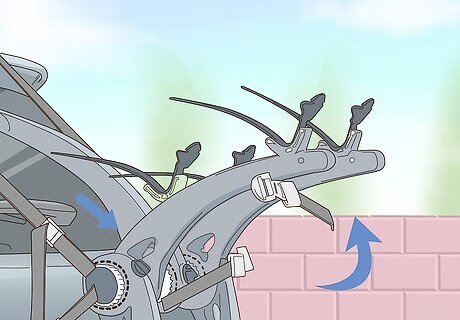
Pull up the bike arms and lock them into place. These are the actual arms that hold the bike in place while you are driving. Each make and model will lock slightly differently but when you pull them up, they should click into place or there should be a screw to tighten them in. There will likely be 2 arms that you lock into place. The arms should be slightly angled upward as they come away from the car. This is to allow gravity to hold the bike up if the straps fail until you can secure or replace them.
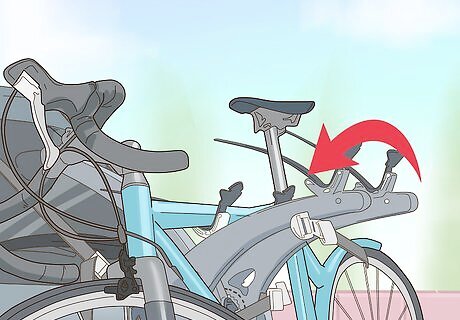
Put the bike on the rack by placing it on the arms. Be really careful while you’re doing this so you don’t damage either your car or your bike. Place the top part of the frame (that is flat and runs from the front wheel all the way back to the seat) on the arms of the rack. Do your best to get the weight of the bike as evenly distributed as possible. Stick a clean rag between the bike and the rack to avoid scratching the paint.

Clamp down the arms on the frame of the bike to secure it in place. Again, this exact method will vary depending on the model of frame you have. There may be a strap you tighten down on the frame to secure it in, or there may be a clamp that you push down and then lock in place. Whatever it is, make sure it is securely fastened on both arms so the bike can’t move at all while you’re driving. Shake the bike when you're done securing it. If it has a lot of movement or makes a knocking or rattling noise, it's not secured properly.
Locking Your Bike up on a Rack
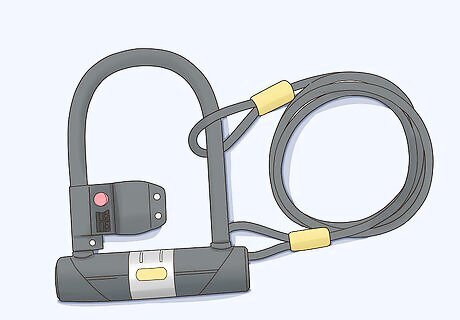
Invest in a hardened steel U-lock. These locks are incredibly difficult to break open without very serious tools. The way these work is that the key removes a bolt that connects the 2 ends of the ‘U’ and then you are free to slip the lock out or in. You can find these locks online or at a bike store. If you go to a bike store you have the advantage of being able to ask the store clerks questions. Always buy the best lock you can afford as the cost of buying a lock may be high but the cost of replacing your bike is even higher. Avoid cable locks or cheap combination locks as these are easy to cut through and easy to pick. However, you can use these for accessory locks to secure your wheels or saddle to your frame.
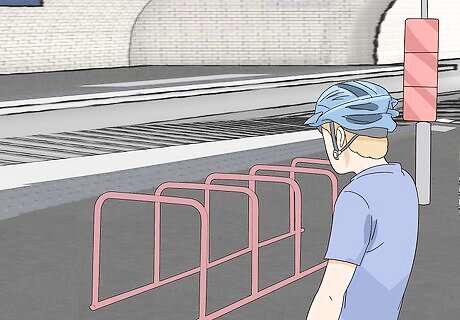
Look for racks in a well-lit, well-populated area. This is one of the simplest steps to ensuring the security of your bike. A bike rack down a side alley or away from lots of people is an invitation to thieves. Try and find bike racks near landmark points for other modes of public transportation. For example, there may be bike racks outside a train station for people who bike to the train. If you can’t find any bike racks around, use the poles of street signs or parking meters that are wide enough at the top that the bike can't just be lifted over. Just make sure your bike is out of the way of pedestrian and automobile traffic.
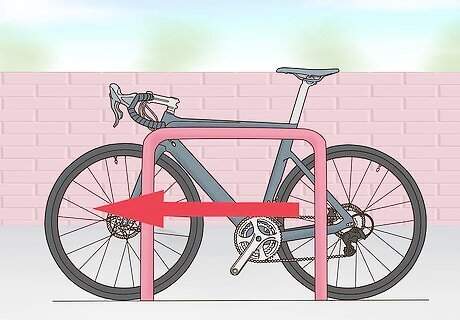
Push the bike into the rack so the front wheel is all the way through. Most racks will have it fairly clearly marked where each bike should be inserted into it. Hold the bike steady by the seat and push it in straight. Make sure to check that the rack is sturdy and doesn’t have any holes in it. Some racks aren’t attached to the ground either so make sure that the rack you are attaching your bike to is firmly grounded by either cement or a locking mechanism.
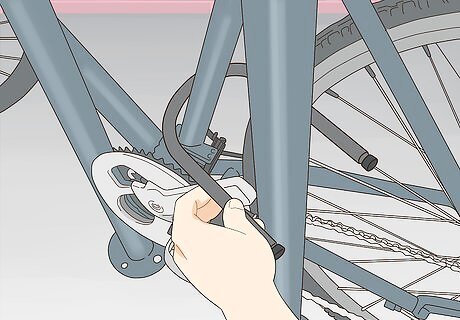
Insert the lock through the frame, both wheels, and the rack. For best results, lock the frame and both wheels of your bike to the rack. If the lock won't go through both wheels without removing one of them, you could use an accessory lock to secure the front wheel. If you walk around a city, you can see many front wheels attached to bike racks where thieves have just detached the rest of the bike from the front wheel. Be careful that when you insert the lock, it actually goes through both the rack and the frame. It’s really easy to accidentally miss the rack and just end up putting the lock on your bike without attaching it to anything. It sounds silly but it happens!

Lock the bike by inserting the bolt and making sure it clicks. The clicking sound indicates that the lock has been activated. Pull on the lock to check that it is indeed locked in place. Once the lock is in place, you're all set to go!




Comments
0 comment