views
Making a Leash and Harnessing your Rabbit
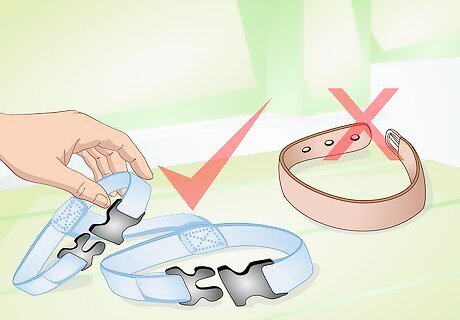
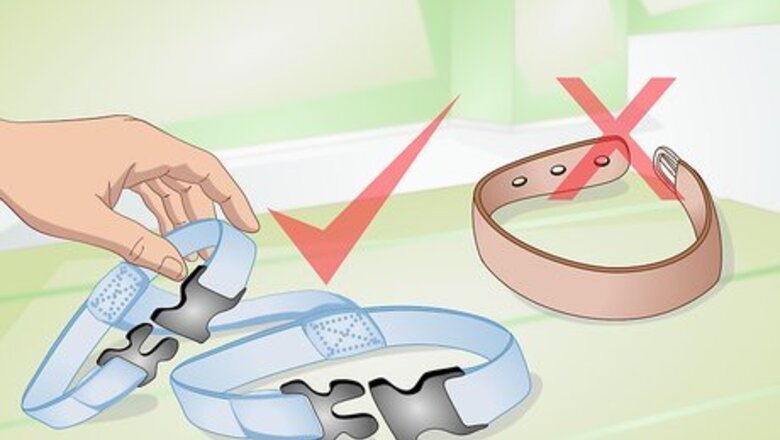
Use a harness, never a collar. A collar risks strangling your rabbit or breaking its neck. Instead, use a figure-eight, figure-H, or vest harness. If you do not wish to purchase a harness, you can make your own. Figure-Eight Harness – This type of harness has two loops, one that fits behind the front legs and another that goes around the neck. The leash attaches where the two loops come together at the withers (the base of the neck above the shoulders). Figure-H Harness – This harness has two loops like a figure-eight, but instead of the loops being directly connected, they are linked by a separate piece of material such as a nylon strap. Vest – A fitted fabric vest that fastens around the neck and belly with Velcro, buttons, or zippers, and which has a ring at the back to attach a leash.
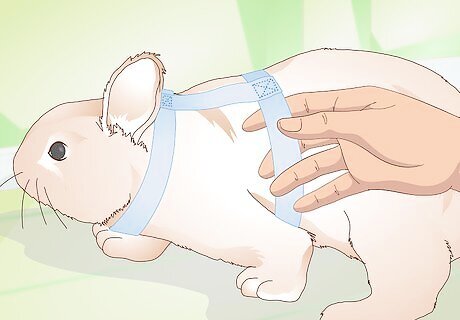
Be sure the harness fits correctly. You should be able to fit two fingers between the harness and your rabbit’s body at all points. Any looser than that, and your rabbit may wiggle free.
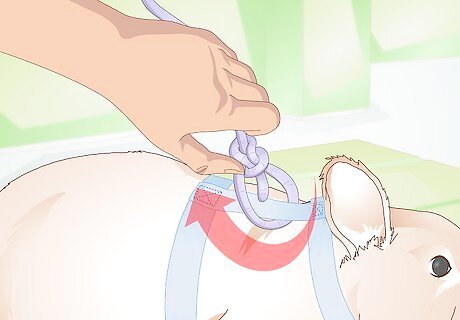
Make and attach a leash. Once you have made the harness, the leash is the easy part. If you are using a long piece of rope to build a figure-eight harness, then the rope from the harness can also serve as the lease. Otherwise, you can make your own by taking a piece of rope and adding a handle and snap hook. Make a loop for a handle at one end. Secure it with rope clamps or by tying a bowline knot. Attach the other end of the rope to a snap hook. You can attack it with rope clamps or tie it with a knot such as a davy knot.
Making a Figure-Eight Harness
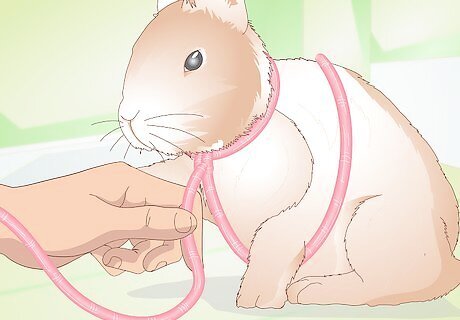
Make a harness with only a piece of rope. You will use the rope for both the harness and the leash, so you want it to be at least 8” long. Any material will do so long as you avoid rough, abrasive ropes that might irritate your rabbit’s skin. Fold the rope so that you have two unequal lengths, one about 6 feet and the other two feet. Loop the center of the fold under the bunny’s neck. Cross the two sides over the bunny’s back between his shoulders and run the shorter around his chest just behind his legs and back up to meet the other side of the rope. Tie a slip knot where the two ropes meet. This will allow you to adjust the harness when taking it off and putting it back on.
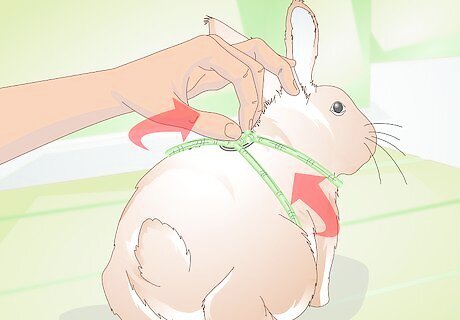
Use a slip lead to make a harness. A slip lead is a length of rope with a handle at one end, and a ring at the other. They cost as little as $10 and can be used to make a quick figure 8 harness and leash. Pass the handle through the ring to make a loop. Loop the handle back through the ring a second time to make another loop. Place the looser loop around the rabbit’s chest behind his front legs and the other loop around the neck, with the ring on top between the shoulders. Use the excess rope as a leash, or if you are using a smaller lead, attach a leash to the loose end of the lead.
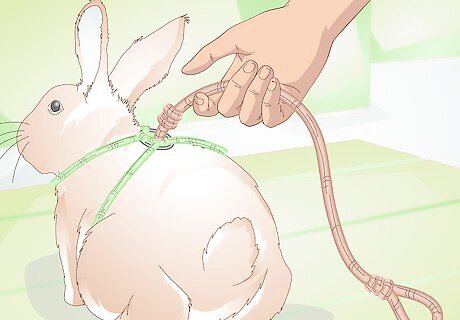
Use the excess line from the lead or rope as a leash, or create your own. If you want to make your own leash, simply take a length of rope and tie off or clamp one end to make a handle. Tie the other end to a snap hook that you can attach to the ring on the harness.
Making a Figure-H Harness
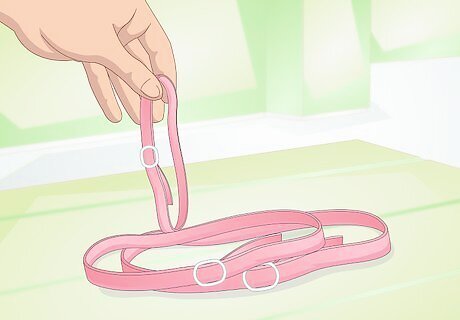
Start with three nylon cat collars. You can purchase adjustable collars for under $5 a piece. You’ll need three different sizes: A collar that fits your rabbit’s neck. One that fits around his chest just behind his front legs. A long collar that will be used as the connecting piece.
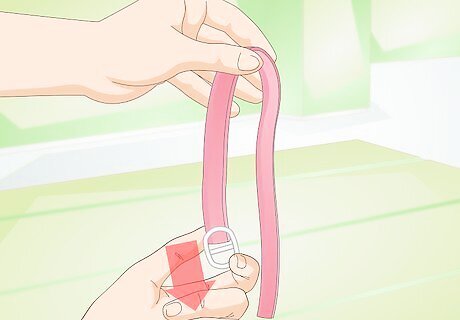
Remove the clasp from the long collar. Be sure to leave the leash attachment ring intact so that you will have a place for the lease to attach.
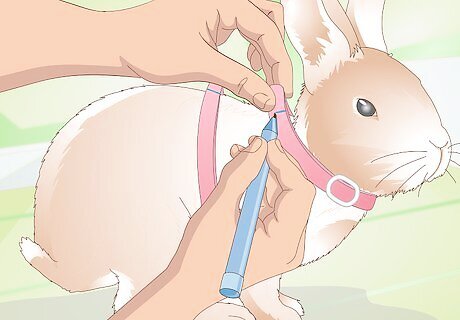
Measure the appropriate length for the connecting piece. Put the collars around your bunny’s neck and chest. Lay the third collar along his back between his shoulder blades, with the ring for the leash in the middle, and mark the points where the third collar overlaps the far side of the other two collars.
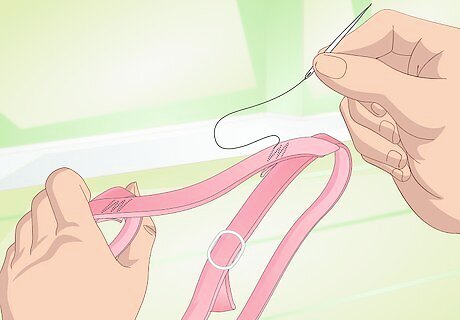
Sew loops at either end of the connecting piece. Fold each end of the connecting piece over just past the point where you marked it. Sew the folded over ends so that you create loops at each end.
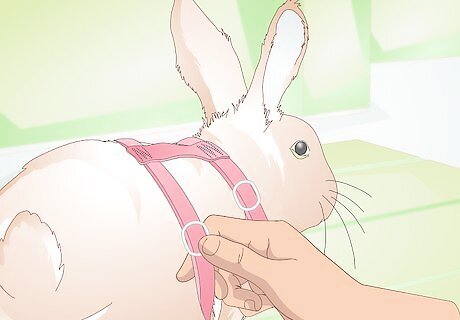
Pass the neck and chest collars through the loops to create your figure-H harness. Once you have passed the collars through the loops on the connecting piece, your figure-H harness is ready to use.
Making a Vest Harness
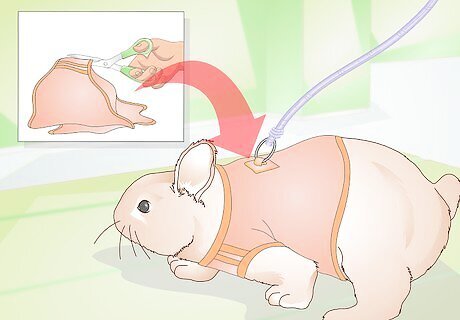
Modify your rabbit’s existing clothes. The easiest way to make a vest is to take clothes that fit your rabbit and to sew a metal loop onto the back between the shoulder blades. Make sure the metal loop is solid and well attached, so that it will not break or break off.
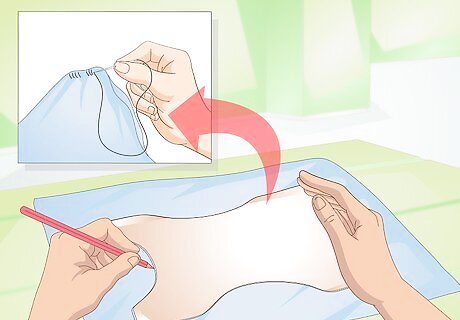
Sew a vest using a pattern. Bunny patterns can be a bit hard to find, but you can use patterns for cats as a substitute. Use a string to measure your bunny at his neck, chest behind his front legs, and a few inches further back on his torso to make sure you get a pattern that will fit your pet. When finished with the vest, sew a ring on the back to attach the leash.
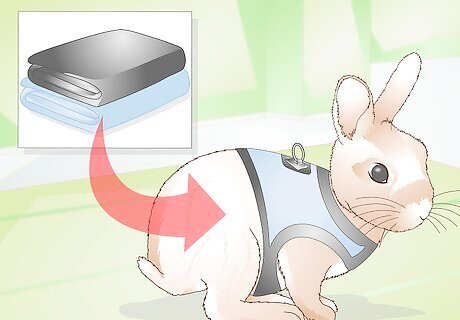
Make a vest from scratch. Again, you will need to take measurements at your bunny’s neck, chest behind the legs, and a few inches further back on his torso. You can then start with a piece of breathable, flexible cloth. Cut the cloth to the appropriate dimensions. You’ll want to leave a little extra fabric for attachments. If the vest will attach with Velcro or buttons, the two sides will need to overlap completely. Wrap the cut cloth around your bunny, and mark where his legs are. Cut out holes for the legs. Reinforce all edges of the fabric, including the leg holes, by folding the fabric over and sewing it down. Attach Velcro, clasps, buttons, or zippers. Sew a ring onto the top of the vest between your bunny’s shoulders.


Comments
0 comment