
Setting Up
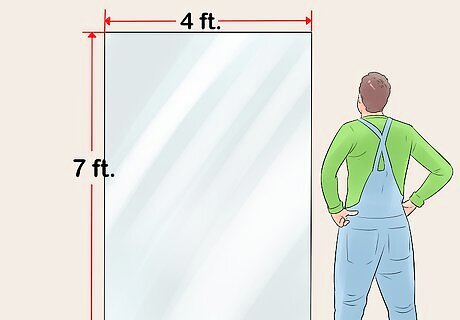
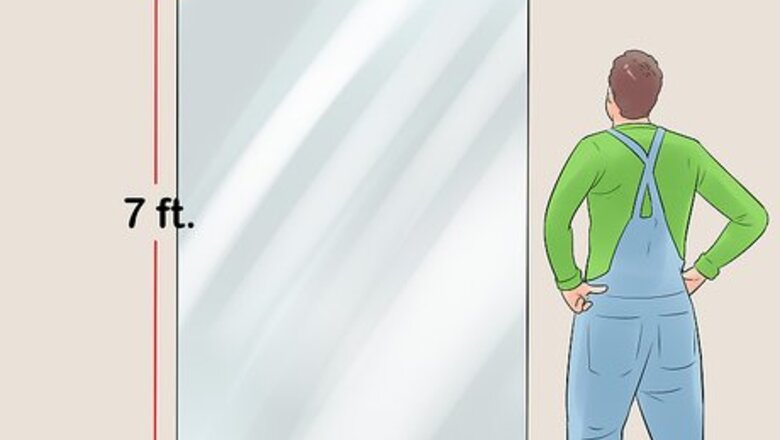
Determine where you want to hang your mirror. Gym mirrors come in various sizes but the standard widths are 3 and 4 feet (0.91 and 1.22 m) and the standard heights are 6 and 7 feet (1.8 and 2.1 m). Kits are available that include 1, 2, 3, 5, and 10 mirrors. Keep in mind that you’ll need a little space on the top of the mirror to install the mirror clips. If you want to have the mirrors reach down to floor level, be sure to check for electrical outlets. Most outlets are 18 to 24 inches (46 to 61 cm) off the floor. You will still be able to see your full body from 2 to 3 feet (0.61 to 0.91 m) back if you hang your gym mirror to accommodate outlets. Before installing your mirror, think about what it will reflect in the room. Look directly across from the location to see what will be reflected.
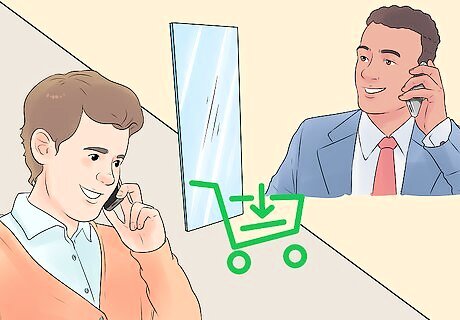
Purchase your gym mirror if you haven't already. Now that you know where you would like to put your gym mirror, you know what size you need. You can call and place an order with a mirror and glass company. Many companies offer to install the mirror for you, sometimes for free and sometimes for a fee. Inquire about this option, especially if you have multiple mirrors to install or the installation is for a professional gym rather than a home gym. Choose mirrors that are at least ⁄4 inch (0.64 cm) thick. Thin glass shatters easily and is dangerous in a gym setting. If you have some extra money in your budget, consider glass-less gym mirrors. They are just as reflective but are nearly shatter proof.
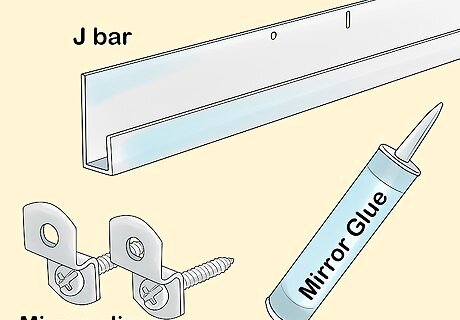
Use a J bar, mirror clips, and mirror glue for your installation. If you have purchased a brand-new gym mirror, it will come with the necessary hardware for installation. If you have a used gym mirror that didn’t come with any hardware, you will need: A J bar and anchor screws to hang it. A J bar (sometimes called a J channel) is what the bottom edge of the mirror will be placed in for support. If you are hanging multiple gym mirrors side by side, your J bar can be the length of all of the mirrors combined. 2 mirror clips for the top edge of each mirror and two anchor screws to install them. Mirror glue. Make sure to use glue specific for mirrors, since other types of glue can damage the silver lining on the back of the mirror.

Schedule an installation time with an able-bodied friend. These mirrors are large and awkward to carry and hold. Count on needing help. Scheduling ahead of time will make it stress-free for both of you. Provide your friend with work gloves and ask them to wear close-toed shoes.

Clean the entire wall space that will be covered by the mirror. Use cleaning wipes, rubbing alcohol, or warm soapy water. Wipe the wall and allow it to dry before installation. This will help ensure that the mirror glue will bond strongly to the wall.

Unpackage the mirror on the floor near where you will be hanging it. Place the cardboard up against the wall to protect the wall from the edges of the mirror when you prop it up. Put the Styrofoam padding from the packaging down on the floor in front of the cardboard to protect the floor. Consider wearing work gloves when you are lifting the mirror and wear close-toed shoes to protect your feet.
Installing the J Bar
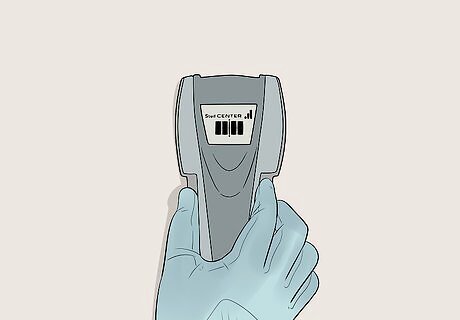
Find your wall studs. To find your wall studs, purchase an electric stud finder online or at your local home improvement store. Slide the stud finder along the wall at the height that you will be drilling. When the machine indicates a stud, either by beeping or a red light flashing, make a mark with your pencil. If you cannot locate your studs, make sure you are using anchors that are specifically made for your type of wall.

Make intermittent marks along the wall at the bottom edge. For example, if you want the bottom of your mirror to be 1 foot (0.30 m) up from the floor, measure that distance with a tape measure at intervals of 6 inches (15 cm) for the entire width of the mirror. Mark each spot with your pencil. Make sure to mark the beginning and end of the space that the mirror will occupy.
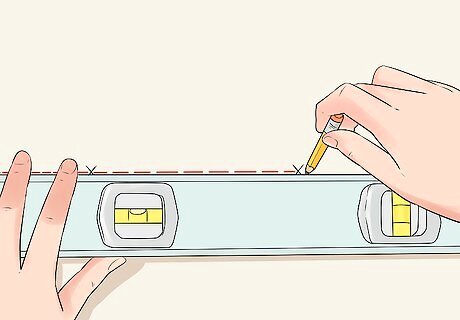
Connect your marks to make a guide line for the J bar. Place a level up to the wall and line it up with your marks. Check to see the level reflects that your line is straight and then trace a light line with your pencil.
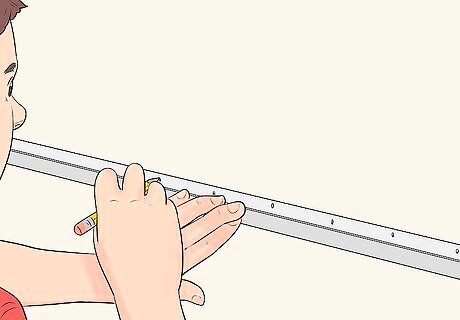
Line the bottom of the J bar up to the line you have drawn. Make pencil marks through some of the holes made for the screws. The spacing is up to you. If you have marked your wall studs ahead of time, choose the J bar holes that are over your stud marks. You may have to make adjustments in the placement of the mirror to accommodate this.
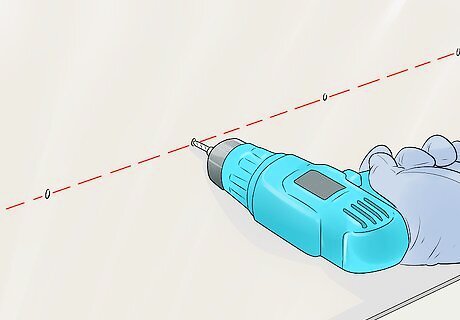
Drill holes in the wall where you’ve made your marks. Tap the anchors into place with a hammer until they are flush with the wall. Make sure to use a drill bit that is the same size as your anchors. Always hold your drill so that the bit is perpendicular to the wall and parallel to the floor. Hold the drill steady but exert minimal force when you drill.
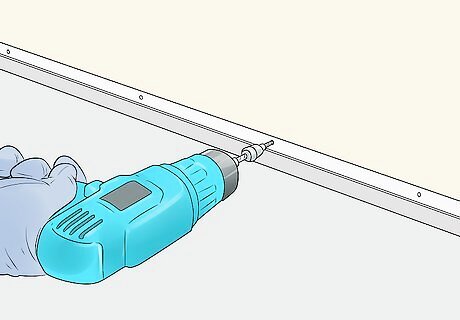
Screw the J bar into place. Line the J bar up with the guide line and the anchors you’ve already installed. Screw in each support screw to hold the J bar in place. If your J bar is long, have another person hold the opposite end in place as you drill.
Mounting the Mirror
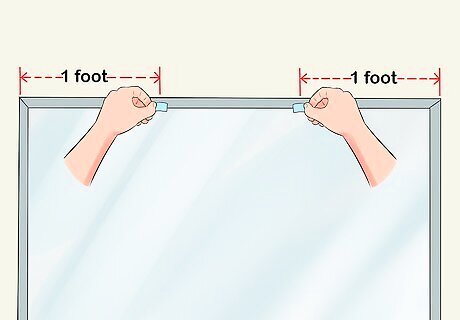
Determine the spacing of the mirror clips. Divide the width of the mirror into 3 and come in that distance from each side. Use masking tape to mark each spot. For example, if your mirror is 3 feet (0.91 m) wide, place a piece of tape 1 foot (0.30 m) in from each end.
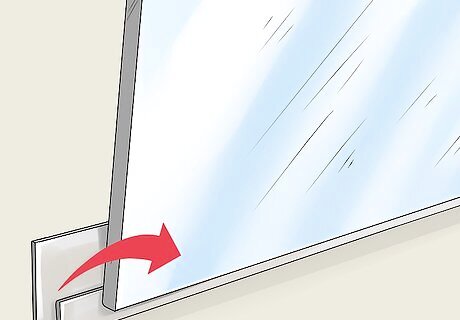
Load the bottom edge of the mirror into the J bar so you can mark for the mirror clips. Have your helper hold the mirror in place while you climb up your step ladder. Make pencil marks on the wall just above each piece of tape. It is helpful to hold the mirror clips up to make your mark just like you did with the J bar.
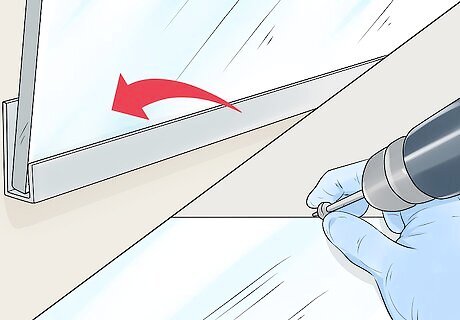
Lift the mirror back out of the J bar. You need to remove the mirror so you can install the mirror clips. Remove the mirror from the J bar carefully and prop it up so that the mirror side is facing the wall.

Drill holes for the mirror clip anchors. Position the drill bit perpendicular to the wall and line it up to your mark. Drill a hole using the same size bit as your anchor. Tap the anchor into the wall until it is flush. Make sure you are on a stable step ladder to do your drilling. Do not drill with your bit pointing up. Make sure you are up high enough to have your bit parallel to the floor.
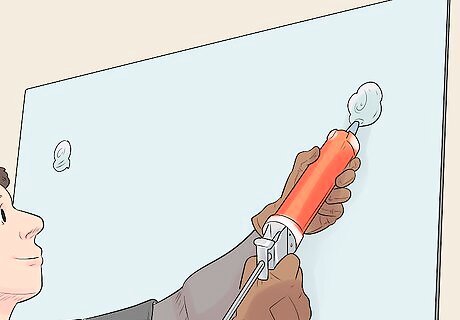
Apply mirror glue to the back of your mirror. Make circles with the glue approximately 3 inches (7.6 cm) in diameter. Space the circles around, leaving about 1.5 feet (46 cm) of space around each circle. Use a generous amount of the glue, filling in the circles fully. Don’t put the circles of glue too close to the sides of the mirror. When the mirror is pressed into the wall the glue will spread a little and you don’t want it to ooze out the sides. Some mirrors might already have circular marks to help you know where to apply the glue.
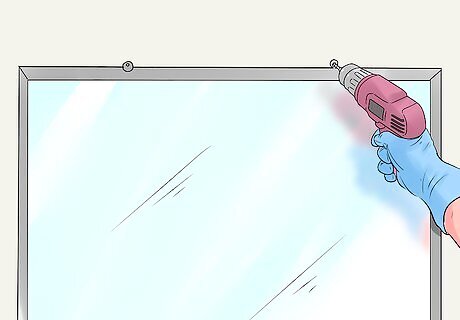
Place the mirror back in the J-bar and install the mirror clips. Gently lift the mirror back into the J bar. While it is being held in place by someone else, climb up the step ladder with your drill, mirror clips, and screws. Screw each clip into the anchor. Because the mirror is supported by the J bar and the clips, you do not need to hold it in place as the glue dries.


Comments
0 comment