views
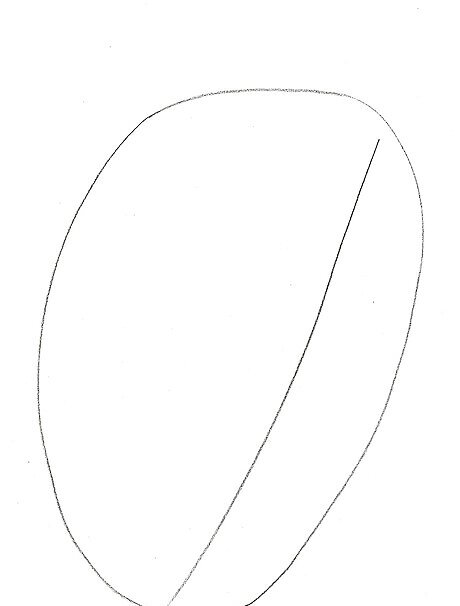
Draw the guideline for the face. Draw an oval shape for Mother Mary's face and one guideline in the middle of the oval. This middle line will give you an idea about where the nose and how the lips will be aligned in proper place. Also remember that these guidelines are not fair lines they are just for your reference. These may get erased later. So make these initial reference lines lighter and not pressing the pencil too much on the paper.
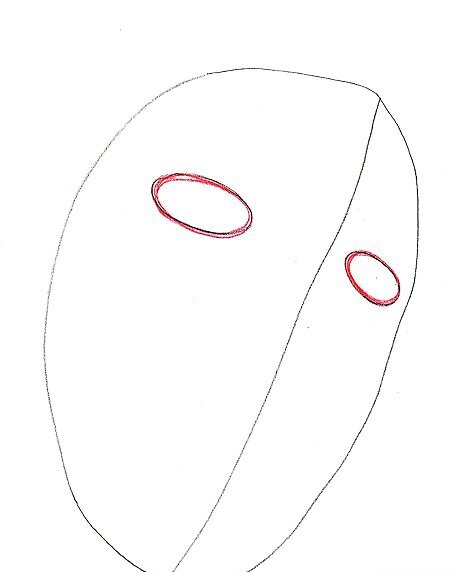
Make Mother Mary's eyes. Start from the top. At the top, you may make double lined and curved eyebrows. Beneath them make two ovals for Her eyes. At the center of the eye, make pupils. These pupils could be made in the shape of a "U" but only slightly wider "U". To make the eye look realistic, you may make another small circle inside the "U" and shade the pupil. If you would like to make the eyes even more realistic and shiny, you may make the circle and make lines around it like the sun its rays around it.
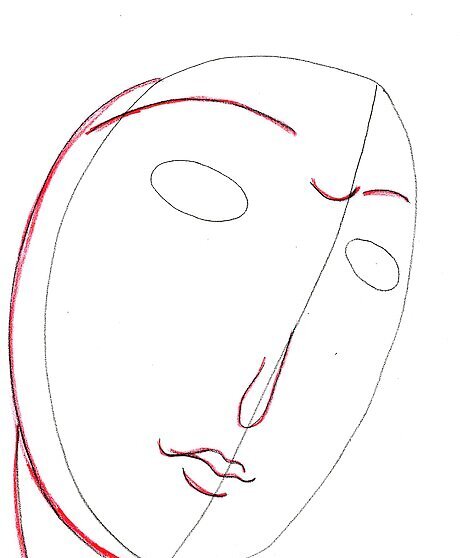
Draw lines for other facial features. Make a vertical line for the nose. This line will appear like the letter "J" because it will be curved at the bottom. Then make a mirror image of "J" besides it. There at the bottom you may make the nostrils. The nose is thin at the top and expands at the bottom.
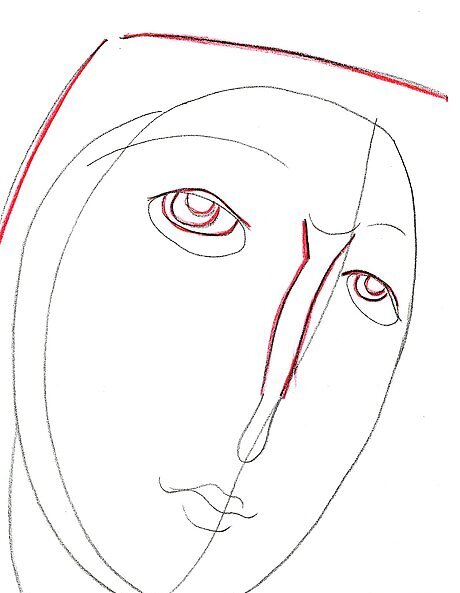
Draw the lips. Draw few lines below the nose to make the lips. If the lips, at the corners are curved upwards, it gives an expression of a smile. Hence, according to your preference, you may either have the lines curve up at the corners or remain rather straight to give a plain expression.
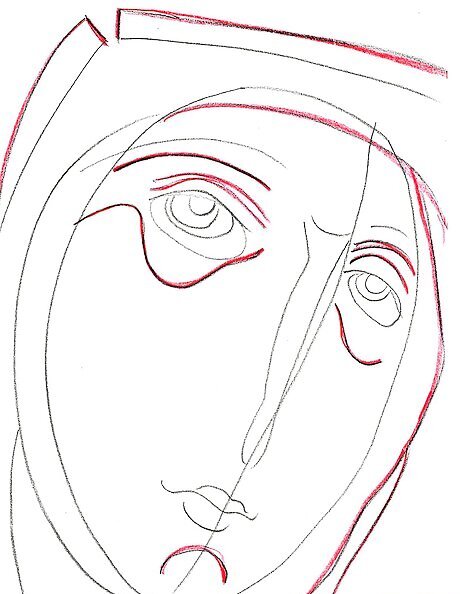
Add detailing to the face. Add light lines to the face. These lines will guide you as to where you need to shade once the sketching is done. A hint to adding these lines is to assign a place for light. Which means, you must make the face slightly darker at some areas (to create depth) and lighter at some other areas. The darker areas will include the area below the eyebrows. At the eye lids (both upper and lower). At the sides of the nose. At the side of the face (the jaw). And below the lower lip (at the chin). This creation of depth is optional depending upon your comfort level with shading. You may skip it if you are not very comfortable with doing so.
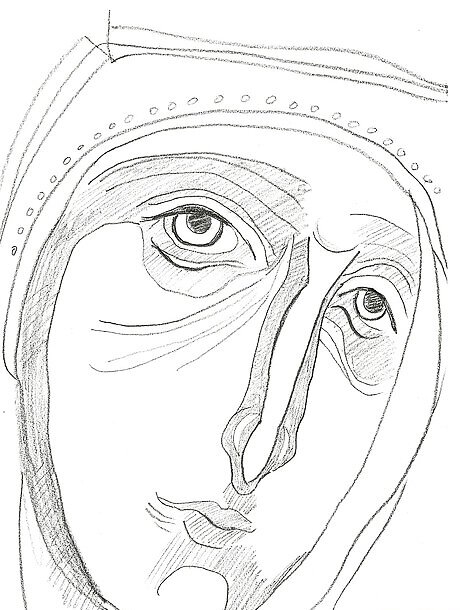
Make the scarf and the neck. Make the scarf right at the forehead and flowing till the end of the image. Make the neck and the shoulder line depending upon how much you would like to add to the drawing. You may make a rather colorful scarf or just a single colored one.
Erase the extra lines. You may have some extra lines appearing beyond your drawing. Just erase them. If the color has smudged outside, you may use a thick, not much diluted, color patch to cover the area.
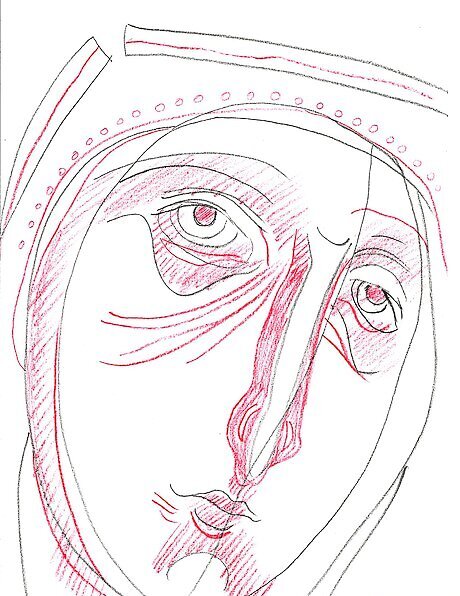
Start the shading or coloring. You may just shade the drawing with pencil or color it. You can do shading in a way that it looks very light and that it does not show the pencil work with lines which are horizontal, vertical and diagonal. To avoid showing all these lines in your shading, you may use a piece of paper and rub on the shaded area to blend the pencil work to make it appear natural. You may follow the same rubbing method while coloring with color pencils. Charcoal pencil (which is black). Crayons. For coloring with liquid color like water color, you may have to use thinner brush and color with adding a little extra water to the color solution. As thin colors could be thickened later but a thick coat of color gets a bit tricky to cover or change unless you are proficient with coloring.
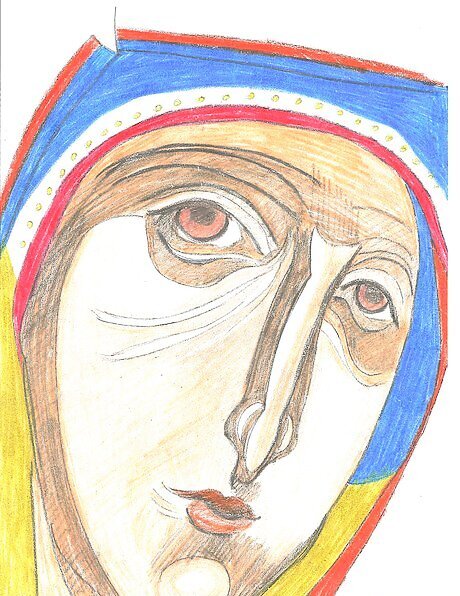
Choose the colors. Color the drawing using some shades of ocher for the face. If you are not happy with the colors you have, you may blend two or more colors to enhance the drawing of Mother Mary. Use the lighter colors first if while coloring, the colors tend to smudge more often. Because lighter colors could be covered with darker colors on them easily but not vice versa. You may outline the drawing in the end which will enable you to conceal any color that spread outside and also to make your drawing look more presentable.


Comments
0 comment