views
Drawing an Easy Cartoon Butterfly
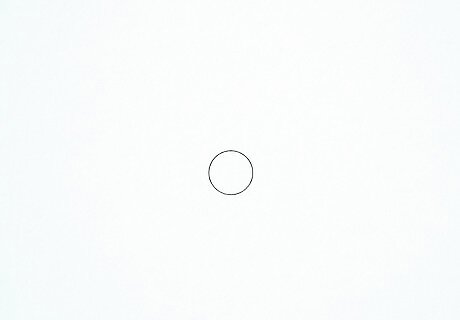
Draw a small circle near the center of the page for your butterfly’s head. Don’t make it too big since you want to have room for the body and wings. About the size of a nickel or quarter will work.Tip: Try tracing something small and round, like a coin, if you want your circle to be perfectly round.
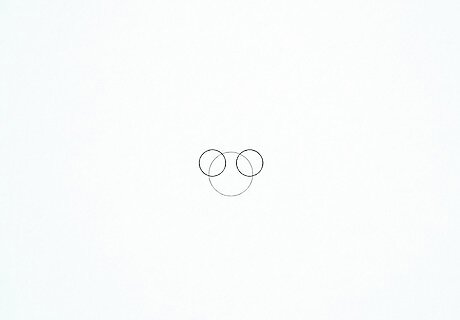
Sketch 2 smaller circles overlapping the top of the head for the eyes. Make each circle about half the size of the head. Draw one eye on the top left half of the head and the other eye on the top right half.
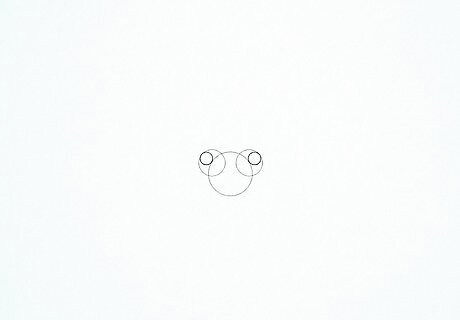
Add a smaller circle inside each eye. Make these circles about ¼ the size of the eyes. Draw the circle in the left eyes at the top of the eyes٫ both circles should be facing the opposite way.

Color in the eyes black, except for the small circles. When you’re finished, your butterfly will have two big bug eyes that look like they're reflecting light.
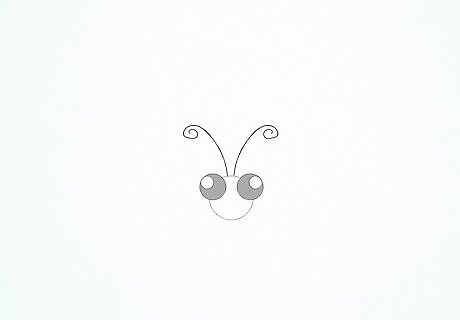
Draw 2 curved lines coming off the top of the head with a swirl at each end for the antennae. Make the line on the left side of the head curve out to the left, and make the line on the right side of the head curve out to the right. Draw each line about 1 ½ times as long as the head is tall. You can make the antennae symmetrical, or you can have one antenna curve down more than the other!
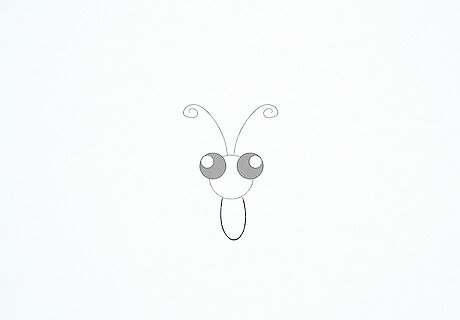
Sketch a tall, narrow oval coming down off the head for the body. Make the oval about half the width of the head, and center it underneath the head. Draw the oval so it’s about the same height as the head, or slightly taller.
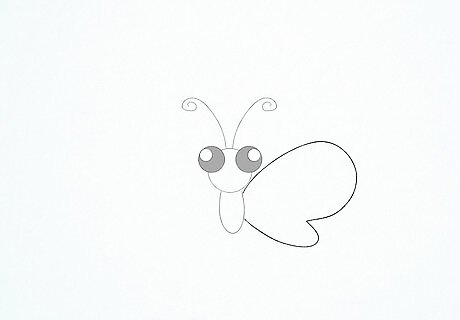
Draw a big mitten shape off the right side of the body for the first wing. Start the mitten shape at the top of the body on the right side, and end on the bottom of the body on the right side. Make the mitten shape about 3 times the width of the head.
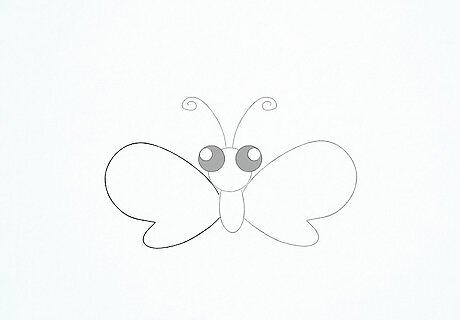
Sketch a backward mitten shape off the left side of the body for the second wing. Draw this wing just like you drew the first one, except mirrored. Try to make each wing about the same size. Don’t worry if the wings aren’t completely identical.
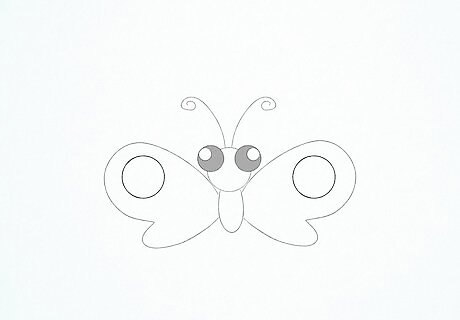
Add 2 circles to each wing to give your butterfly’s wings a design. Draw a circle in the upper half of each wing and then the lower half of each wing. Make the circles about the same size as the head, with the circles in the lower halves of the wings slightly smaller.
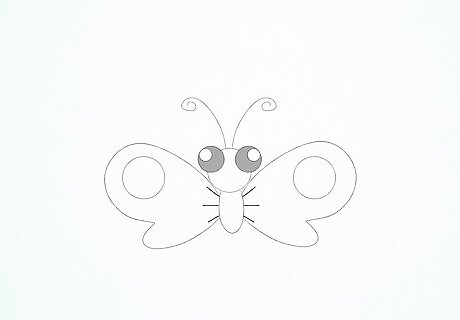
Draw 3 short lines coming off each side of the body for the legs. On each side, draw a line coming off near the top, middle, and bottom of the body. Angle the top legs slightly up, and angle the bottom legs slightly down. Make each line about the same length as the width of the eyes.
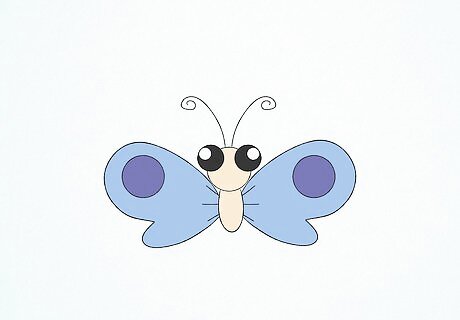
Color in your butterfly. You can use any colors you want. Choose bright colors, like purple, pink, blue, and green if you want your cartoon butterfly to really pop. Color the body and head using the same color. Then, choose a different color for the wings. Use a third color to fill in the circles on the wings, or use the same color you chose for the body and head. Once you’re done coloring your butterfly, you’re finished!
Sketching a Realistic Butterfly
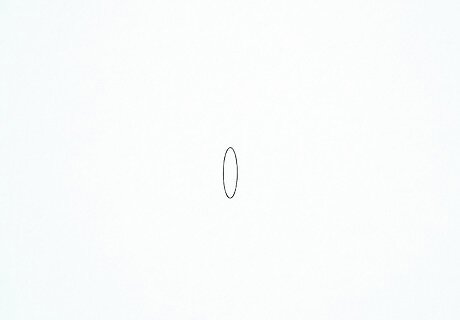
Draw a tall, narrow oval near the middle of your page for the butterfly’s body. Make the oval small enough that you’ll have room for the wings on either side. If you’re using a standard 8 by 11 inch (20 by 28 cm) sheet of paper, about 1–2 inches (2.5–5.1 cm) tall should work.
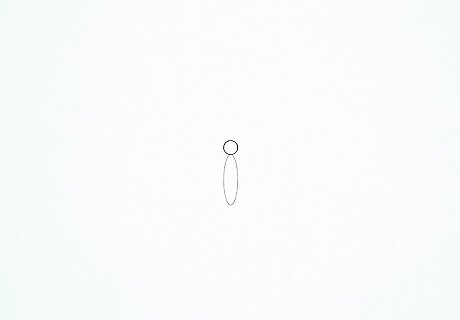
Sketch a small circle on top of the body for the head. Make the circle the same width as the body and about ¼ the height.
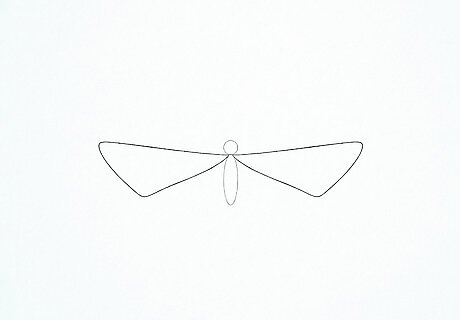
Add an upside-down triangle on each side of the body for the upper half of the wings. Start and end each triangle at the top of the body, right where it meets the head. Angle each triangle upward slightly so the top edge of each wing is at an angle. Make each wing about 10 times the width of the body. Try to make the triangles as symmetrical as you can. Use a ruler if you need help making the lines straight and even.
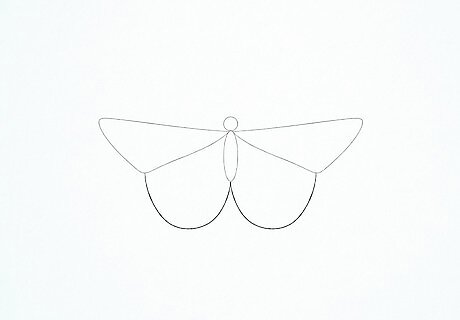
Draw a “U” shape underneath each triangle for the lower half of the wings. Starting at the bottom corner of one of the triangles, draw a “U” shape that ends at the bottom center of the body. Then, do the same thing on the other side. Make sure each “U” shape is the same size.
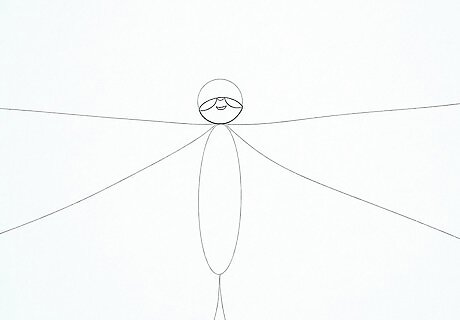
Sketch an arch across the middle of the head and add small details. Start near the center of the left side of the head, and draw an arch over to the right side of the head. Then, draw an upside-down arch underneath the first arch you drew on both the left and right sides. Finally, draw a small crescent shape underneath the first arch and in between the 2 upside-down arches. The arches and crescent shape will give the butterfly’s head dimension and make it look more realistic.
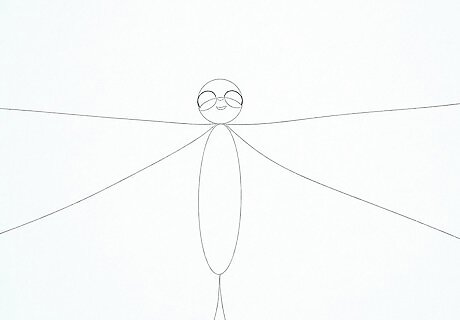
Draw 2 semicircles above the arch for the butterfly’s eyes. Sketch one eye on the left side of the arch, and one eye on the right side. Make the semicircles big enough that the top of each semicircle touches the perimeter of the head.
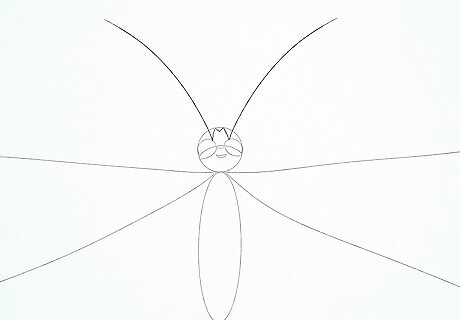
Add 2 curved lines on top of the head for the antennae and connect them at the base. Have the antenna on the left side of the head curve slightly to the left, and have the antenna on the right side of the head curve slightly to the right. Make each antenna about as long as the height of the body, or slightly shorter. Then, draw a small “M” shape between the bottom of each antenna, inside of the circle you drew for the head, to connect them. Try to make the antennae symmetrical.
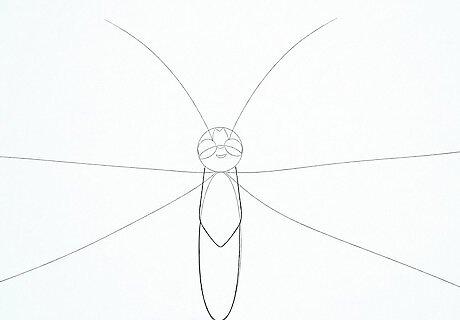
Sketch a “V” shape near the middle of the body to create distinct segments. Start about ¼ of the way down the body on the left side. Then, draw a “V” shape inside of the body, with the peak of the “V” falling slightly above the center of the body. End the “V” shape about ¼ of the way down the body on the right side. Above the “V” shape is the butterfly’s thorax. Below the “V” shape is its abdomen.
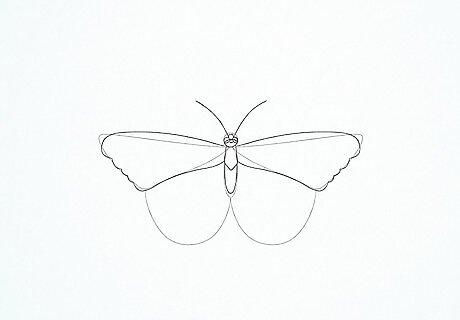
Round out the triangles and add more detail to refine the upper half of the wings. Using the upside-down triangles as a guide, either reshape the triangles so the sides are curved and the corners are rounded, or draw new wings over the top of the guidelines (you can always erase the triangles later). Either way, make the top and bottom edge of each upper portion of the wings curved. Then, draw a series of small arcs, about 5 or so, along the outermost edge of each wing. Draw the same number of arcs on each side.
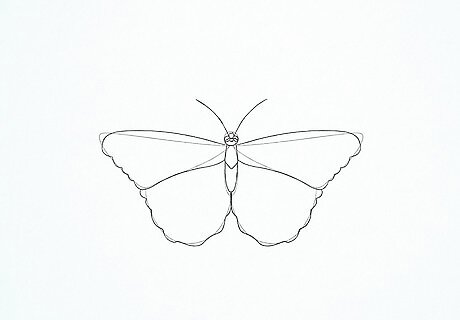
Draw a series of arcs along the “U” shapes to refine the lower half of the wings. Draw the small arcs over the top of the “U” shapes you drew earlier, starting at the end of each “U” shape and making your way to the opposite end. Draw around 10 arcs on each “U” shape.
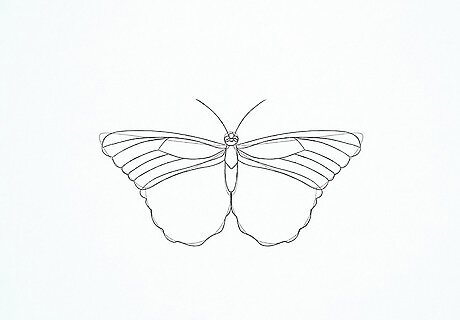
Add lines to the upper half of the wings for the veins. First, draw a curved line from the body to the outer edge of the wing on each wing, following along with the curvature of the top of the wing. Then, draw a short straight line coming down off of the middle of the curved line you just drew. Angle this line to the left on the left wing and the right on the right wing. Connect the end of each of these angled lines to the body, ending at the same point where you started the first curved line. Finally, draw straight lines running from the bottom of this shape to the outer edge of each wing. Draw the same number of veins on each wing so they look symmetrical.
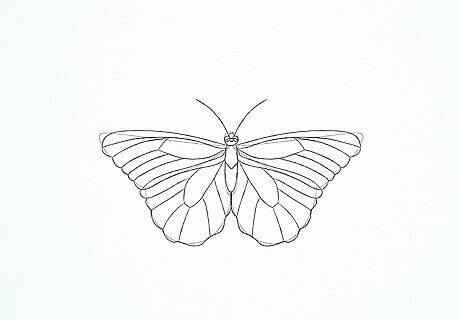
Draw the veins on the lower half of the wings. First, draw a tall, narrow “U” shape near the top of each lower portion of the wings. Start the “U” shape at the side of the body, and end it about halfway across the top side of each lower wing. Then, draw straight lines extending from the “U” shape to the small arcs on the lower half of the wings. Angle the lines on the outer half of the “U” shape out away from the body, and angle the lines on the inner half in toward the body.
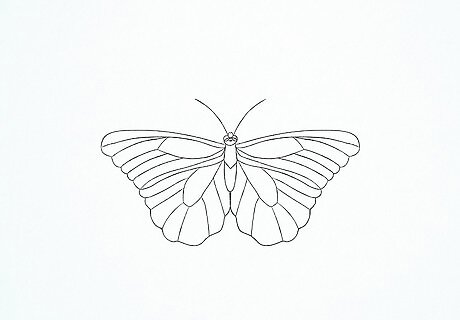
Erase any of the leftover guidelines to clean up your drawing. If you drew over the upside-down triangles and “U” shapes that you initially drew for the wings, erase those shapes now. Otherwise, you can skip this step. Once you're finished erasing any leftover guidelines, you're all done!




Comments
0 comment