
Choose whichever picture you would like to turn into a template. It has to be a picture you wouldn't mind throwing away once you are done with it and it has to be a physical picture, like a printed or photocopied piece.
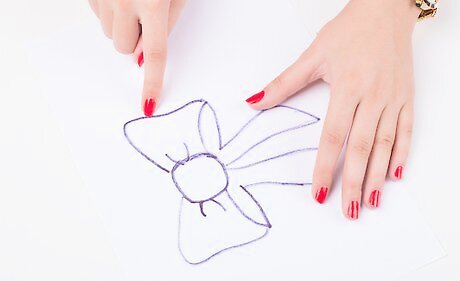
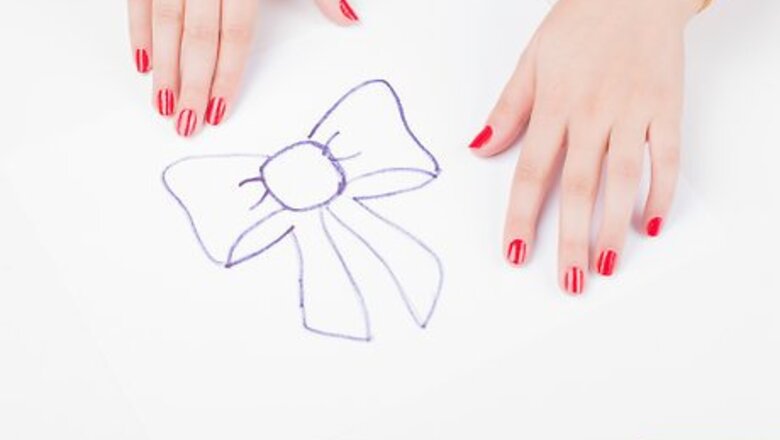
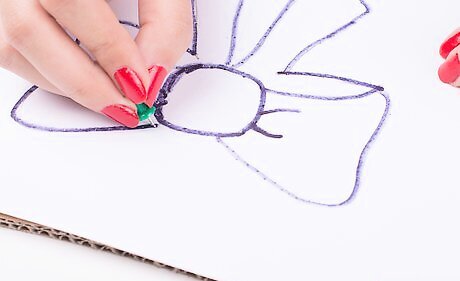
Identify what part of the picture is the main outline (too many details can overcrowd the embroidery) and what colors of thread you would like to use for it. The colors would have to match the color of the item it is outlining.
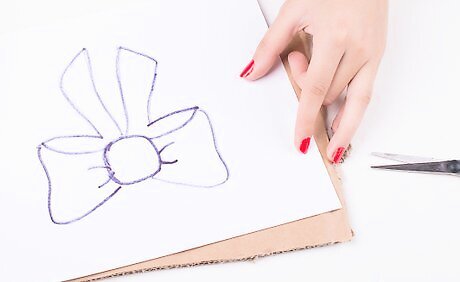
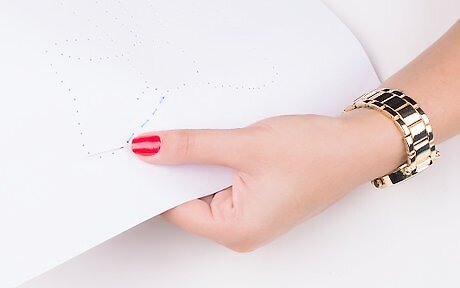
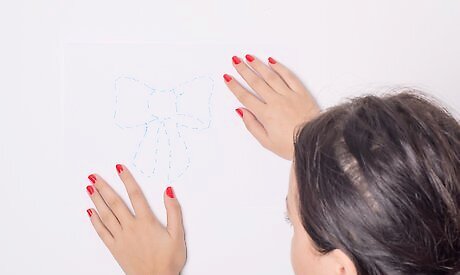
Take a piece of corrugated cardboard and set the paper you want to work the embroidery onto on top of that. Then take the template to put over that. Hold them in place with either staples - if the embroidery is smaller than the space being used and you don't mind the holes left behind - or paperclips. Paperclips can hold the paper in place, but be careful that you don't slide the paper on accident.
Punch out the outline with a needle or pin. Make sure that there is an ample amount of room between the holes and that you punch out outlines in even numbers. The former would prevent tearing, and the latter makes sure that each hole has a pair so that the thread always ends up clean on the top.

Take the paper out from between the cardboard and template.
Thread the needle with one of the outline colors chosen and begin on one end of a line. Start by going through the back side of the paper and reach over to the hole's pair. Continue on until the line is finished.
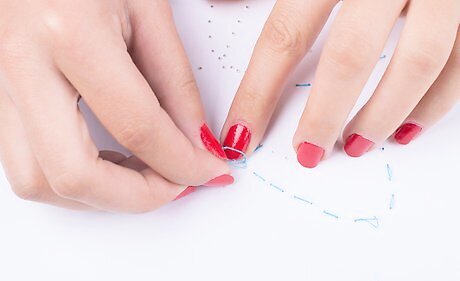
Tie the thread neatly once the line is done. This can be done multiple ways. The thread can be cut off the needle and tied like shoelaces. Or, the thread can be taken into a loop and tied before the thread is cut off the needle.
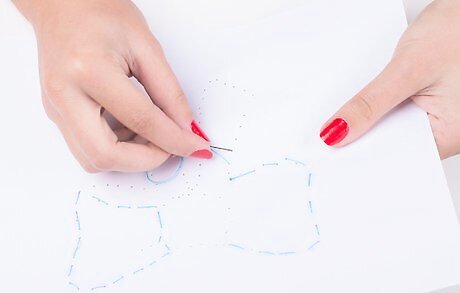
Continue on until the piece is done.
If the picture was done just for display, take the finished product and find a neat sheet protector sleeve, frame, or other holder to display it. If the picture was done on a card or other craft project, do with it accordingly.


Comments
0 comment