views
Using a Hole Saw to Cut Small Circles
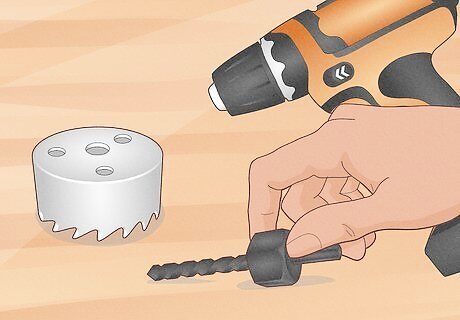
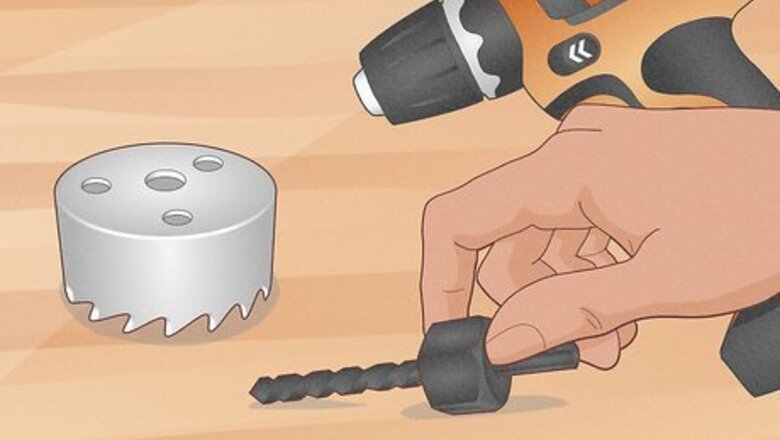
Purchase a hole saw and its attachments. A hole saw is a metal circular saw that attaches to a drill. It is a quick and easy tool to use for cutting circles that are between .5–6 inches (1.3–15.2 cm) wide. Hole saws and their attachments are available at all hardware and home improvement stores. In addition to buying the hole saw, you will need to buy an arbor and a pilot bit for the saw. The arbor is the connecting piece that attaches the saw to the drill and the pilot bit guides the hole saw and it begins cutting. Hole saws create a small pilot hole at the center of the circle that they cut out. If you need the circle to be solid instead, you may not want to use a hole saw. If you need to use the circle of wood that is cut out, pay attention to the interior diameter of the hole saw you purchase. In general, the size of the hole saw refers to the exterior of the saw but the interior size will be listed in small print.
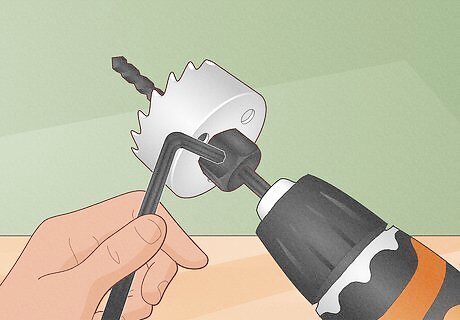
Put the hole saw onto its attachments. At the center of the arbor should be a hole that is big enough to insert the pilot bit into it. Put the end of the pilot bit in the hole and then tighten the set screw on the arbor that holds it in place. Then you can screw the hole saw onto the arbor. Most set screws can be turned with an allen wrench (also known as a hex key), although the size you will need varies. Most hole saws that are over about 1.5 inches (3.8 cm) in diameter have an additional prong that is inserted into the base of the saw from the arbor. Once the hole saw is attached to the arbor, the end of the arbor can be inserted into the drill.
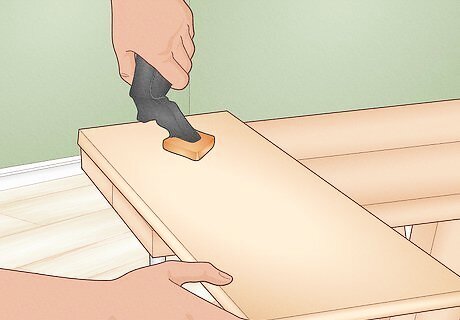
Secure the wood in place and clear the space beneath it. When you use a hole saw to cut a circle in wood there is a lot of torque created by the saw and you will cut all the way through the wood. Because of this you need to use clamps or have someone hold the wood while you drill it. You also need to make sure that there is open space below the wood so that the hole saw does not accidentally cut into anything it shouldn’t. For example, you can put the wood in a vise or have it hanging over the end of a table that you clamp the wood to.
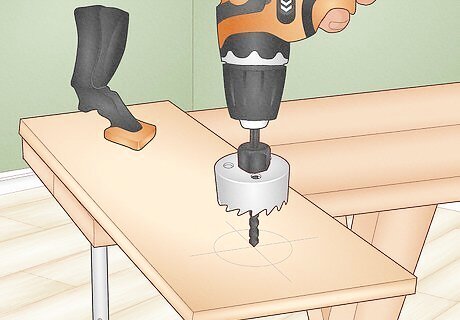
Center the pilot bit at the center point of your circle. If it is important that the circle you cut is positioned in a certain spot on the wood, draw out the circle and find the center point. This will be where you place the center of the pilot bit as you prepare to drill. If it doesn’t matter exactly where the circle is cut, you can place that end of the bit anywhere you like on the wood.
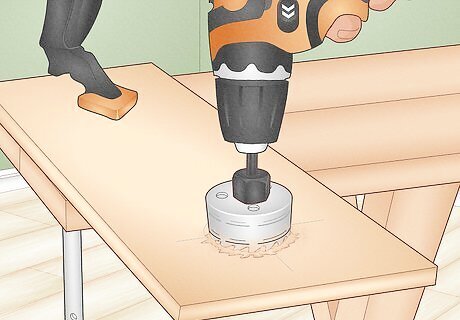
Start drilling through the wood cautiously. As you drill, the pilot bit will go through first and then the hole saw will drop onto the surface of the wood. Be prepared for this, making sure that you are holding the drill firmly and that you are ready to stop the drill if the saw gets caught on the wood when it first makes contact.
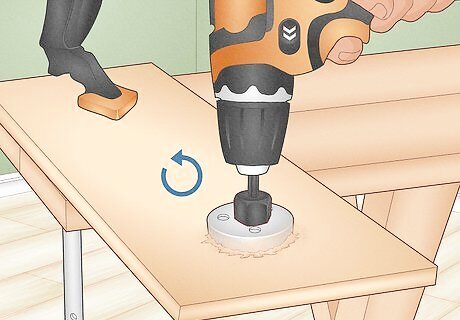
Stop and restart the drill if the saw binds up on the wood. When the hole saw drops down on the wood and makes contact, it can get stuck on the wood and wrench the drill and your hand around instead of going through the wood. If this happens, stop the drill and lift up on the saw a bit. Start the drill again and lightly make contact with the wood so that the saw can work through the wood gradually. If the hole saw binds up and wrenches the drill, your wrist can be hurt while you are trying to control it. Be prepared to turn off the drill quickly so that this doesn't happen.
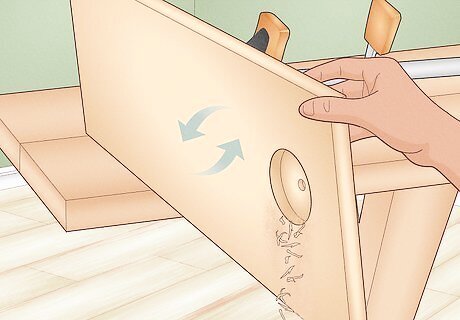
Prevent blow out by flipping over the board midway through the cut. If you cut straight through the wood without stopping, it can cause the backside to become jagged and rough when the hole saw pops through. To avoid this, cut part way through the hole and then flip the wood over. Stick the pilot bit in the existing pilot hole and start sawing. Your second cut will meet up with the first in the middle of the hole. This will give you a beautiful smooth cut on both sides of the board.
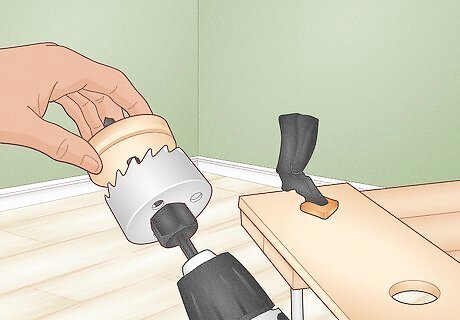
Remove the circle of wood from the hole saw. After the cut is completed there will be a circle of wood that is inside the center of the hole saw. In many cases you will be able to grasp the edge of it with your fingers and pull it out. However, if the circle of wood is fully inside of the hole saw, you will need to work a bit harder to get it out. Insert the tip of a flat-blade screwdriver into the holes on the side of the hole saw and push the wood out with the tip of the screwdriver.
Using a Small-Bladed Power Saw
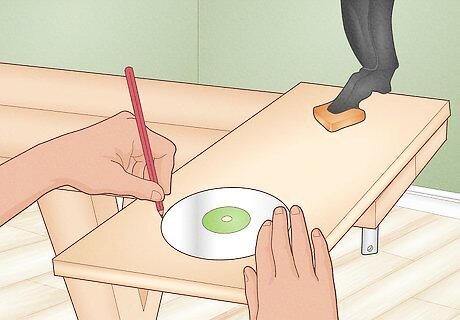
Draw the circle on the wood. In order to cut a circle in wood with a saw, it’s important to have a circle to follow as you cut. To draw out the circle either trace something that is a circle (such as a CD), use a drafting compass, or use a protractor. If you need to cut a circle that is a specific size, it’s easiest to use a compass. Open the compass so that its sharp point and its drawing point have a distance between them that is half the diameter you need. Place the sharp point where you want the center of the circle to be and spin the drawing point around the create the circle.
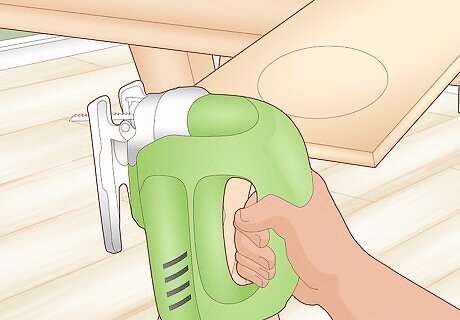
Pick a power saw to use. There are a variety of power saws that will work well for cutting a circle in wood. Many people find a jig saw works well for this type of job and is easy to use. However, you can use whatever saw you have already or pick up one at your local hardware or home improvement store. Power saws that work well for cutting a circle in wood include: Jig saw Scroll saw Band saw Router Dremel tool
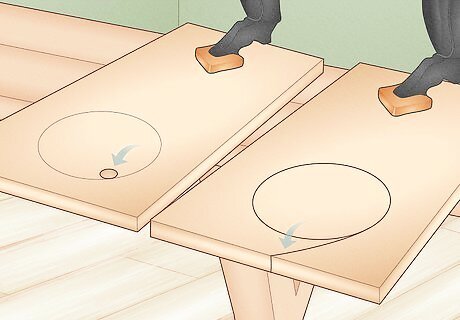
Decide whether you can cut from the side or if you need a pilot hole. This depends on if you need the circle that is being cut out or the larger piece of wood that the circle is being cut out of. If you just need the actual wood circle, you can cut in from the side. If you need the larger piece of wood to remain whole, you will need to drill pilot holes in the circle for the saw blade to enter the circle.
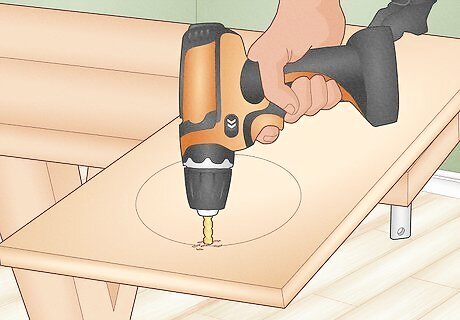
Drill a pilot hole inside the circle for your saw blade, if necessary. Drill one hole or several next to each other to make a hole big enough for the saw blade to be inserted into the inside of the circle. The pilot hole should be close to the circle that you have laid out but not right on it so that you don’t have to cut through much wood to start cutting your circle. For example, drilling your pilot hole, or holes, within .25 inches (0.64 cm) of the circle will give you a bit of space to get your cut going right but will not force you to cut through a lot of wood before getting to the circle.
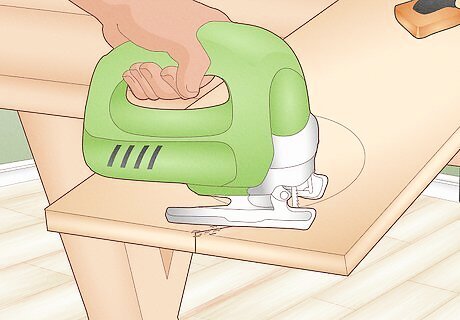
Cut towards the circle outline, if only the inner circle is needed. If you can cut in from the side, start cutting through the wood at an angle that will line you up with the side of the circle. You want to make your cut so that your blade ends up parallel to the circle you have drawn out. This will allow you to smoothly transition to cutting along the circle without drastically changing the saw’s direction.
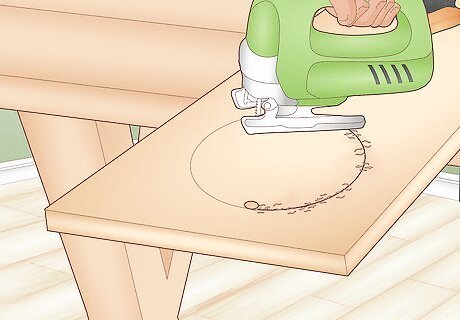
Direct the saw along the circle you have drawn. Make sure to watch that the teeth of the saw are hitting the line exactly as you cut. If you need to cut slowly to keep on the line, do so. The goal should be to make your circle as even and precise as possible. If you get tired, simply stop the saw and keep it in place. When you are ready to start cutting again, back it up very, very minimally and then start the saw going again.
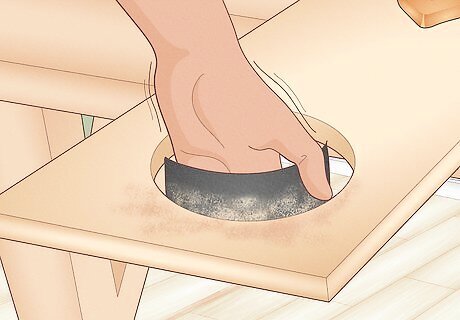
Clean up the cut edges with sand paper. If your circle is not perfectly round once you have completed cutting it, you can make it round with sand paper. Fix areas that are not perfectly round or that are excessively rough from the saw. You can use a plain piece of sand paper, a sanding block, an electric sander, or any other sanding device that you have that works on wood to clean up your circle.





Comments
0 comment