views
- Most modern Macs require an external optical drive to burn DVDs.
- Streamline the DVD-burning process by putting the files and folders you want to burn in a Burn Folder.
- You can drag and drop files directly from your Desktop or Finder into the DVD window, then select Burn from the File menu.
Checking System Specifications
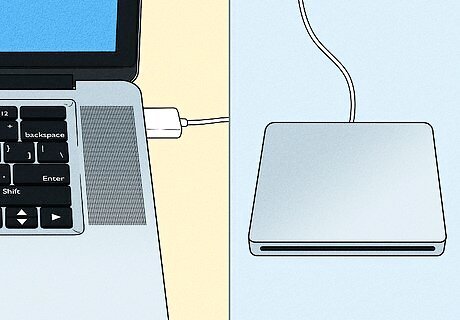
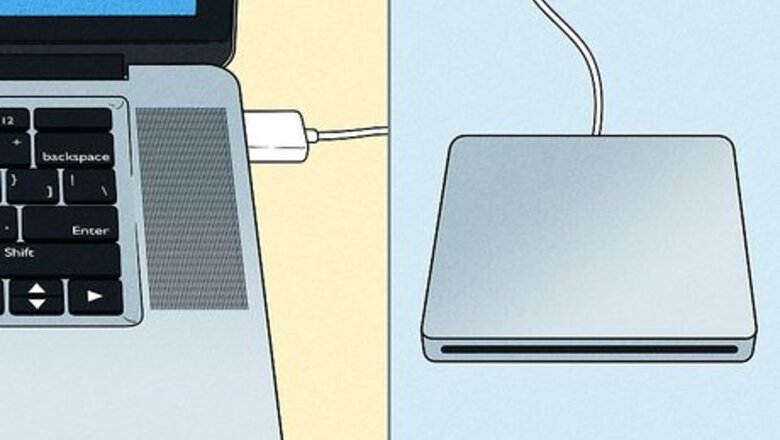
Attach an external DVD drive if necessary. Most newer Macs (released in the last 10 years or so) don’t come with a built-in DVD drive. You’ll most likely need to attach an external optical drive to burn DVDs.
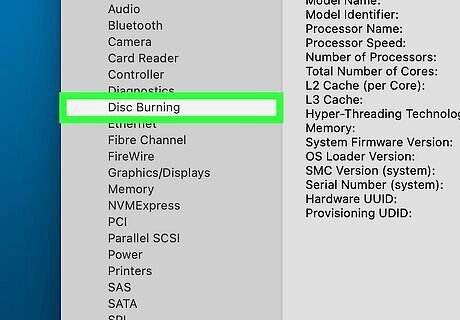
Check system specifications to be sure that you can write DVDs. If you’re using macOS Ventura or later, click the Mac Apple Apple Menu at the top of your screen and select System Settings > General > About, then scroll down and click the System Report… button. Select Disc Burning from the menu in the left sidebar. You’ll see information about what discs you can burn with your external drive. If you don’t have a drive connected, you’ll see a message telling you that “no disc burning device was found.” In earlier versions of macOS, go to Apple Menu > About This Mac > System Report > Disc Burning instead. You’ll need a burnable type of DVD, such as a DVD-R, DVD+R, or DVD+RW.
Creating a Burn Folder (Optional)
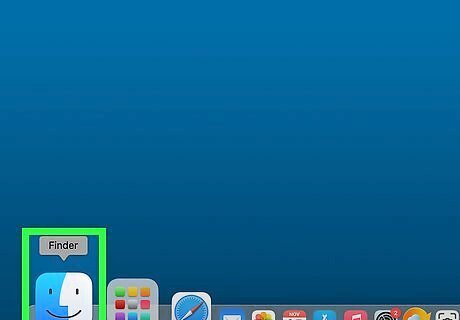
Click your desktop or open a Finder window. Making a Burn Folder isn’t necessary, but it can streamline the DVD burning process. To get started, click the location where you want the Burn Folder to go.
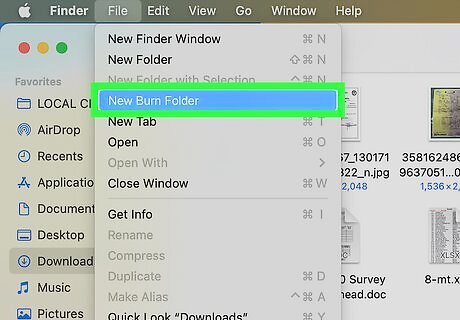
Click File and select New Burn Folder. You’ll only see this option in the File menu if an optical drive is attached to your Mac.
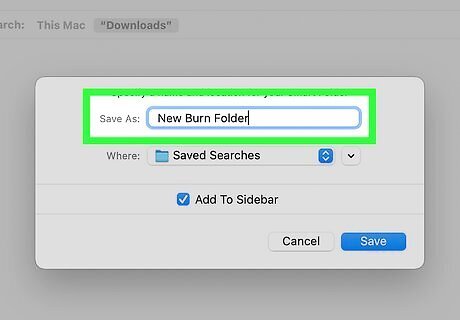
Type in a name for your folder. You can call it anything you like. Your new folder will have a special symbol to identify it as a burn folder. It looks like a circle with alternating dark and light wedges inside.
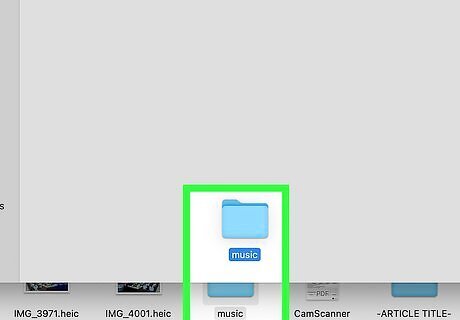
Drag and drop any files you want to burn into the folder. You can also put other folders inside the Burn Folder. This will copy the files to the Burn Folder as aliases—they won’t be moved or deleted from their original locations.
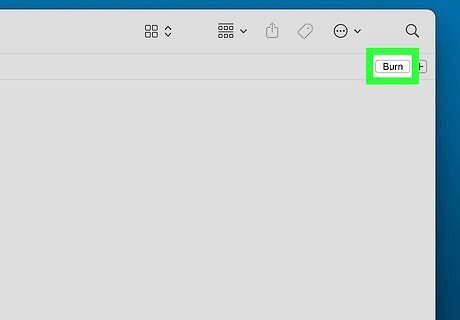
Open the Burn Folder and click Burn.
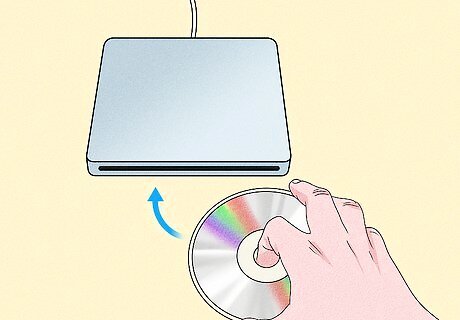
Insert a DVD into your disc drive and follow the prompts. You’ll see on-screen instructions that will guide you through burning the files onto the DVD.
Burning a DVD
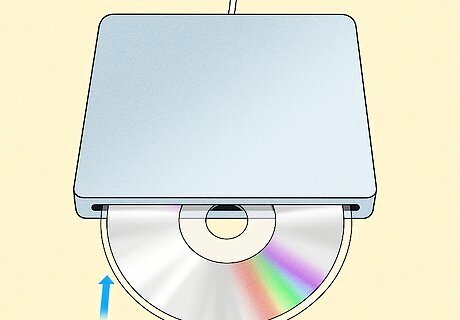
Insert a blank DVD into your optical drive. Make sure it’s a type of disc that your drive is capable of burning. You can find this information by checking your system specifications before you start, or by looking at the manual that came with your external disc burner. A dialog box may open when you insert the disc. If so, select Open Finder from the pop-up menu, then click Make this action the default. This will set your Mac to launch a Finder window when you insert a DVD so it’s easier to find the files you want to burn.
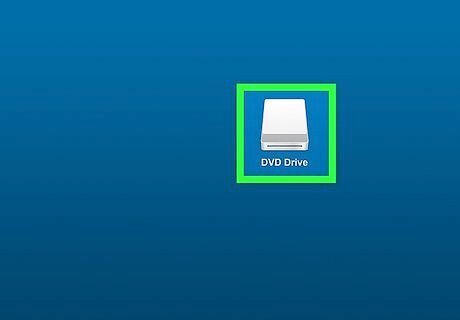
Double-click the disc icon. This will open a window displaying the disc’s contents.
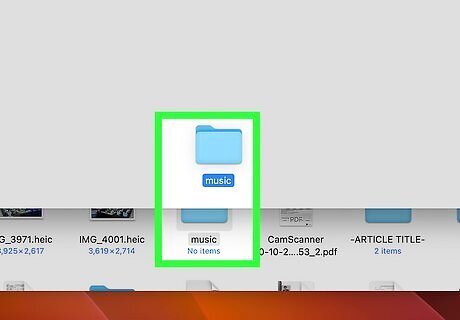
Drag any files and folders you want to burn to the disc. This won’t delete the originals from your computer. It will simply copy them to the disc.
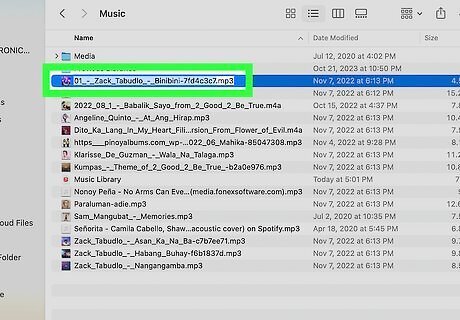
Arrange and rename the files however you want. Organize the files within the disc window. Keep in mind that you need to do this before you hit the Burn Disk command. Once you’ve burned the disc, the locations and names of the files and folders on the DVD will be finalized.
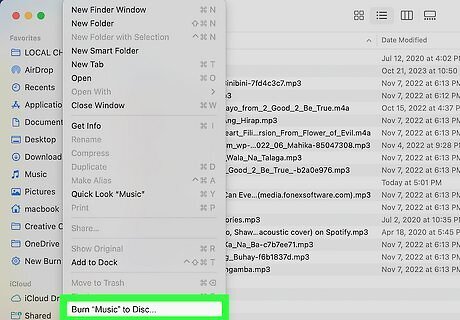
Click File and select Burn [disc]. Open the File menu at the top of the screen and select Burn [your disc’s name]. Follow the onscreen prompts to complete the burning process. If you eject the DVD before you actually finish burning it, your files will be automatically bundled into a Burn Folder on your Desktop that you can later burn to a DVD or another disc if you choose.




Comments
0 comment