
- First, fix the "Your account doesn't allow editing on Mac" error with simple fixes, like making sure you're logged into the right account and have the right licenses
- Use the Microsoft Office License Removal Tool to delete any licenses currently on your computer that can be causing an error.
- Sign out and back into your account in a Microsoft 365 account to see if the features work.
Signing Out and Back In
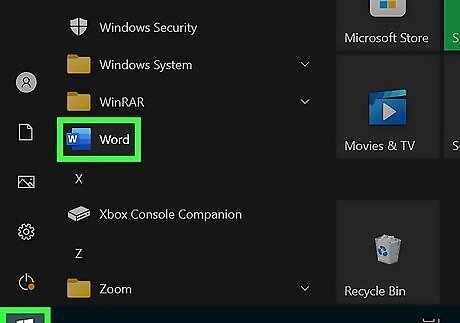
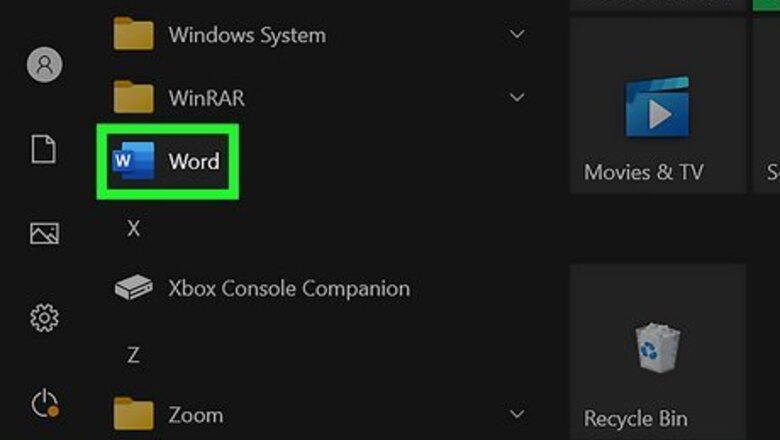
Open Word, or any Microsoft app. If you use more than one Microsoft 365 app, you'll want to log out and back in with each one.

Select your name or profile icon. It's at the very top of the window in the top right corner of your screen.
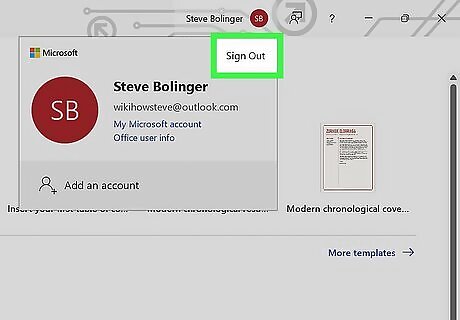
Click Sign Out. You'll see this in the top right corner of the menu that appears when you click your profile icon. Click Sign out again to confirm your action.
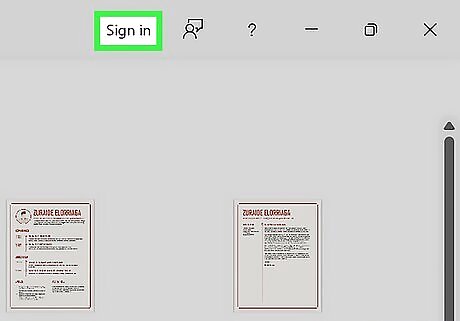
Click Sign in. It's in the same place where your profile icon used to be, in the very top near the right side of your screen. Make sure you're signing in with the correct account. For example, if you have a personal account without a subscription, but are using a school account to create documents, sign in with your student email. If that doesn't get rid of the "Your account doesn't allow editing" error, continue to the next troubleshooting step.
Checking Licenses for Personal & Family Accounts
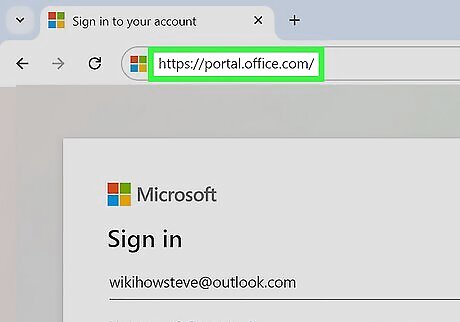
Go to https://portal.office.com/ and sign in. You can use any web browser to go to the site and make sure you have the correct licenses assigned. Use this troubleshooting fix only if you have a personal or family account.
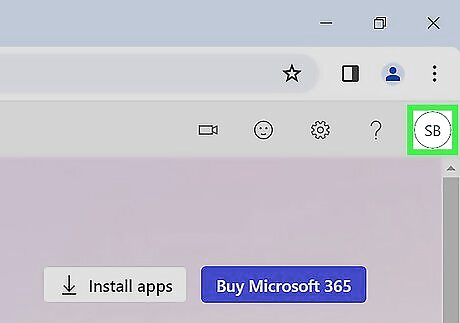
Click your user initials. This circular icon is in the top right corner of your screen.
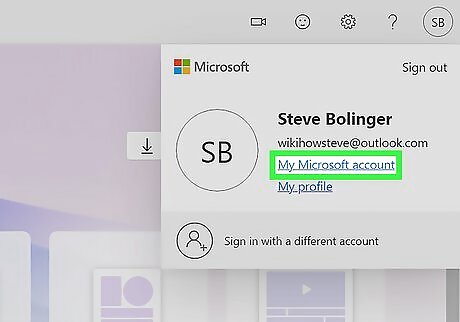
Click My Microsoft account. It's usually the first option on the menu under your email address.
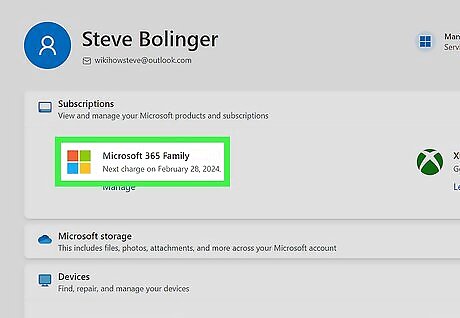
Look for Microsoft 365. You should see this under the "Subscriptions" header.
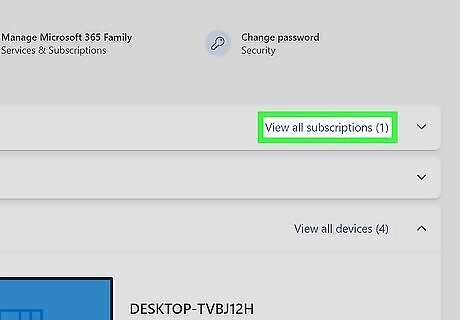
Click View all subscriptions. It's to the right of the "Subscriptions" header. If you see the subscription, you have the right licenses. If you don't see it listed, you need to make sure you're logged into the right account.
Checking Licenses for Admin Accounts
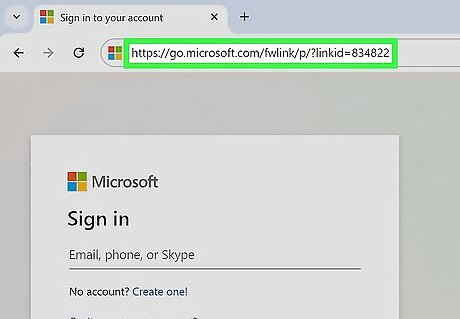
Go to https://go.microsoft.com/fwlink/p/?linkid=834822 and sign in. If you're the head of a school or organization, use your organization or school email to sign into the account that manages users Use this if someone, like a student, or an employee, reports a "Your account doesn't allow editing" error.
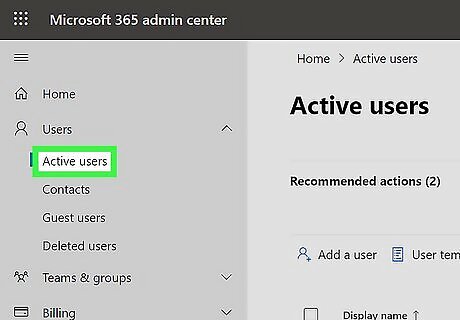
Navigate to "Active Users" and click a name that doesn't have editing access on their Mac. If you don't see "Active Users," click "Users" first.
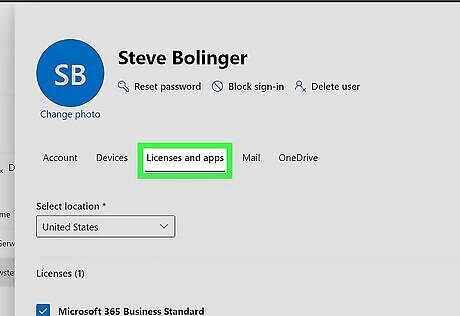
Click Licenses and Apps. It's in the panel on the right side of your screen.
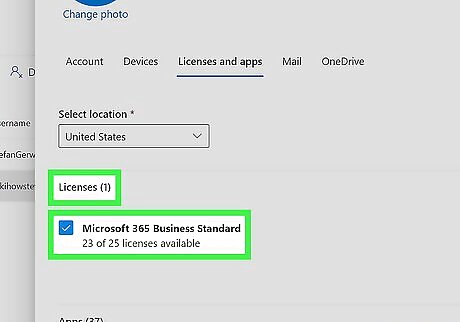
Expand the Licenses section and choose licenses to assign. If the license is already clicked, click it to uncheck it, click Save Changes, then click the box to select it again and continue.
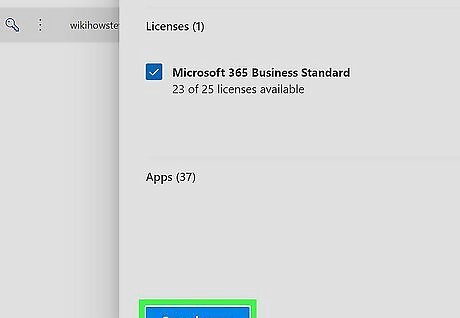
Click Save Changes. It's at the bottom of your screen and will save and apply your changes. See if the other person is still seeing the error. If so, continue to the next troubleshooting steps.
Using the Microsoft Office License Removal Tool
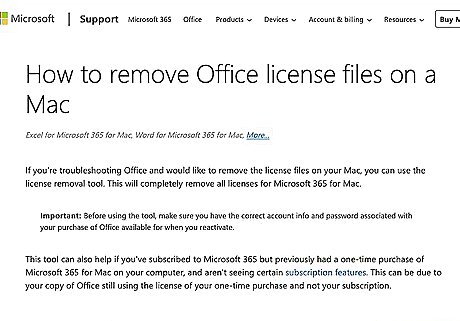
Go to the Microsoft deletion tool site. This is a tool offered by Microsoft to help Macs delete Office license files that can be causing the error you're seeing. This is the most common fix for those who have tried everything else. If you haven't tried everything, start with making sure you have the correct licenses and that you're signed into the right account; then you can return to this fix.
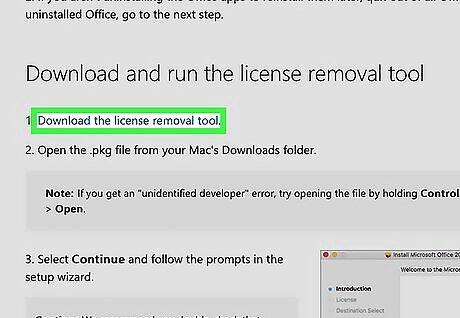
Click the Download the license removal tool link. This will automatically open Finder so you can select a location to download the file.
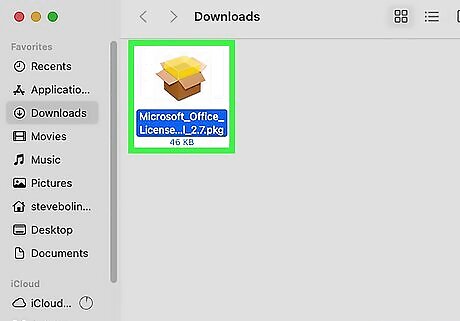
Install the tool. Open the .pkg file, or, if you get an "Unidentified developer" error, press Ctrl as you click the file and select Open. Continue through the installation wizard by clicking Continue and Install. Enter your Mac's password if prompted. Once installed, the tool will immediately start getting rid of your licenses. Click Close when the tool is finished.
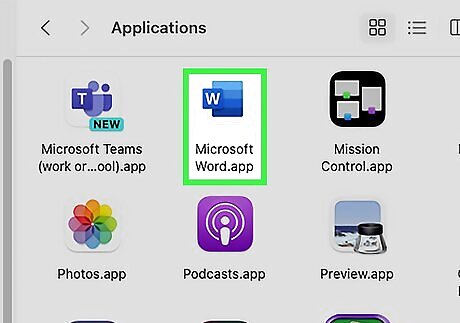
Open any Microsoft app and sign in. You can use any Microsoft 365 app that you have installed, like Word or Excel. Click Sign in at the top of the window and sign in with your organization or school's email. If you get an option, select Microsoft 365 for Mac. If you don't get an option, don't worry! This doesn't appear for everyone. See if your Microsoft 365 account works. If not, try the next troubleshooting method.
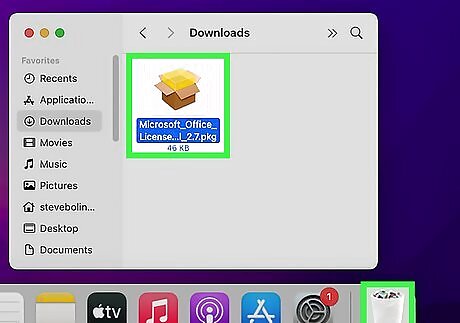
Uninstall the tool. All you need to do is drag the "Microsoft_Office_License_Removal_Tool" file from the Downloads folder into the Trash. Since the tool automatically gets rid of currently downloaded licenses on your computer, you should uninstall it as soon as you're done so your newly downloaded licenses aren't deleted.


Comments
0 comment