
- Use a scanner for the sharpest and most detailed results.
- If you don't have a scanner, you can use a newer smartphone and an app to digitize older paper photos.
- Use your digital camera if you have the right equipment to take professional-quality pictures.
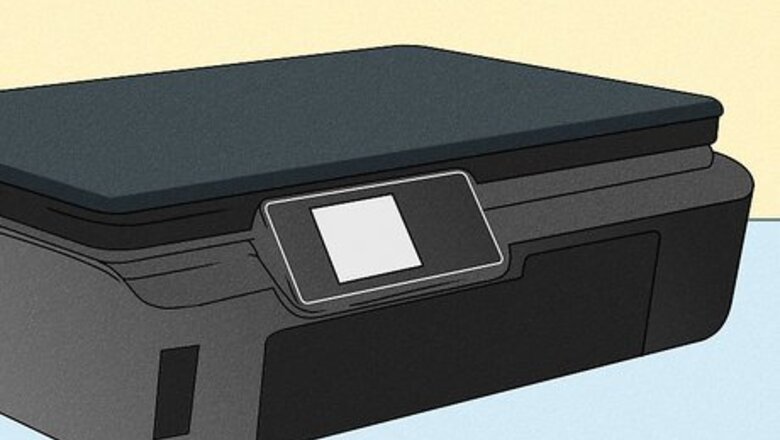
Using a Scanner
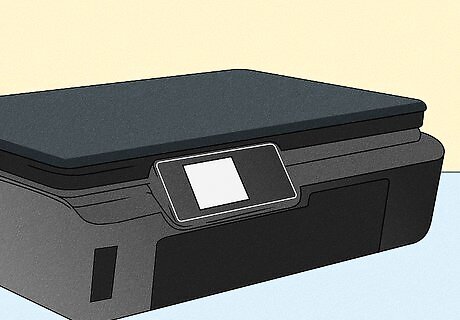
Using your own scanner will save you money. You can scan photos with any scanner you have at home, or you can buy one for cheap at any electronics retailer. If you're faced with a question of DPI, set it to 200-300 DPI so the quality remains good if you share the digitized picture on social media. Use greyscale if it's available on your scanner for any black-and-white photos. A color scan might pick up other colors, like staining on the photo. You can put as many pictures on the scanner's glass as you'd like, and then you can use editing software to crop the image so you have each image saved separately. Scanning multiple pictures at once can make the process faster. You can pay for specialized equipment if your old photos are in the form of small negatives. There are scanners from Kodak that offer to digitize any film photos.
Using an App with Your Smartphone
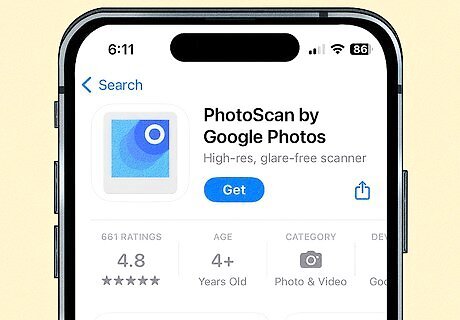
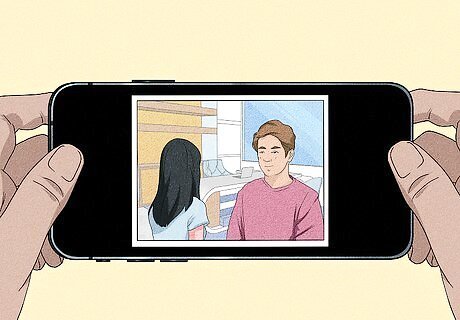
Use the camera in your Android, iPhone, or iPad to digitize your photos. The cameras on newer phones are higher quality, so they can work and are the most convenient option (if you don't have a scanner)! Just use an app dedicated to digitizing old photos and you're good to go! Some of the best apps include: Google PhotoScan: You'll want to use this if you already use Google Photos since every image you take a photo of with this app is also immediately backed up to the cloud. This app is also free, but you have to take pictures of all your old photos individually, which can take some time. With this app, you'll take multiple pictures of a single old photo, and the app will stitch your images together to create a high-quality image. Google PhotoScan is your best bet if you have very few old pictures to scan and good lighting. Microsoft Lens: Although mostly used to scan documents and business cards, this app is also capable of digitizing old photos. All you need to do is change the menu slider to Photo, line up your old photo in the viewfinder, and tap the "Scan" button. This may take a while if you have a lot of old photos to digitize since you have to scan each image individually, but the app has the option to save your digitized photos in OneDrive. Microsoft Lens is the next best option if you don't want to use Google PhotoScan.
Using a Digital Camera
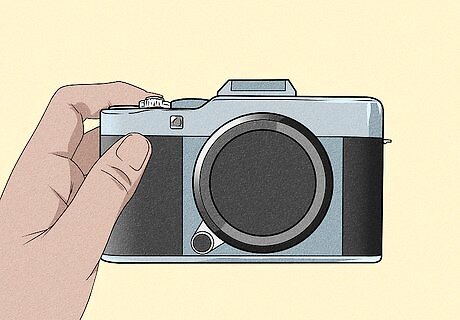
Use a digital camera to take pictures of old photos. If you're a camera aficionado, you most likely have the equipment for an ideal photo shoot with old photos. This means you probably already have a tripod, boom arm, and a high-quality camera with glass lenses and mirrorless technology. Set up the tripod so your camera lens is perpendicular to your photos for the sharpest shots. Use an inverted center column or a boom arm so your camera can hover directly over the photos. You want to use a tripod to eliminate any shaking, which causes blurriness. You'll also need a firm grip on color theory so you can use the right filters to account for certain colors, like using a CPL filter for glossy photos. Pay attention to lighting as well. You want a soft light that will best illuminate your pictures, not a harsh light. Use the self-timer on the camera or the remote shutter button to capture images. Pressing the shutter button on the camera can cause it to shake, which introduces blurriness to your pictures. If you're trying to take pictures of curling photos, you can use clear glass from a picture frame to flatten the curled edges as you take a picture of it. The glass will be invisible to the camera!
Using a Professional Service
You'll get the best results with a professional service, but you'll pay more. Services, like those offered by Kodiak, send you a box that you fill with old photos/films/recordings that you want to digitize, then send back. After a few weeks, you'll get back a CD or flash drive containing the digital prints of your paper ones! This process is different between each servicer, but you can expect to pay a premium to have professionals digitize your old photos.
Tips for Digitizing Old Photos
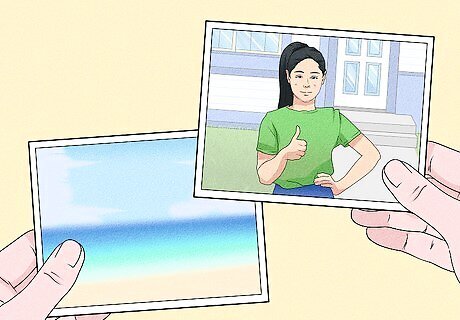
Organize them first! Before you start scanning or taking pictures, it's best if you organize them. You can pull out important photos that you want to digitize sooner rather than later, or you can decide not to digitize photos that are bloopers (like someone had their finger over part of the lens). Sorting all your photos lets you take stock of the job you're about to do, like how much or how little there is. You can also spot any duplicates or pictures not worth digitizing (a blurry picture of grass is most likely just an accidental picture).
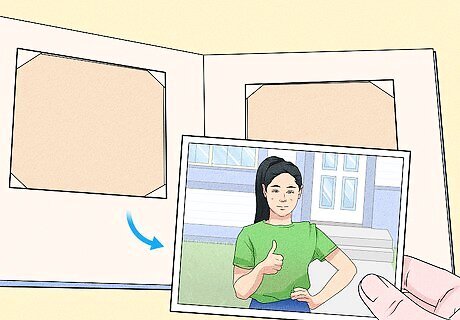
Remove them from albums or frames. Although it might be tempting to save time and take the pictures in a physical photo album, but those surfaces are shiny and will most likely create reflections that render your photo useless. You'll have to take extra time to remove the photo and re-scan or re-capture the picture.
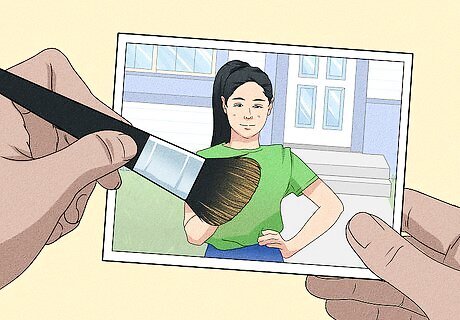
Clean your old pictures. Your old pictures most likely have dust on them, and that can impair the digitizing process. Use a soft brush or compressed air to get rid of any dust, or try a lint-free cloth. Never use water or any cleaning solutions since they have a chance to ruin your photo.
Use a plain background (if you're using a camera or your phone). Many editing apps that you'll use can pick up your photo better if you have a plain background, so something like a solid sheet or piece of paper will work.
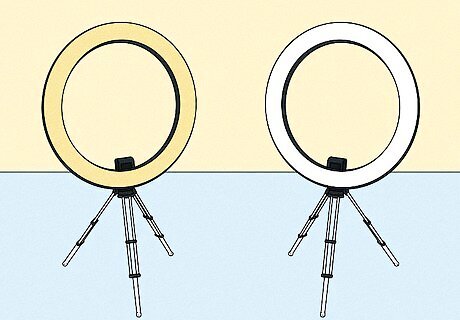
Try to make sure you have lots of natural lighting. Soft light is what you want, and most lights around your house will not produce the soft lighting that a cloudy day emanates. White ring lights are great at producing soft light artificially if you can't get natural light.
Positioning is important. If you're not using a scanner, try to have your camera lens perpendicular to your photo. In other words, be directly above your photo. You also want to be as close as possible without missing corners of the photo. Being closer and directly above the photo means that your digital pictures will be sharper and contain more detail.
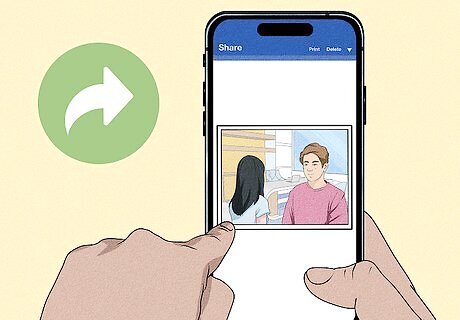
Share them. After you digitize old paper photos, chances are that your relatives or people in those photos will want to see them as well! Since they are digital, you can easily share them via social media.
Show them off. Once your photos are digital, you can put them in a digital photo frame so you can see them all the time. If you need to, easily resize your pictures using online tools.


Comments
0 comment