views
Learning to Map
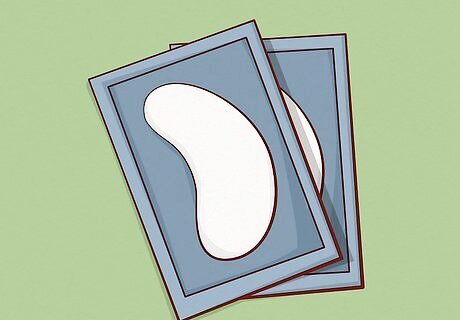
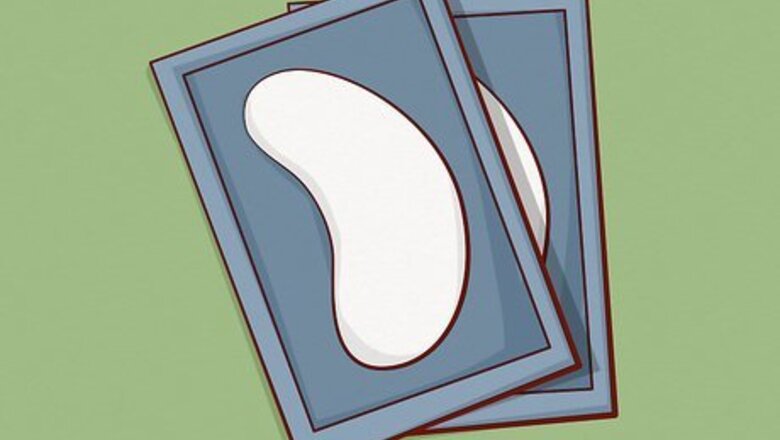
Purchase a set of gel pads meant specifically for eyelash mapping. Have your client lay down and close their eyes. Place the pad right under their eyes, in the lower lash area. If you are not confident in your abilities, use a mannequin head instead; make sure that it has lashes. You can also place the pad down onto a strip of paper or even a plastic mask.

Get a red pen. If you can't find a red pen, try another unnatural color, such as bright blue, pink, green, or even purple. Do not use black, as the client's lashes will get lost in them.
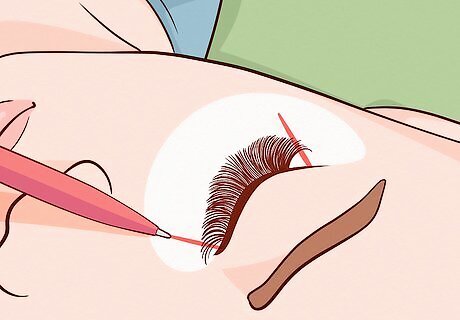
Draw angled lines radiating from the inner and outer corners of the eye. Try to match these lines to the angles of the client's lashes. If you are practicing on a piece of paper, draw a faux lash line first. The length of the lines does not matter, as long as it is longer than the client's lashes. These are your frame. You will be creating the map within these 2 lines. Press lightly, especially if you are working on a client.
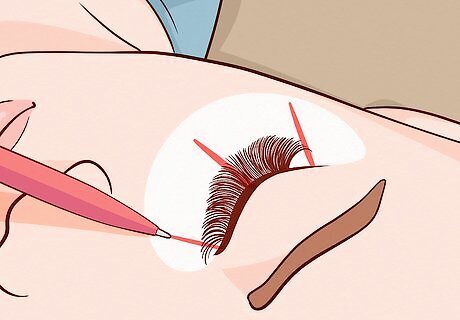
Draw a vertical line down the middle. Find the center of the client's lash line. Draw a vertical line going from that point towards the edge of the pad. Again, the length of the line does not matter. One side of the line will be referred to as the "inner eye," and the other side of the line will be the "outer eye."
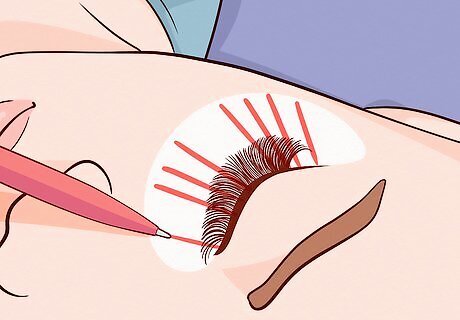
Divide the map up further into smaller segments. Plan on having 3 segments towards the inner eye, and 4 segments towards the outer eye. Keep these lines straight and angled; they need to match the natural angle of the client's lashes. Play around with different widths. Put the widest segment in the middle. Put the narrowest segments in the outer eye area. Keep the medium segments in the inner eye area.
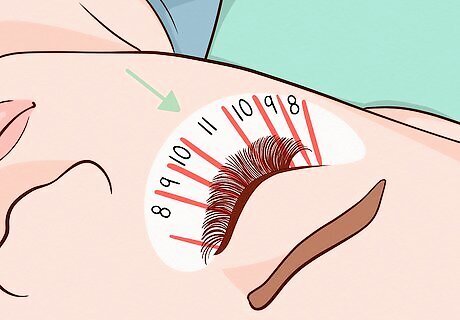
Number the segments based the client's lash length in millimeters. Write the numbers right inside each segment, starting from the inner corner and finishing at the outer. Match the first and last segments to the person's natural lashes, then increase the numbers by increments of 1 as you go towards the middle. When you reach the middle, decrease them by 1. Your lash sample might look like this: 8, 9, 10, 11, 11, 10, and 9. Another example might look like this: 8, 9, 10, 11, 10, 9, and 8.
Refining the Look
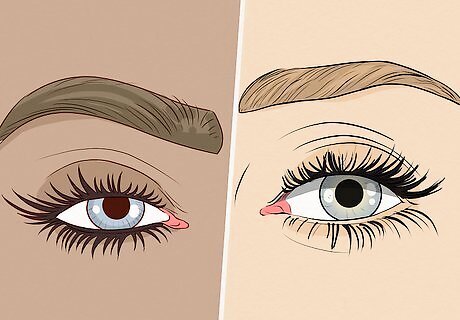
Understand that each client will be unique. There is no one-size-fits-all when it comes to lashes. Most close-set eye shapes will benefit from a cat-eye effect, meaning the lashes get longer toward the outer corner. Wide-set eyes will look better with a doll-eye effect in which the lashes are long in the center and are feathery rather than dense. There are always exceptions, however, and you should also take into consideration what the client wants. The client is not always right, and sometimes, he or she may request a look that will not look good on them. In these cases, you will need to compromise. To learn more about choosing the right lashes based on eye shape, go to https://www.elleuk.com/beauty/make-up/articles/g31448/best-false-eyelashes-for-every-eye-shape/.
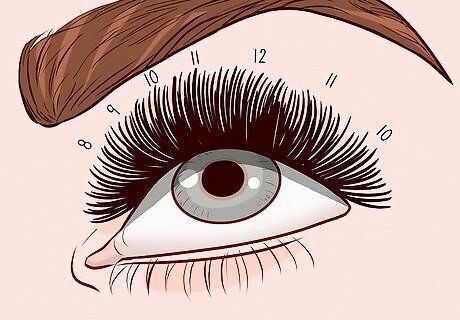
Use different placement of lash length to your advantage. There is no one-size-fits-all when it comes to lash designs. Even though most designs will be longer in the middle segments, sometimes, you will have to make them longer in the outer segments to suit your client's unique eye shape. For example: Adding longer lashes to the outer corners will create a cat-eye effect and help widen close-set eyes. Adding longer eyelashes in the middle will create a doll-eye effect and help close up wide-set eyes. A combination of shorter lengths and a cat-eye effect will help round or protruding eyes appear less-prominent.
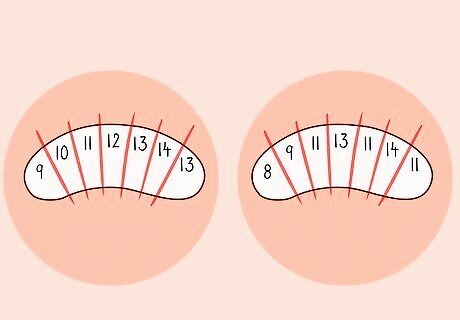
Play around with different widths for the segments. Some clients will need equal-sized segments all along the lash strip. Other clients will look better if the segments vary in widths. For example, you could have narrow segments on the outer corners, medium segments on the inner, and wide segments in the middle.
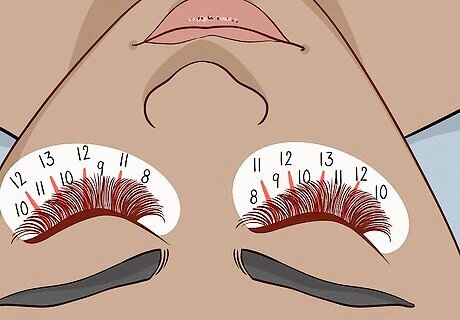
Consider adding some longer lashes between each segment. Instead of just numbering the segments, number the lines themselves as well. This way, you'll be adding a few longer lashes between each segment. For example, if your lash strip looks like: 8, 9, 10, 11, 10, you could put an 11, 12, 13, and 12 between each segment.
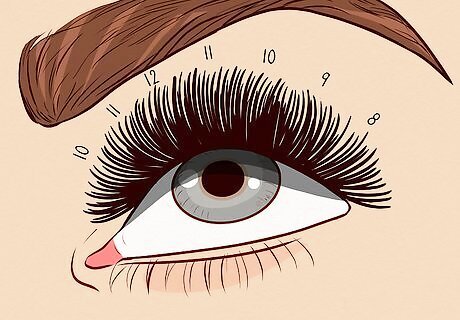
Avoid going too long with the lash lengths. The first and last set of lashes should be close to the client's natural lash length. Shorter lengths will make your client's lashes look fuller. For most people, 11 mm is the longest lash used, but some clients can use 12 and 13 mm lengths. Only use 12 and 13 mm lashes if your client's natural lashes can handle the weight and if the look suits them.
Applying the Lashes
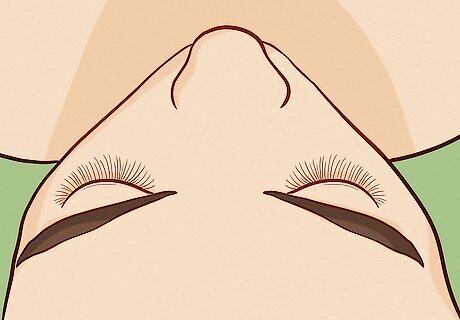
Ask your client to lay down and lower their lashes. You can also have them sit in a recliner chair. Make sure that they are comfortable, however, and that their eyes are closed.
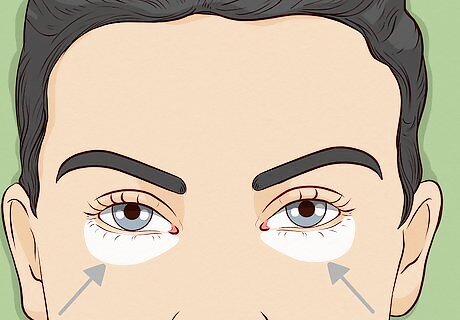
Apply the gel pads to their under eye area. Make sure that you are placing the left pad under the left eye, and the right pad under the right eye.
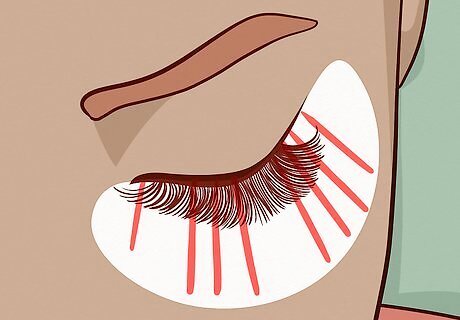
Draw your lash map onto the gel pad using a red pen. Alternatively, you can buy a pre-printed map instead, but keep in mind that it may not suit your client. If the pre-made map doesn't fit your client, you may have to adjust it.
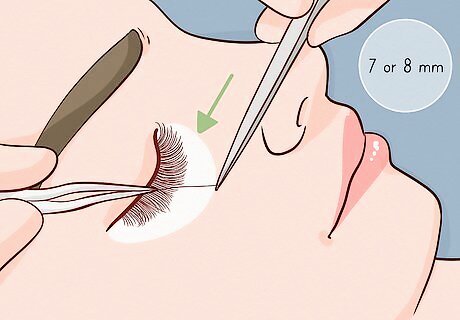
Fill up your first section, starting at the inner corner. For most people, this will be either 7 or 8 mm. It depends on the client and their unique eye shape and natural lash length. Do not apply any extensions to the first 2 lashes on the inner corner. These lashes are very delicate, and cannot handle the weight from extensions.
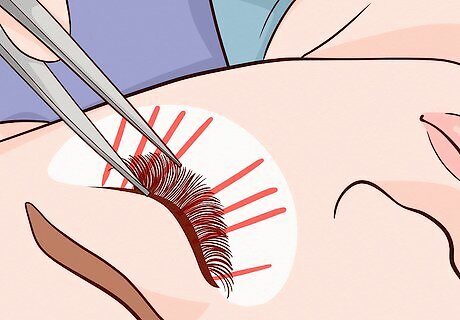
Fill in the next section and the gradation. If you started with 7 mm lashes, alternate between 7 and 8 mm lashes when transitioning to the longer section. This is known as gradating, and it will help create a smoother transition.Then, fill in the entire 8 mm section with the rest of your 8 mm lashes.
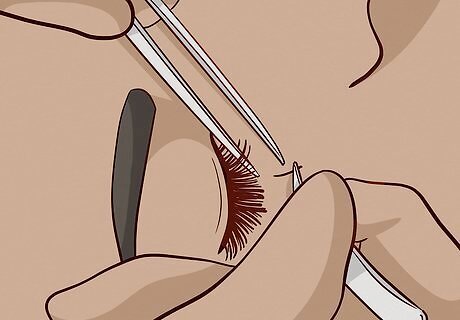
Continue filling in the lash strip. Always add a few lashes from the previous section into the beginning of the next section. You don't need to add the exact same number of lashes when you are gradating. If you have a very narrow section, you may only need a few lashes; if you have a wider section, then you will need more. If you don't gradate the lashes, you will end up with a jagged look.






Comments
0 comment