
Creating Box Corners on Finished Items
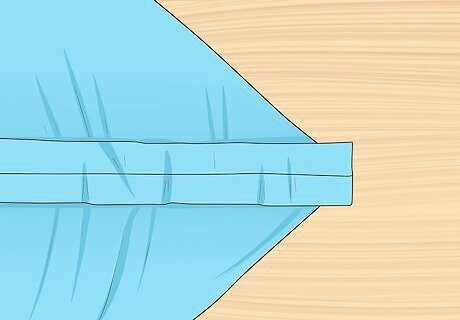
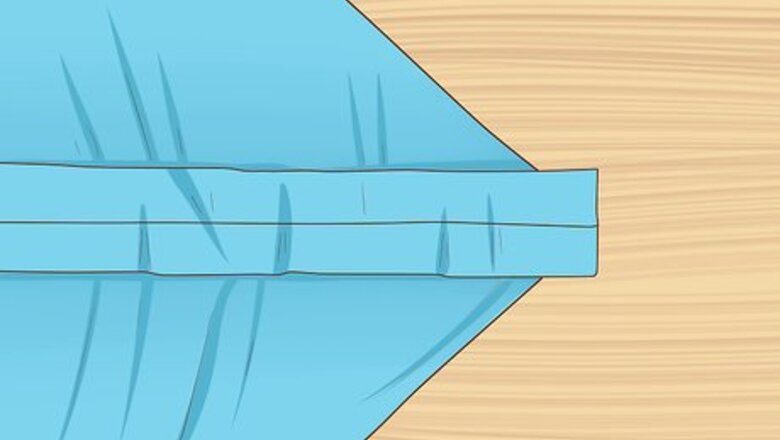
Pull the fabric apart at 1 of the corners to form a triangle. Identify where you want to add a box corner. Then, grasp the fabric on both sides of the corner. Pull the fabric apart to open up the fabric in this corner, as if you are making a teepee with the fabric. This will form a triangle with the seam going down the center. Do not worry about the other corners of the fabric. Focus on 1 at a time! Try using this technique for adding box corners to a finished purse or pillowcase.
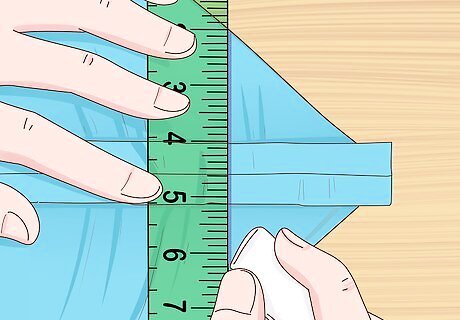
Draw a line going across the bottom of the triangle of fabric. Use a piece of chalk and a ruler to create a line going across the bottom of the triangle. Measure from the tip of the triangle to find where you want it to be. Keep in mind that the base of the triangle will be the width of the box corner. For example, if the triangle’s base is 3 in (7.6 cm) wide, then this is how wide the box corner will be.
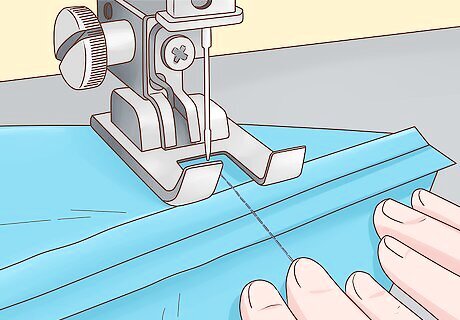
Sew a straight stitch across the line. Set your sewing machine to the straight stitch setting. Then, sew along the line you have drawn onto the fabric. Press down on the reverse lever in the side of your machine to backstitch by 1 in (2.5 cm) when you get to the end. Then, sew forward again to finish the seam. Repeat to create box corners on other corners of the item. Cut the excess thread after you finish sewing.Wondering if an item would look better with box corners? Use safety pins to secure the corners before you sew! If you like the way it looks, then add box corners to the item.
Adding Box Corners to Raw Fabric

Measure the length, height, and width of the surface. Use a measuring tape to find the dimensions of the item you want to cover. Write down these dimensions. This will allow you to create a custom sized cover for the item, such a for a tablecloth or fitted sheet.
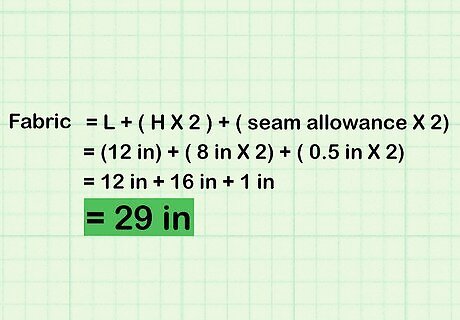
Add the length to the height and 2x the desired seam allowance. Use a calculator to ensure that you get an accurate result. This will give you the length you need to cut out of your fabric. Label your result as the fabric length. For example, if the length of your item is 12 in (30 cm) and the height is 8 in (20 cm), then your first total will be 20 in (51 cm). If you want a 0.5 in (1.3 cm) seam allowance, then double this and add it to your total for a result of 21 in (53 cm).

Add the width to the height and 2x the desired seam allowance. Use a calculator for accuracy. Make sure to write down your result. Label this result as the fabric’s width. For example, if the width of your item is 6 in (15 cm) and the height is 8 in (20 cm), then your first total will be 14 in (36 cm). If you want a 0.5 in (1.3 cm) seam allowance, then double this and add it to your total for a result of 15 in (38 cm).
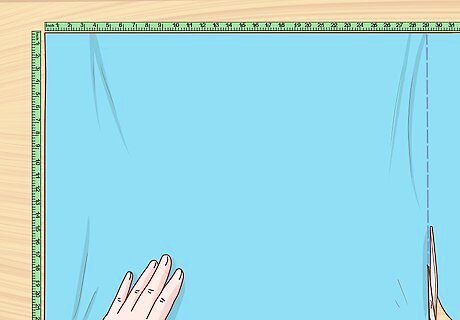
Measure and cut the fabric to the required length and width. Use your calculations to find the required dimensions of the fabric. Then, mark the fabric to these dimensions and cut it using a sharp pair of scissors. For example, if you determined that the length of your fabric should be 21 in (53 cm) and the width should be 15 in (38 cm), then measure your fabric, mark it to indicate the measurements, and cut.

Hem the edges of the fabric for your desired seam allowance. Use the same seam allowance that you included to calculate the dimensions of your fabric. Then, lay the fabric with the wrong (back) side facing up. Fold over the edges of the fabric and sew a straight stitch to secure the fold. For example, if you used 0.5 in (1.3 cm) as your seam allowance, then fold the fabric over by 0.5 in (1.3 cm) and sew to secure it.

Cut out a square the size of the surface height plus the seam allowance. Use the same height measurement that you used to calculate the length and width of your fabric. Then, add your seam allowance to it. Cut out a square that measures these dimensions in each of the corners of your item. For example, if your item’s surface height is 8 in (20 cm) and the seam allowance is 0.5 in (1.3 cm), then the square you cut out of each corner will need to be 8.5 by 8.5 in (22 by 22 cm). To create a box bottom on a bag or stuffed toy, cut out a square of fabric that is half the width that you want the bottom to measure. For example, to create a 4 in (10 cm) wide bottom on a bag, cut out a square that measures 2 in (5.1 cm).
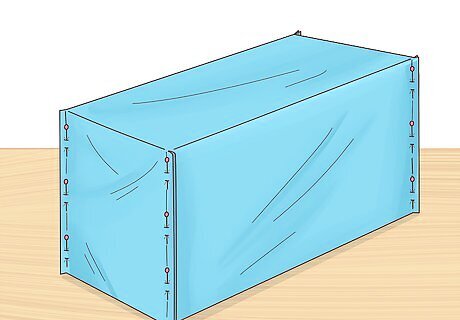
Pin the raw edges together with the front sides facing in. Once you have finished cutting out the corners, pin the raw edges so that the right (front) sides of the fabric are facing each other. Line up the edges so that they are even. Insert a pin every 2 in (5.1 cm) along the raw edges of the fabric. Arrange the pins so that they are perpendicular to the raw edges to make it easier to pull them out as you sew.

Sew a straight stitch along the pinned edges of the corners. Use the seam allowance to determine how far to sew from the raw edges of the corner. Then, sew a straight stitch from 1 end of the corner to the other to secure the edges together. Press the reverse lever to backstitch by 1 in (2.5 cm) when you get to the end. Then, sew to the end again to finish the seam. For example, if the seam allowance is 0.5 in (1.3 cm), then sew 0.5 in (1.3 cm) from the raw edges. Cut the excess threads after you finish sewing.Tip: If you want the item to lay flat, add mitered corners to your item instead. This type of corner will give your pillowcase, curtains, or napkins a neat finish without adding depth to the item.


Comments
0 comment