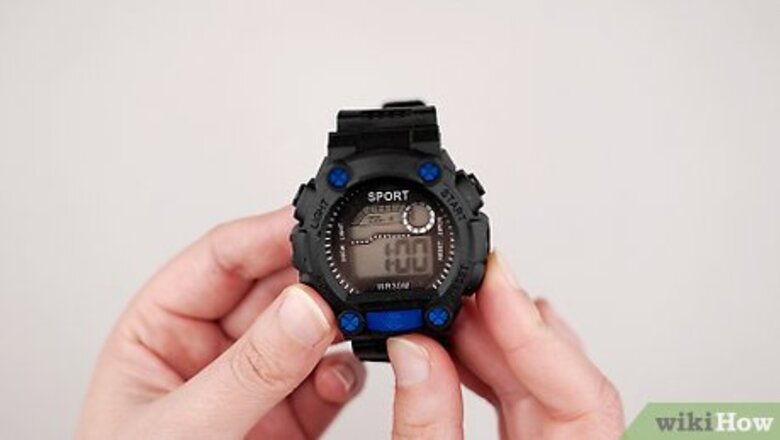
views
- Use the "Mode" buttons to cycle through the various watch modes, like the stopwatch, time mode, and alarm.
- If a number is blinking, you’ve selected it and can make adjustments using the "Start/Stop" and "Set/Reset" buttons to move the numbers up or down.
- Watch manufacturers publish their manuals online. Search for your particular brand and model’s manual to find any specific instructions for your watch.
Changing the Time
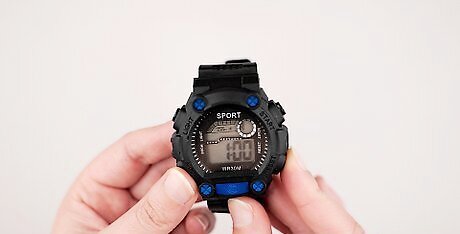
Read the labels on the 4 buttons on your watch. If you can’t look up a manual right now, you can probably figure out how to change the time with some simple guidance and trial and error. The vast majority of digital watches work more or less the same way. There are four buttons on the watch and they are: Mode: This button typically cycles between a stopwatch mode, alarm, time, and other functionalities. Set or Reset: On some watches this is also the “lap” button if you have a stopwatch function. This button usually confirms settings or resets stopwatches/alarms. Start/Stop: This button starts or stops timekeeping in stopwatch mode. It often switches between values when you’re setting the time, as well. Light: Pressing this will illuminate the screen so that you can more clearly read the time.
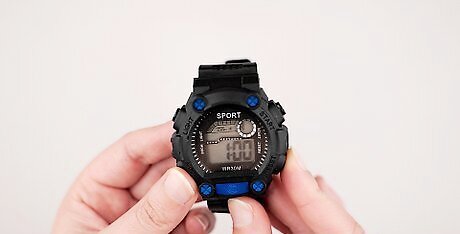
Press the “Mode” button or hold it down until the time flashes. The minutes or hours of most digital watches blink when you're in the time setting mode. On some watches, you can change the time by getting to the time-change mode. On others, you have to hold the mode button down for 3-5 seconds to get to change the time. If holding and cycling through the mode button doesn’t work, try pressing down the “Set” button instead. If your watch only has two buttons, one of them typically changes the mode and the other advances settings and moves numbers up or down. Generally, only one unit (minutes, hours, date) will blink at a time. Some watches may indicate option selection differently, like with an underline or box. It’s okay to experiment and push buttons to see how they affect the watch's display. It’s extremely unlikely you’ll get so lost in the menus that you won’t be able to get back to the time.
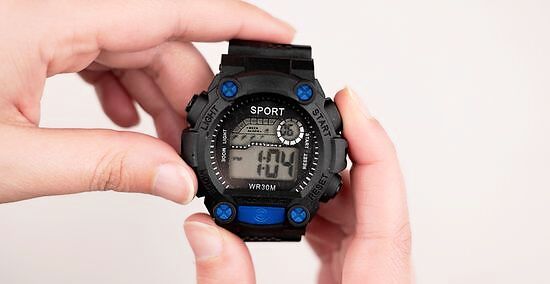
Use the “Start/Stop” button to change the individual numbers. Once you get the minutes or hours flashing, press the “Start/Stop” button to move the numbers up (sometimes the “Start/Stop” and “Light” button will work as up/down buttons on the right side). Continue cycling through the numbers until you’ve got the proper time. Press “Mode” when you’re done to leave the time-setting mode. If the “Start/Stop” button doesn’t change the time, try using the “Set” or “Reset” button to see if that works.

Press the “Set” button to enter the time setting mode when applicable. If your watch only has a “Set” button, you may only need to press this to enter the time setting mode. Other watches may require you to use the “Mode” button to enter the time setting mode and the “Set” button to finalize the time.
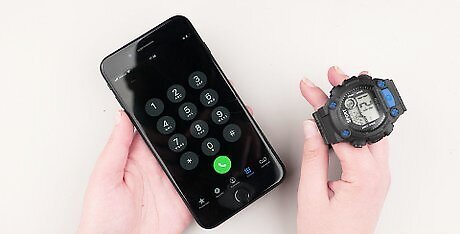
Look up the user manual online if you're still struggling to set the time. Nearly every manufacturer provides manuals online. Type in your watch’s brand in a search bar followed by any serial number or model number on the back. If there isn’t a serial or model number, describe your watch and sort through photos until you find your watch’s model. Open the manual online and follow the instructions for setting the time. If a digital manual is impossible to find, call the manufacturer’s customer support number. They’ll be able to help you. Model and brand information are usually written or engraved on the back of the watch or somewhere on the watch face.
Additional Settings
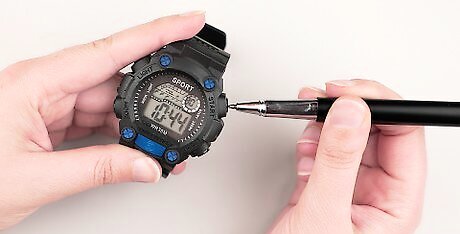
Use a pen to change the mode on models with a recessed push button. Simple watches often have a single, small, recessed button for modifying settings. Use a pen to poke into the recessed area and change the mode of your watch. If your watch has a recessed button and another button, the recessed one is most likely for switching modes and the other for tweaking settings. Avoid using a pencil to press recessed buttons. If the tip of the pencil breaks off in the hole, it may jam the button, making it impossible to set.
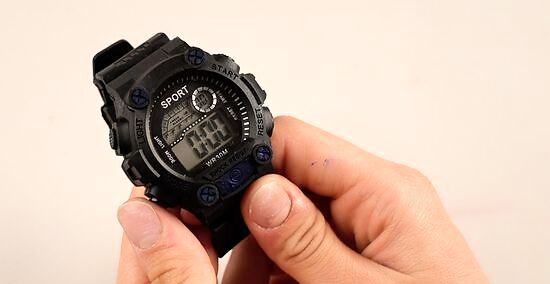
Press the “Mode” button to switch from 12-hour time to military. Most digital watches have the capacity to display 24-hour military time. On most watches, you can alter this setting by pressing “Mode” repeatedly until you find the 24-hour setting.
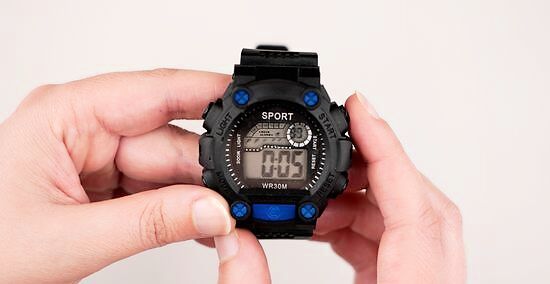
Alter other settings, like the date and day of the week. The typical order for mode options is: minutes, hours, AM/PM, date, and day of the week. Move through these options by pressing the “Mode” button until you get to your preferred setting. Then, modify the selected setting with the advance button, which is usually the “Start/Stop” button. Some watches may have specific button combinations for certain settings. For example, you may have to hold down a button for a few seconds to set an alarm.
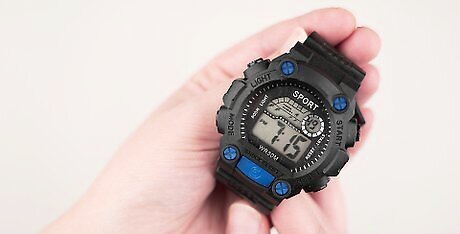
Exit any screen by returning to normal mode with the “Mode” button. When all your settings look good, press the “Set” button to finalize the time and return to normal mode. If your watch doesn't have a “Set” button, click the “Mode” button until no settings are blinking/highlighted.
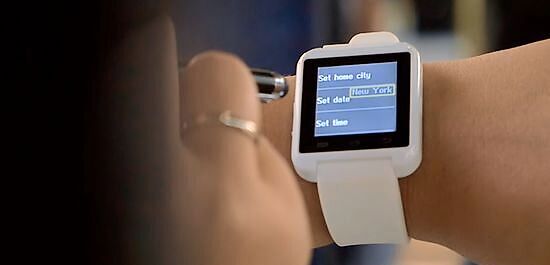
Use the touchscreen to set the time on a smart watch. If you want to adjust an Apple Watch or some other digital smart watch, the buttons on the sides normally cycle between screens or turn the watch on. Click the “Settings” option and sort through the menu choices until you find the option to change the time.


Comments
0 comment