
views
- To save a Word Document from iPhone or iPad, click "Save", "Files App", then "iCloud Drive".
- To sync a document on a Mac, make sure your iCloud is connected and able to sync "Desktop & Documents Folders".
- When using the web, navigate to the iCloud website and manually upload your files by clicking the cloud icon.
Using iPhone or iPad

Open the Microsoft Word app on your phone or tablet. It's the multi-toned blue icon with a "W" on your home screen or app library.
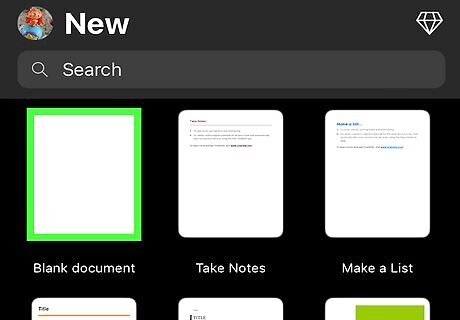
Open a file. You can create a new file by selecting a template or the Blank document option, or tap the folder at the bottom-right to browse and select one from your phone/tablet or cloud drive.

Tap the three dot menu ••• . It's the three horizontal dots at the top-right corner.
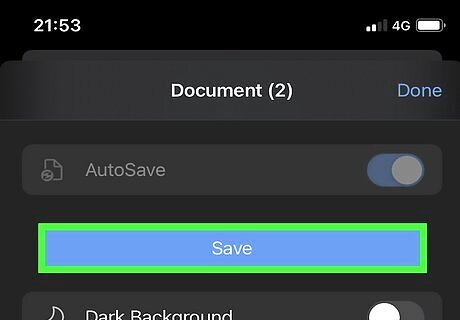
Tap the blue Save button. It's toward the top of the menu.
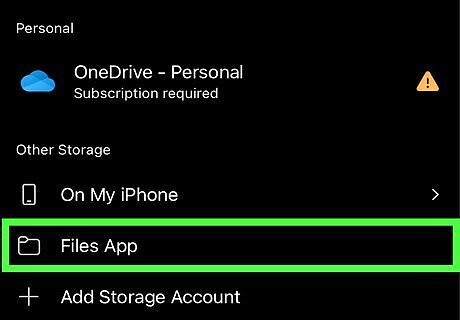
Tap Files App. This will be underneath the Other Storage header. You can also rename the file at the top if needed.

Tap iCloud Drive. This is under the Locations header. If you don't see this option, tap the back arrow until you get to the Browse screen.
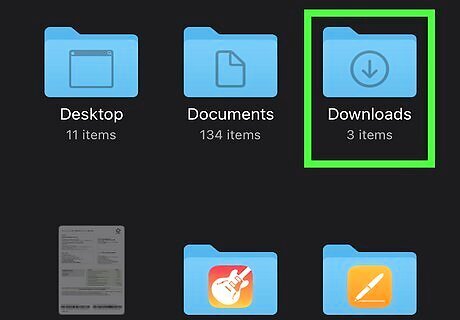
Select or create a folder. If you just want to save the file in the main area of your iCloud Drive, skip this step.
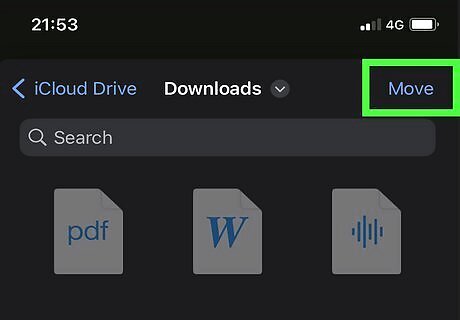
Tap Move. It's at the top-right corner. This saves the file to your iCloud Drive. If you were working on an existing file, this moves the file to that location.
Using Mac
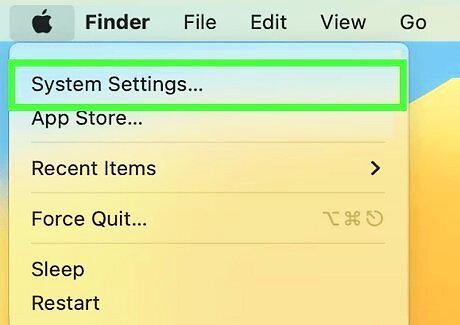
Open your System Settings. You'll find this option in the Apple menu at the top-left corner of the screen. On Mac Monterey and older, this will be System Preferences. If you've already set up iCloud to sync your Documents from your Mac, simply saving your Word document to your Documents folder will copy it to iCloud. If you haven't set this up or you're not sure, read on.
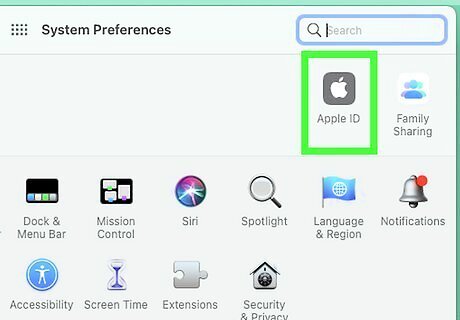
Click Apple ID. It's the gray apple icon toward the top of the window.
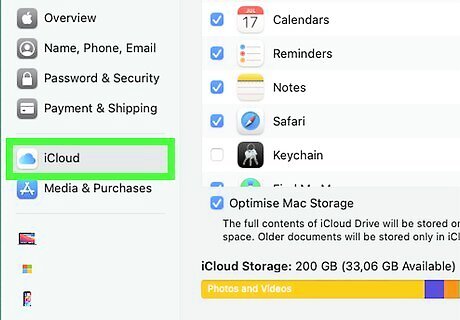
Click iCloud. You can find this in the left sidebar.
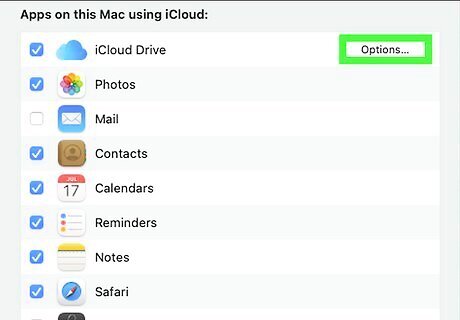
Click Options. This is next to iCloud Drive. If you don't see this, make sure iCloud is enabled.
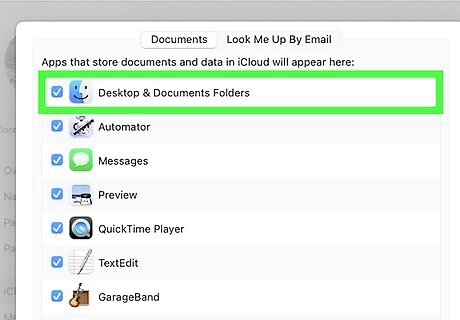
Select Desktop & Documents. You can also manage other file types and folders that are already synced to iCloud by toggling their corresponding checkboxes.
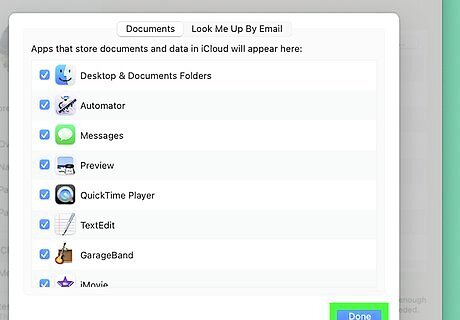
Click Done. It's at the bottom-right corner of the window. Now your Mac is set up to upload files from your Documents folder to iCloud automatically.

Open the file you want to save in Microsoft Word. You can usually do this by double-clicking the file's name in Finder or on your desktop.
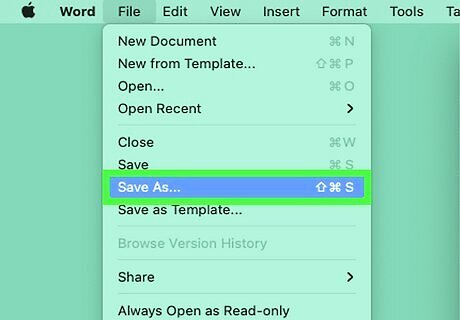
Press ⌘ Cmd+⇧ Shift+s at the same time. This opens the Save As menu. You can also get here by clicking the File menu at the top of the screen and selecting Save As.
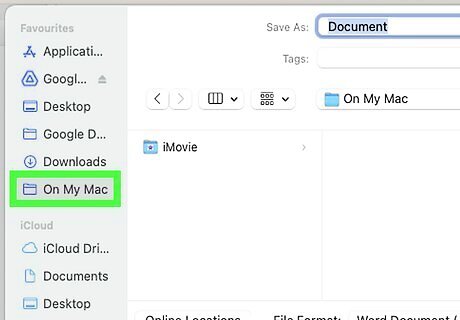
Select your Documents folder from the "Where" menu. If you don't see the files on your Mac by default, click the On My Mac button to get there.
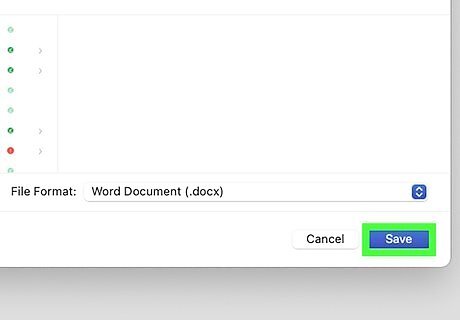
Click Save. The file will be saved to iCloud.
Using iCloud.com (PC or Mac)
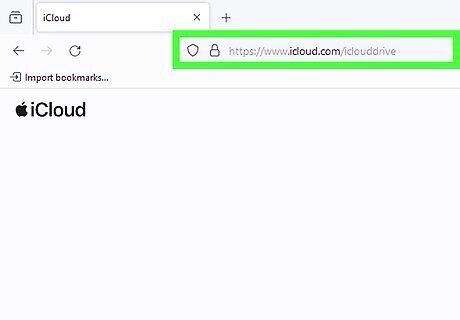
Go to https://icloud.com/iclouddrive in a web browser. If you're already signed in, you'll see the contents of your iCloud Drive. You can use this website to upload files to iCloud from anywhere. If you're not signed in, enter your Apple ID, click the arrow, and follow the on-screen instructions to sign in now.

Click the Upload icon. It's the outline of a cloud with an arrow pointing upward, and you'll find it at the top of the page.
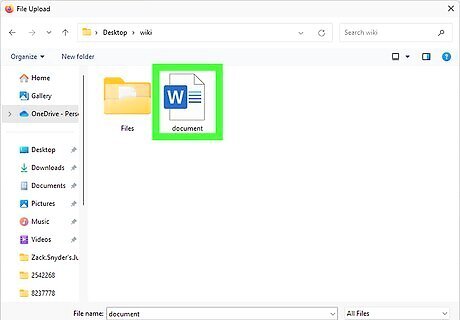
Find your Word document and select it. Documents are usually saved to your Documents folder. If you want to upload an entire folder, drag and drop the folder into iCloud.
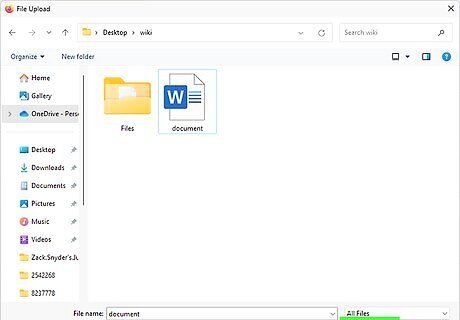
Click Open. This uploads the document to iCloud. Be sure to sign out when you're finished.


Comments
0 comment