views
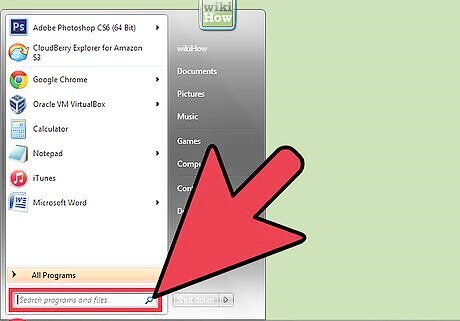
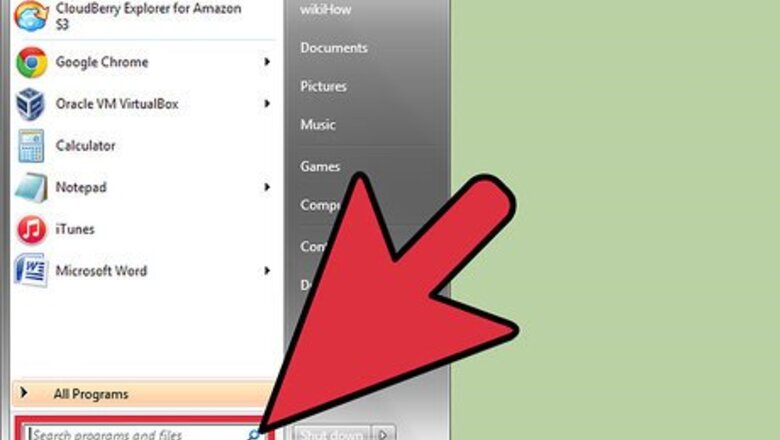
Locate the OCX file you want to register. Go directly to your file if you know where it's stored on your computer, or use the Windows search feature. Search in Windows XP by clicking on the Start menu, then clicking on "Search." When the Search Companion dialog box appears, click on "All Files and Folders." Type in your search criteria and click on "Search." Search in Windows 7 by clicking on the Start menu (Windows logo) in the bottom left. When the pop-up window appears, type your search criteria in the field on the very bottom and click on the magnifying glass on its right to begin your search.
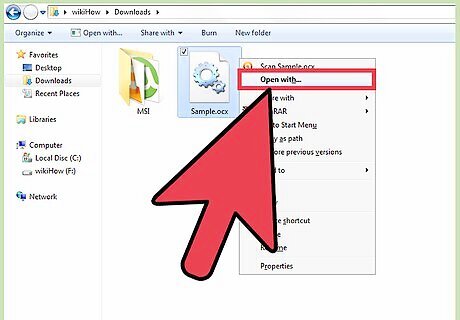
Select the OCX file you want to register. Hold down the Shift key on your keyboard and right-click directly on the OCX file. When the pop-up menu window appears, click on "Open With."
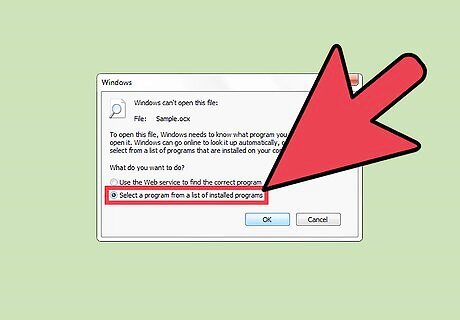
Click on "Select the Program from a list" in the new pop-up window that appears, then click "OK." In the next dialog box that appears, click on "Browse."
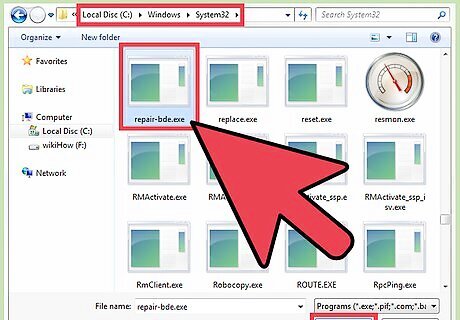
Locate the RegSvr32.exe file. Navigate to and open the Windows folder, then open the System32 folder. Select the file named RegSvr32.exe by clicking on it, then click on "OK." You will then see a confirmation pop-up window saying that the OCX file was successfully registered.
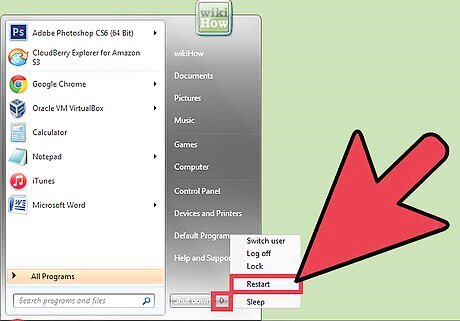
Restart your computer and retry the registration process if you see an error message appear after registering the OCX file.




Comments
0 comment