views
Placing a Privacy Film
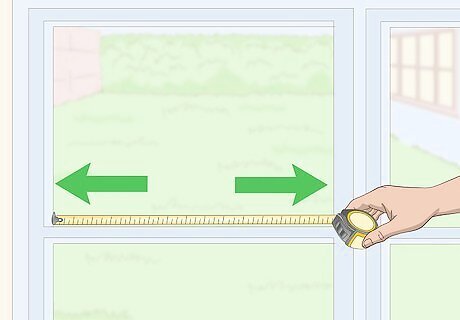
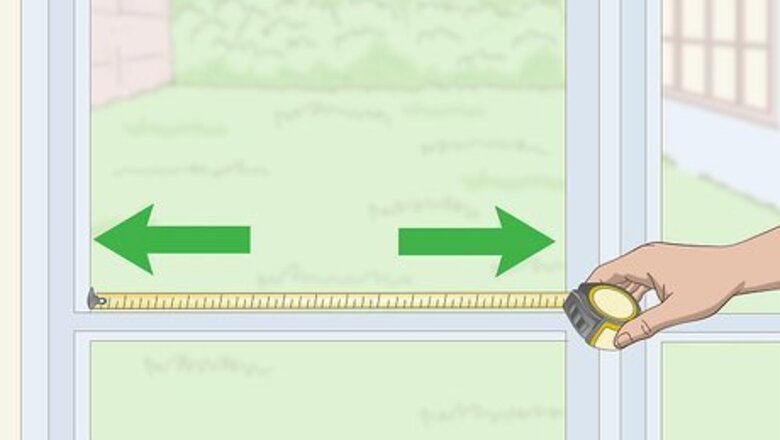
Use a tape measure to figure out the glass’ length and width. Measure the outside edges of the glass, not the frame around it. Privacy film fits directly over the glass, so you only need to know the dimensions of the glass itself. Be generous with your measurements. You can always trim a large piece of film down to size, but you can’t restore a small piece after you cut it.
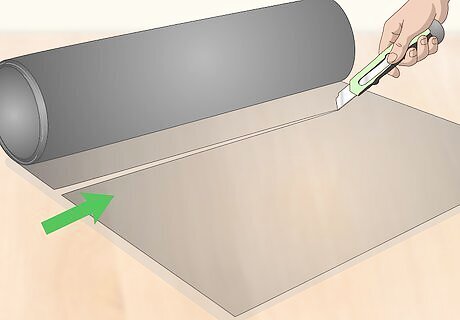
Cut the film with a utility knife or scissors. The cut film needs to be the same size as your window. To do this, use your window measurements to determine how much film you need to cut. Lay the film on a flat surface, then trim the square of film needed to cover the window. Privacy film comes in inexpensive rolls. It is an easy way to obscure a window without blocking out light the way curtains do. Film rolls can be found online and at many home improvement stores. Privacy film comes in a variety of colors and patterns you can use to customize your windows to match your room decor.
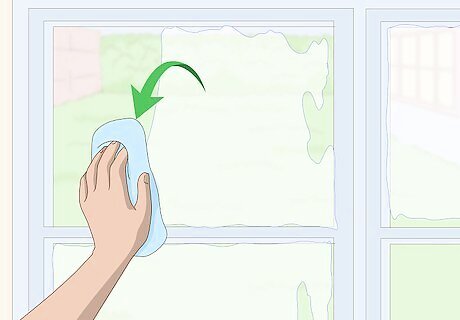
Wash the glass with water and a lint-free cloth. Any debris on the window must be removed before the film is installed. Warm water is enough to scrub off most dirt and dust. If you encounter stubborn debris like glue, remove it with a razor glass scraper. When you’re done, dry the glass completely. For extra cleaning power, mix 1 teaspoon (4.9 mL) of liquid dish detergent or baby shampoo into the water. Commercial glass cleaning products aren’t necessary and the chemicals may interfere with the privacy film’s ability to stick to the glass. If you choose to use glass cleaner, rinse the glass off with clean water afterwards to wash away any remaining chemicals.
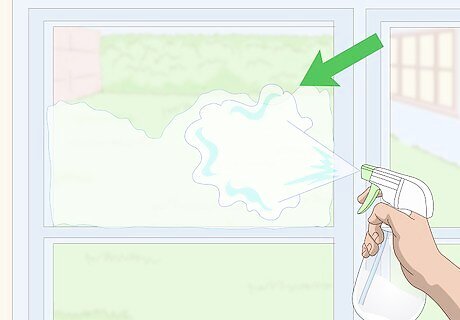
Spray the window with clean water. Load water into a spray bottle, then mist the glass to dampen it. A light coat of water prevents the film from clinging to the glass, giving you more opportunity to fit it properly. If water streaks down the glass, dry it off with paper towels, then mist it again. You don’t need to saturate the film with water.
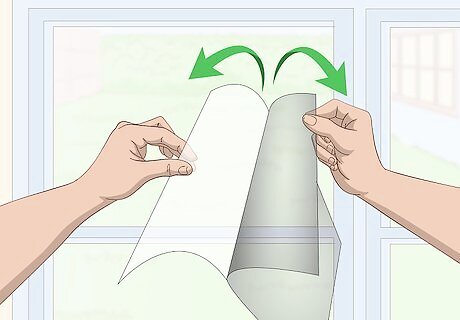
Peel the adhesive backing off the film before sticking it to the glass. Privacy film is basically a sticker, so you don’t need glue. Throw away the backing and fit the film over the glass. Align the film’s top edges with the top end of the glass, then do the same for the sides and bottom. Press the film as flat as you can from top to bottom to stick it to the window. Trim the sides of the film as needed to get it to lay flat against the edges of the window frame.
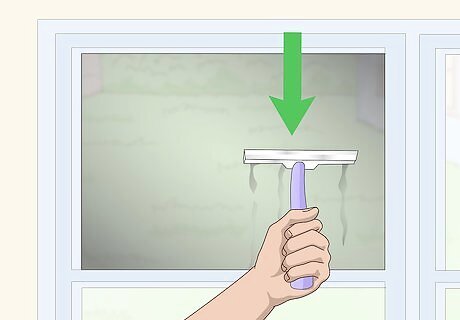
Smooth out the film with a squeegee. Start in the middle of the glass and work towards the edges. Push the squeegee towards the window frame to push out any air bubbles underneath the film. Then, move the squeegee back to the center and continue doing this until the entire film is flat against the window pane. If you have trouble moving the squeegee over the film, mist the film with more water. If you don’t have a squeegee, you can use a flat, solid object like a credit card.
Painting a Frosted Coating
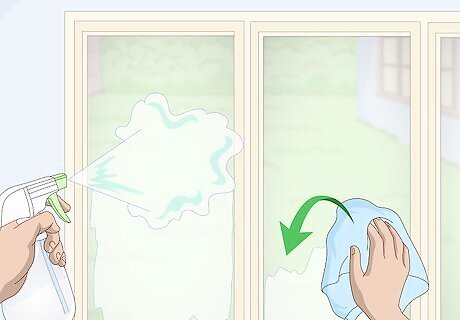
Clean the glass with warm water and a lint-free cloth. Scrub off any dirt and debris on the glass. To treat stuck debris like dirt, mix 1 teaspoon (4.9 mL) of liquid dish detergent into the water. Use a razor glass scraper to cut through anything you cannot remove by washing alone. Dry the glass when you’re done. If you use a glass cleaner to clear out stubborn debris, wash it off with soap and water afterwards.
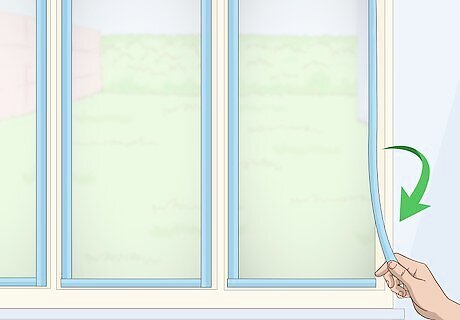
Place painter’s tape around the window frame. You may have used the bright blue tape to protect glass while painting the window frame. This time, reverse the situation by placing several pieces of tape around the frame. Stretch out a long piece of tape for each side of the frame. Make sure the tape covers the frame where it meets the glass, applying smaller pieces as needed to create a good seal. You can purchase the tape along with the frosted glass spray paint online or at most home improvement stores.
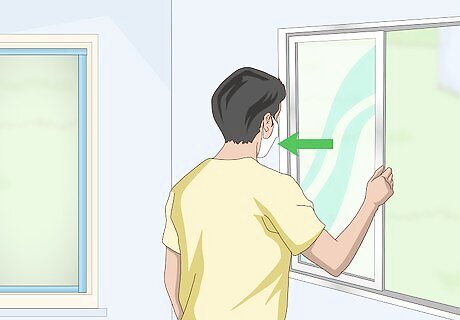
Open any nearby windows and wear a painting mask. Since the frost coating is a form of spray paint, take some standard precautions when using it. Keep your area well-ventilated by opening doors and windows. Wear the mask at all times to avoid breathing in paint fumes. Also, avoid using the spray paint near open flames. Store the canister away from heat sources like hot water or sunlight. Keep other people and pets out of the area until you finish painting the glass.
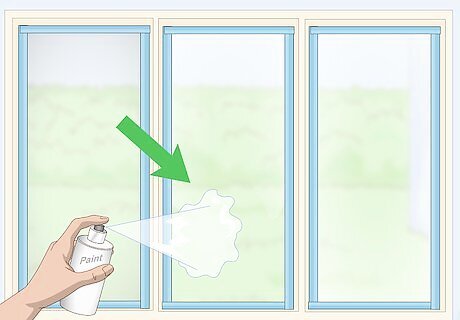
Apply a thin coat of spray paint over the entire glass. Shake the canister well before opening it. Position the nozzle close to the top edge of the glass, then begin spraying. Move from side to side along the glass in a slow, steady motion until the entire pane is covered. Less is more when using frosted spray. You can always add another layer of paint to darken the shade, but you can’t fix over-painted glass without starting over. Frosted spray paint is similar to privacy film but more delicate. It can scratch easily if you’re not careful, but fortunately removing it is very easy.

Wait 3 hours for the paint to dry. Leave the coat of paint undisturbed. The paint will be dry to the touch after about 10 minutes, but you should give it more time to ensure the next layer of paint goes on evenly. You can then decide if the coating is even and dark enough for your liking.

Apply additional coats of spray paint if needed to darken the glass. Add a second coat of the paint the same way you did the first. After letting it dry, determine if you need more. Remember to keep each layer thin to avoid making your windows too dark. Every layer of paint makes the glass darker, adding more privacy but blacking out more light. If you are uncertain you need another layer of paint, look at the glass from the unpainted side.
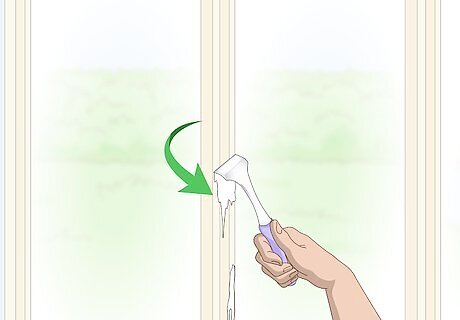
Scrape off any unwanted paint with a glass scraper. When you get tired of the frosted look, use a razor glass scraper to easily take off the paint. You may need to do this to remove mistakes or scratched layers. At least the paint is inexpensive!
Installing Curtains
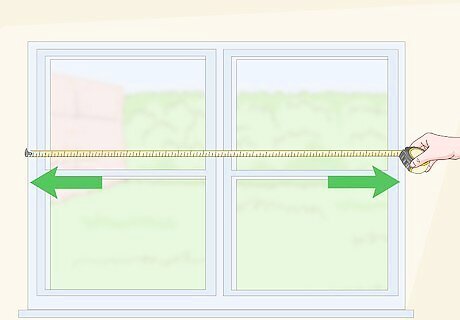
Measure the width of the window to select a rod length. Spread your tape measure from one side of the window frame to the other. The rod can hang inside the window frame or over it. If the rod will hang over the frame, it can extend a little past it to ensure the curtains cover everything. Measure the width at the top, center, and bottom of the window. Your window may be uneven, giving you different measurements at each point. The rod needs to be as long as the widest part of the window. Curtains are a great choice for windows that are around 5 by 6 feet (150 by 180 cm). Curtains are far more customizable than films and sprays, but they restrict light when they are closed. This can make them a bad option for areas where you desire natural light, such as in a bathroom.

Mark where the curtain rod will hang on your window. You have 2 options when choosing where to place the curtain rod. Inside-mounted rods hang in front of the glass, inside the window frame. Outside-mounted rods hang 3 to 6 in (7.6 to 15.2 cm) above the frame. Using a pencil and a ruler, trace a straight line indicating where the rod will hang. Outside-mounted rods obscure the window frame and may be the better choice if you want to hide an imperfect window. Inside-mounted rods are good for showing off perfect, square window frames. Blinds are an alternative to curtains for a different aesthetic. They can be hung by following the same steps you would use when hanging curtain rods.
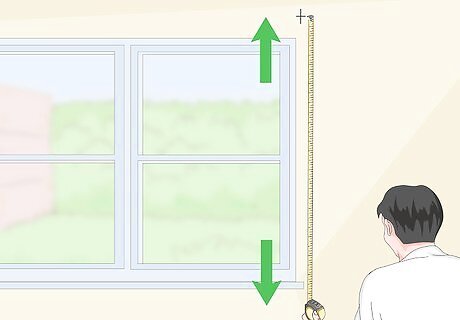
Measure from the top of the window to determine the curtain length. Before making a measurement, decide how far down you want the curtains to hang. This can depend on what kind of rod you use. For inside-mounted rods, the curtains usually end at the bottom edge of the window frame. For outside-mounted rods, you may wish to extend the curtains all the way to the floor. Curtains can end right above the floor or touch it. Having the curtains touch the floor can be a good look for a large living room but bad in a bathroom, for example. It all depends on your personal preference.
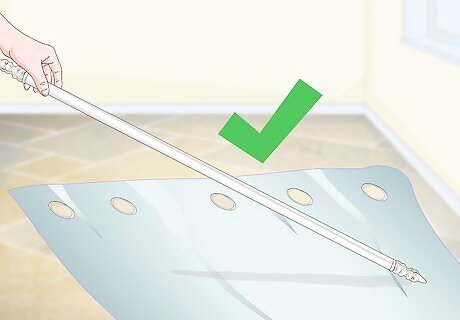
Purchase a curtain rod and curtains. Find a curtain rod that matches the size you need for your window. Most curtain rods include the screws and brackets you need to mount them. Also, use the measurements you took earlier to purchase or make your own curtains. Curtains come in a variety of styles, so choose what suits your needs and the aesthetic of your room. Cased headed curtains rest tightly on curtain rods and good for rooms you don’t use frequently. Pleated curtains are fuller and more decorative than other types of curtains, which also makes them a little costlier. They fit almost any room. Goblet curtains are similar but have a different shape. Tab top and eyelet curtains hang directly on curtain rods. They have a very even appearance and are often made of strong fabric, making them resistant to damage from frequent moving.
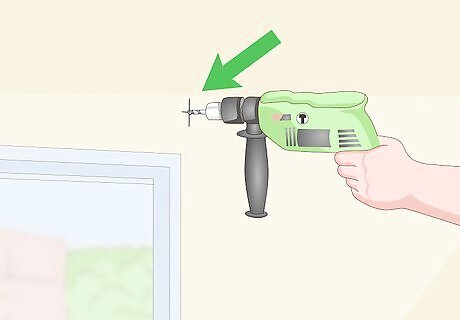
Mark and drill holes for the brackets. Hold the brackets up to the edges of the line you traced earlier. Use your pencil to trace the brackets. Then, mark the spots where you need to insert the screws and drill holes through these spots with an electric drill. Pre-drilling the holes ensure the screws pass cleanly into the wall. They may cause cracks if the holes aren’t made first. If you’re unable to drill holes into the wall, hang your curtains from a tension rod that fits inside the frame of the window.
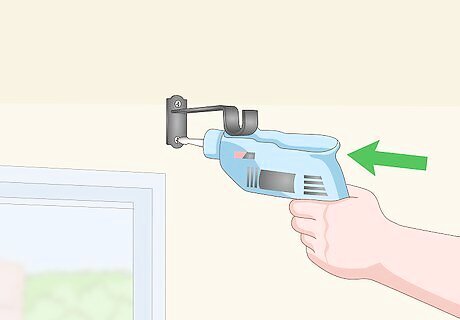
Install the brackets with an electric screwdriver. Position the brackets on the wall, making sure they are straight before you install them. Set the included screws in the holes. Drill the screws in until the brackets are secured to the wall. The screws may chip the wall paint or plaster a little. It’s unavoidable, but the bracket will cover it up.
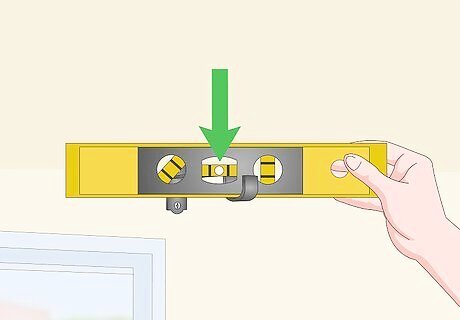
Test the brackets with a carpenter’s level. Place the level on the brackets one at a time. The level should have a liquid in the middle. If the bubble in the liquid stays in the center, the bracket is positioned correctly. If it slides to one side, the bracket is uneven. Remove the screws and straighten out the bracket. It’s important to get the brackets level to make the curtain rod look level as well. Otherwise, the curtains may hang noticeably lower on one side.
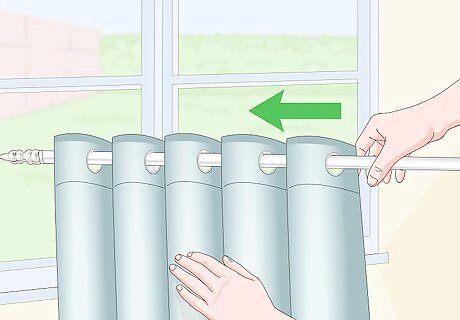
Place the curtain on the rods. The rod needs to be off of the brackets in order to slip the curtain onto it. Thread the rod through the loops in the upper part of the curtain, pulling the curtain down to the end of the rod. Continue doing this until the curtain is in place. Blinds can be installed the same way, except you may need to fit the blinds into tabs that hang from the rod. The tabs can add a little length to the blinds.
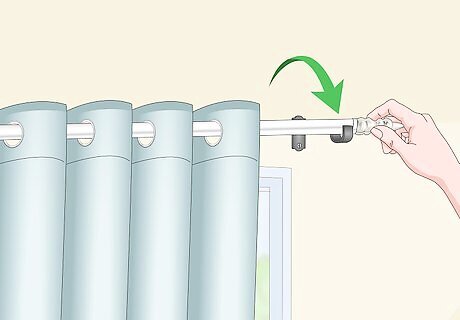
Hang the curtain rod on the brackets. Use a stepping stool as needed to reach the top of the brackets. Carry the curtain rod up to the brackets then fit it in place. Depending on the type of bracket, you need to either set the rod on top of the brackets or slide it through them. To finish, check the curtain rod a final time with a carpenter’s level.




Comments
0 comment