views
Setting up a Coop
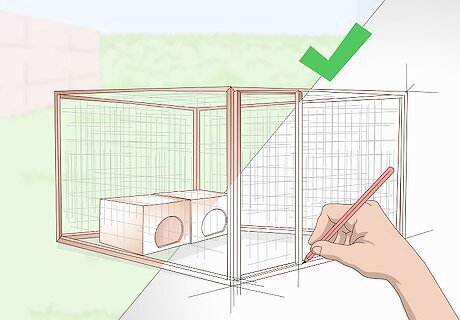
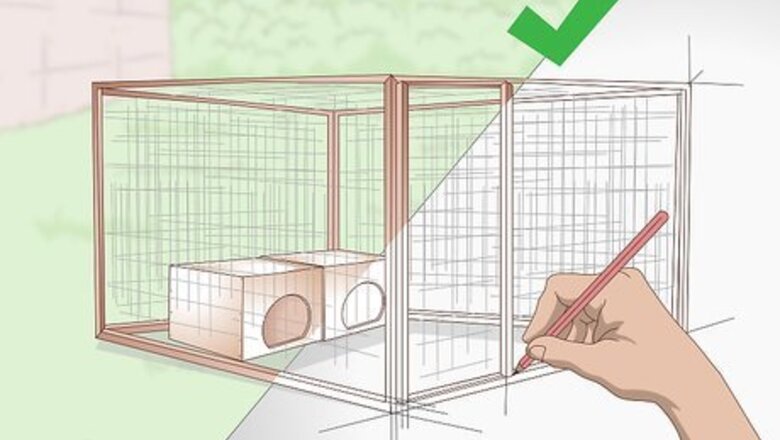
Design your own chicken coop if you want to save money. While they’re more expensive, you can find ready-made coops online and at farming supply stores. A shed or other backyard structure will also work. Alternatively, construct your own coop using plywood, 2x4 boards, and wire mesh. If you’re building your own, check your local university’s agriculture department website for coop plans. For instance, download plans at https://afs.ca.uky.edu/poultry/poultry-extension/small-and-backyard-flocks/housing. Before building a coop and raising chickens, look up your local ordinances, especially if you live in an urban area. The coop may need to meet design standards or be a minimum distance from homes and property lines.
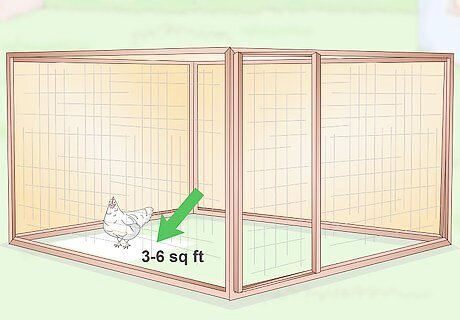
Provide 3 to 6 sq ft (0.28 to 0.56 m) of space per bird. Either build or purchase a coop that's large enough to accommodate the number of chickens you want to raise. Your first option is to build or buy a single structure with enough space inside for your chickens to roam. Alternatively, go with a smaller coop inside of an enclosed outdoor chicken run. Either way, the enclosure should provide a total of 6 sq ft (0.56 m) of space per chicken. If you build a smaller coop inside an enclosed outdoor run, the coop itself only needs to provide 3 sq ft (0.28 m) of space per bird. While it’s not absolutely necessary, the coop will be easier to clean if it’s tall enough for a person to stand inside. Keeping your chickens inside a large coop at all times is a good option if you live in an urban area and need to muffle clucking out of respect for your neighbors. Including a run is best if you live in a rural area.Free range vs. enclosed run: Because of their body shape, Cornish game hens are prone to leg problems and heart attacks, and they aren’t well-suited to pasturing. They do need some room to move around, but a large coop or enclosed outdoor run will provide ample space.
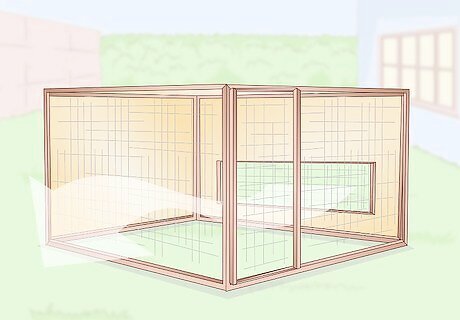
Make sure the coop has openings for adequate ventilation. Choose a store-bought coop with openings, or use an existing structure that has windows. If you're building your own, use a jigsaw to cut windows into 2 walls or cut at least 2 vents in the coop’s eaves or roof. Cover any windows or vents with ⁄4 in (0.64 cm) wire mesh to keep out insects, vermin, and predators. Position the windows away from the prevailing winds in your area to help prevent cold drafts. For instance, if prevailing winds out of the northwest bring cooler air in your area, cut windows into the southern and eastern walls.

Install roosting perches 1 ft (30 cm) off of the coop’s floor. Chickens like to sleep on raised surfaces, so use wood boards or planks as roosting perches. A store-bought coop should include roosting perches. If you're building your own or are using an existing shed, screw 1 ft (30 cm) 2x4 legs to 4 in (10 cm) wide boards or planks, and arrange them on either side of the coop. Since Cornish game hens are typically used for meat production and slaughtered at 5 weeks, the roosts don’t need to be elaborate. You’ll keep hatchlings in a brooder for about 2 weeks, so the roosts will probably only be in use for 3 weeks.
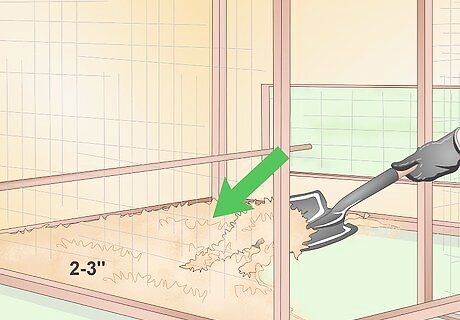
Line the coop with 2 to 3 in (5.1 to 7.6 cm) of pine shavings or straw. Add soft litter to the coop’s floor and roosts to soak up waste and prevent leg problems. Pine shavings, rice hulls, and ground corn cobs work well. Dry straw will do, but you should chop it into smaller lengths to make it more absorbant. If you’re not using materials from your own farm, you can find bedding at feed and farm stores.
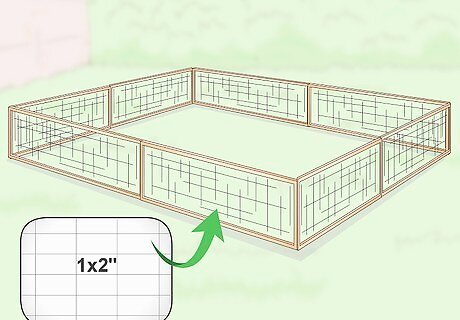
Enclose the run with 1 by 2 in (2.5 by 5.1 cm) mesh, if you built one. Construct a simple frame for the run by screwing together 2x4 boards. Then, using a staple gun, secure sheets of mesh fencing around the sides and top of the frame. When you allow the chickens to roam freely in the run, they’ll need protection from snakes, cats, birds of prey, and other predators. For added protection, you should also raise the coop at least 1 ft (30 cm) off of the ground.
Brooding Chicks
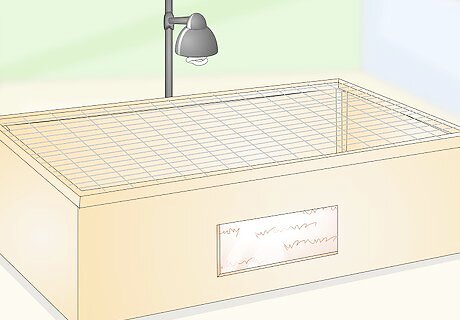
Set up a temperature-controlled brooder for hatchlings. Before you purchase hatchlings, prepare the brooder so you’ll be ready for their arrival. A cordoned-off section of the coop will work; its size should allow about 1 sq ft (0.093 m) of space per chick. Cordon off a section of the coop with 1 ⁄2 ft (46 cm) tall wood planks. Screw 4 planks together to create a rectangular pen. The planks’ other dimensions will depend on the number of chicks you’re raising. If you’re raising 50 chicks, for example, a 1 ⁄2 by 7 ⁄2 by 5 ft (0.46 by 2.29 by 1.52 m) will meet the 1 sq ft (0.093 m) standard with plenty of room to spare.Variation: Depending on the number of chicks you’ll raise, you could just keep them indoors in a cardboard or wooden box for the first 2 weeks. However, if you’re raising more than a dozen or so, it’s more practical to use a section of the coop for the brooder.
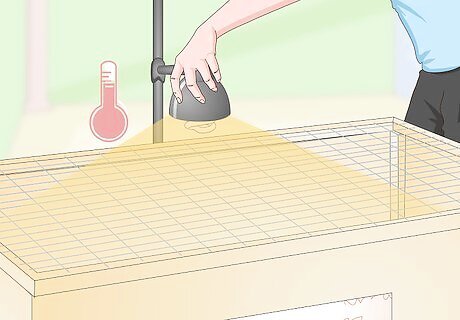
Preheat the brooder before the chicks arrive. To control the temperature, install a 250-watt dimmer-controlled heat lamp 1 ⁄2 ft (46 cm) above the brooder’s floor. Use 1 lamp per 50 chicks housed in the brooder. Set up a thermometer on the floor of the brooder directly under the lamp, and maintain a temperature of 90 to 95 °F (32 to 35 °C). You’ll need to keep the brooder’s temperature high until the chicks have developed feathers, or for about 2 to 3 weeks. Find heat lamps online or at pet stores. Even if you’re raising less than 50 chicks, it’s wise to use 2 lamps just in case one fails.
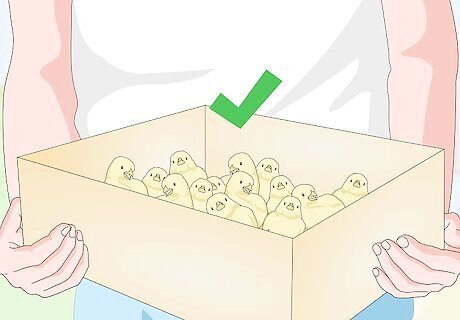
Purchase chicks in the spring from a reputable hatchery. Cornish game hens are usually readily available, so you should be able to find day-old chicks at a local hatchery. Ask your local county extension office, university agricultural department, and nearby farmers or poultry keepers to recommend a reputable breeder or hatchery. You can also look online for hatchery reviews. Be sure to purchase chicks from a seller with a history of producing healthy, disease-free stock. There are also mail-order suppliers, but they’re typically only necessary for exotic breeds.
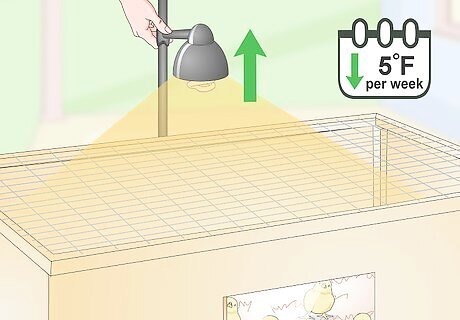
Lower the temperature by 5 °F (−15 °C) per week. Keep the temperature between 90 and 95 °F (32 and 35 °C) the first week, then lower it to 85 °F (29 °C). Lower the lamp’s dimmer switch, and raise it by about 3 to 6 in (7.6 to 15.2 cm). Cornish varieties develop quickly; chicks should be feathered and able to tolerate temperatures between 65 and 75 °F (18 and 24 °C) by week 3 or 4. When the chicks are feathered, you can remove the brooder’s temporary walls and allow them to access the entire coop.
Providing Food and Water
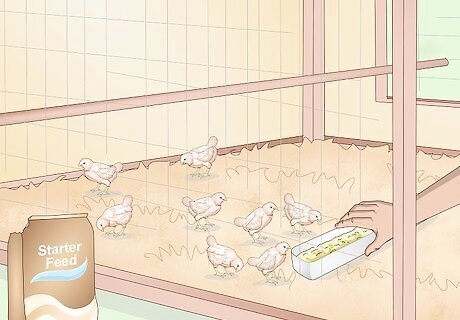
Keep starter feed labeled for meat birds in the enclosure during the day. Provide 3 ft (0.91 m) of total feeding trough length per 50 chicks, and use at least 2 to 3 troughs to minimize competition. During the daytime, allow your birds to freely access commercially-prepared starter food that contains 20% crude. As a rule of thumb, chicks need about 2 lb (0.91 kg) of feed per 1 pound (0.45 kg) of body weight gained. Cornish game hens are typically butchered at 2 ⁄2 lb (1.1 kg), so plan on supplying about 5 lb (2.3 kg) of feed per bird. To prevent mold growth, do your best to keep feed try. Separating food and water troughs can help accomplish this.Tip: Remove the feeding troughs at night, as Cornish chickens are prone to heart attacks caused by overeating.
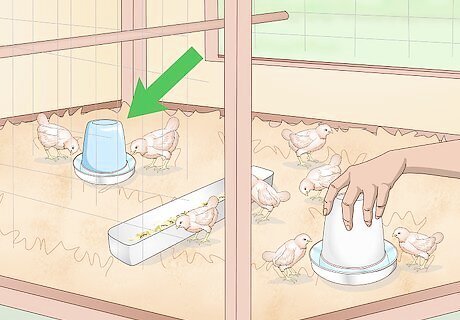
Include multiple sources of clean, fresh water in the enclosure. Place several 1 US gal (3.8 L) water dispensers in the brooder so the chicks can access multiple water sources. To prevent drowning, use bottle drinkers for pet birds or a shallow trough. Offer cool (but not ice cold) water, as chicks don’t like to drink warm water. When it’s hot, chickens can consume 2 to 4 times as much water as normal, so increase the amount you provide. Find food and water containers online, at pet shops, and at farm supply stores.
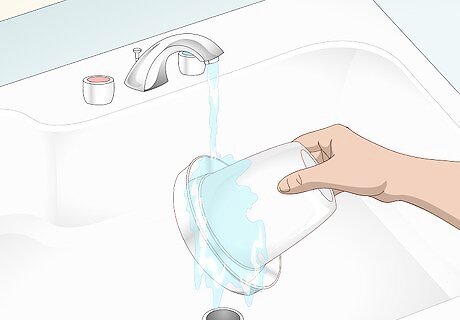
Change the water and clean the water containers 1 to 2 times a day. When you change the water, wash the containers thoroughly before you refill them. Remember to provide cool water, especially during periods of hot weather. In addition to keeping the water supply clean, frequently changing the water will help ensure it’s cool. Change the water at least 2 to 3 times per day in hot weather to keep it from getting too warm.
Managing Your Flock
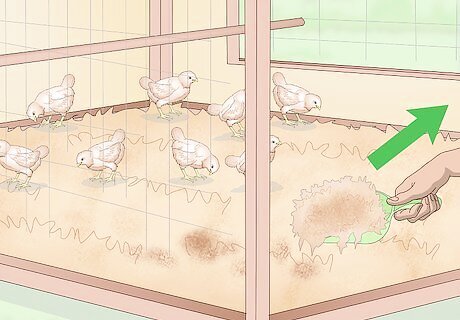
Replace wet or soiled bedding daily. Depending on the coop’s size, use a rake or hand trowel to scoop out soiled litter. Dispose of the litter in a sturdy garbage bag or add it to your compost heap, then add fresh bedding to the coop. Wash your hands thoroughly with soap and hot water after cleaning the coop or handling chickens. They carry harmful bacteria, such as Salmonella and E. coli.Safety tip: If you’re fertilizing food-producing plants with chicken manure, harvest produce at least 120 days after you’ve applied chicken litter. The 120-day waiting period will help ensure harmful bacteria in the manure have died.
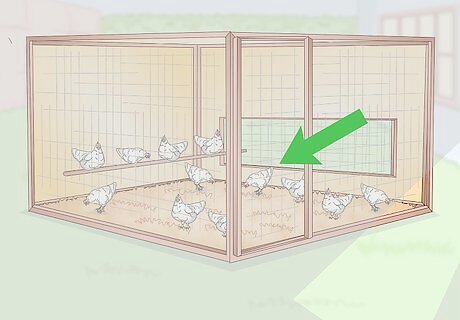
Keep the chickens in the coop at night. During the day, give the chickens free access to the outdoor run, if you've included one. At night, move them to the coop and latch the door to keep them safe and warm. Nocturnal predators and colder nighttime temperatures could put your birds' safety at risk.
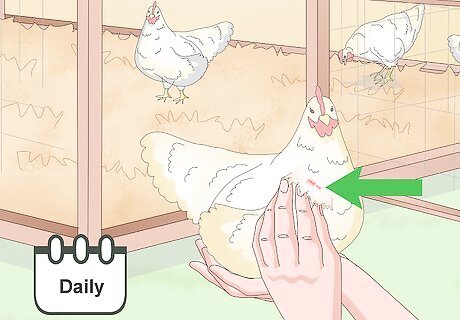
Check the flock for signs of illness and injury daily. Look for changes in appetite and defecation, lesions and blemishes, damaged feathers, open wounds, and unusual behavior, such as lethargy. To minimize the chances of an outbreak, quarantine any birds that exhibit these symptoms. As soon as possible, discuss treatment and disease management measures with a local avian vet. To lower the risks of disease and injury, house birds of different ages in separate coops.
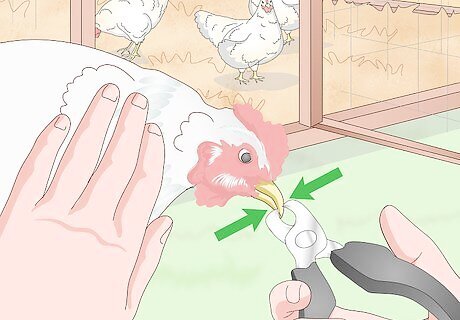
Trim the birds' beaks if they won't stop pecking at each other. If the chickens are pecking at each other, provide additional food and water troughs. If possible, add an enclosed run or expand an existing run. If increasing space and resources doesn’t deter pecking, carefully trim about ¼ off of the upper beaks with toenail clippers. The tip of the upper beak is sharp and can cause significant injury. Providing more resources can help prevent aggression, but beak trimming may be unavoidable.
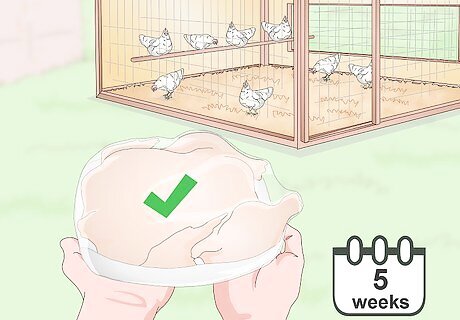
Slaughter cornish game hens raised for meat at 5 weeks. After 5 weeks, Cornish game hens typically reach the ideal weight for slaughter, which is 2 ⁄2 lb (1.1 kg). If you plan on selling game hens, research your local market and calculate the lifetime cost of feed per bird. At a minimum, try to set a price that covers your expenses for an individual bird. For instance, if 5 lb (2.3 kg) of feed cost you $7.99, try to get that price for a single Cornish game hen. While there may be demand for locally raised chickens in your area, bear in mind larger operations are able to offer much more competitive pricing. Poultry keepers commonly raise Cornish chickens to provide fresh, organic meat for their families. If that’s the case, store poultry for up to 12 months in the freezer.


Comments
0 comment