
Transferring Printed Designs

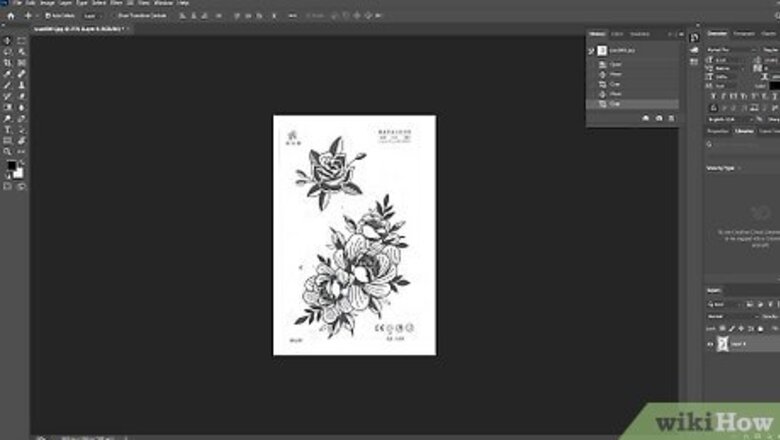
Use a computer program to design your balloon. Choose a program like Microsoft Word or Adobe Photoshop to lay out your design. Choose to work on an 8 ⁄2 in × 11 in (22 cm × 28 cm) template so you can easily print it out at home. You can use as many colors as you want, but a simple text design will transfer the best onto your balloon. Save your design frequently so you don't lose any of your progress.

Reverse the image or text you want to print on your balloon. Once you're happy with the design you made, go into the settings of the file and flip it horizontally so the design is backward. Save your design so you can edit or print it again later. If you don't reverse the design, the images or text will be backward once you transfer it to the balloon.

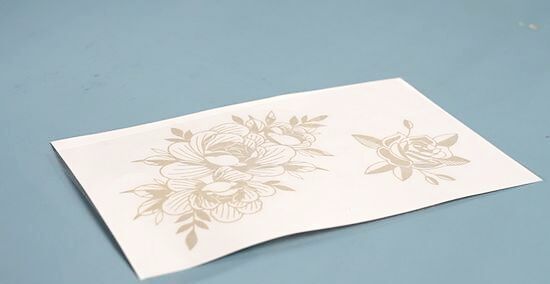
Print your design on the glossy side of a piece of tattoo paper. Feed the tattoo transfer paper into your printer so your design prints on the waxy side. Choose to print your design in grayscale or color and click the “Print” button on your computer. Wait until the printer is completely finished before removing the sheet of tattoo paper. You can buy tattoo paper at most craft stores or online. If you have a laser printer, then you can use standard printer paper. Make sure you still reverse the design, and set it to grayscale since laser printers can't do color.
Place the sticky piece of tattoo paper over the design. Tattoo paper has a sticky side so it stays in place when you apply it. Pull the sticky side off the back of your tattoo paper and place it on top of your design so the adhesive side is face-down. Press out any air bubbles using a credit card so you have a smooth application later.
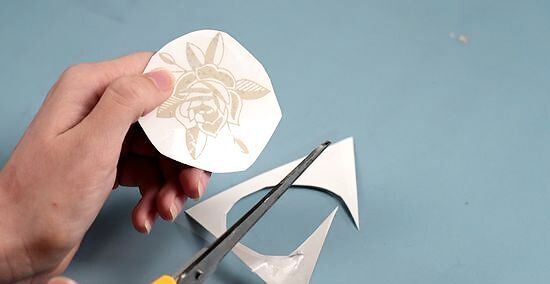
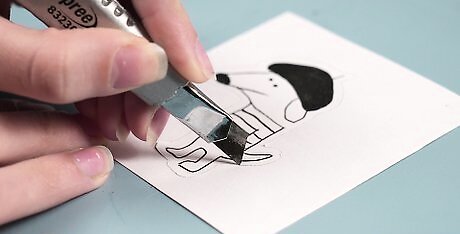
Cut the design out so it fits your balloon. Use a pair of scissors to the cut as close to your design as you can. Leave an ⁄8 in (0.32 cm) border around the edges of your design so it's easier to transfer. Hold your design against the side of the balloon to see how it fits and make any adjustments you need to. If you want to spread out your design, cut out multiple pieces that you can move individually.
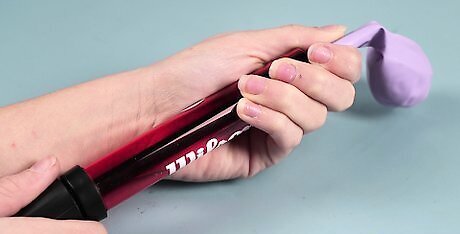
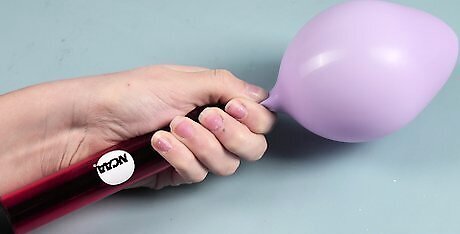
Inflate your balloon completely. If you don't want your balloons to float, you can either blow into the opening yourself or you can use an air pump to inflate it. However, you need to use helium if you want your balloons to float in the air. Put the neck of the balloon over the helium tank's nozzle and turn it on to release the gas and inflate your balloon.Tip: You can transfer designs onto Mylar or latex balloons. If you're transferring onto a Mylar balloon, you do not need to inflate it first.
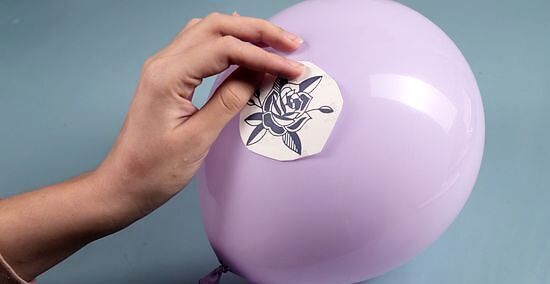
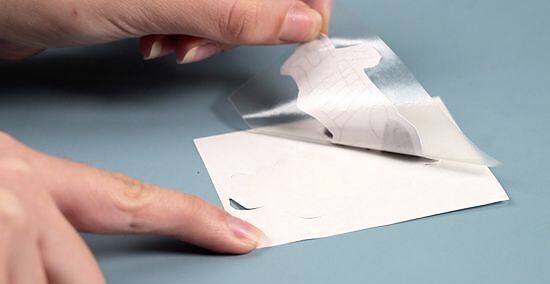
Remove the sticky side of the tattoo paper and apply your design to the balloon. Carefully peel off the sticky sheet of paper you put on earlier since the adhesive transfers to your design. After you take the sticky sheet off, press the backing sheet with the design onto the balloon and smooth it out so it doesn't have any air bubbles. Be careful not to press too hard on the balloon if it's inflated since it could pop.
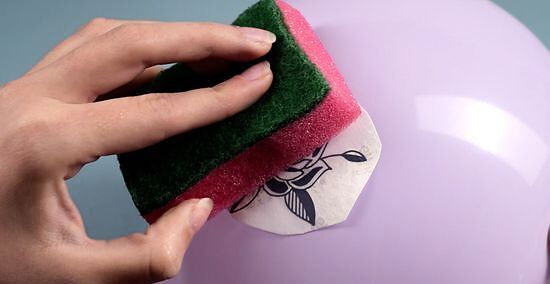
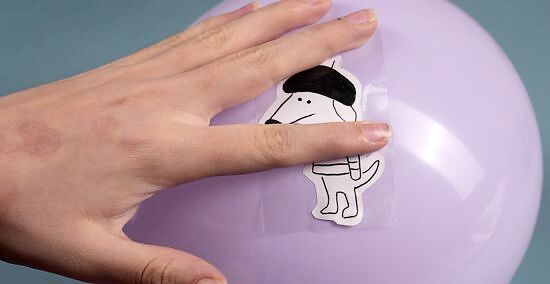
Blot the back of the tattoo paper with a wet paper towel or sponge. Wet a piece of paper towel or sponge with warm water and press it onto the back of your design. As you wet the tattoo paper, you'll be able to see your design through it. Wet the entire design and press firmly against it so it transfers onto the balloon's surface. Once the tattoo paper has soaked through, let it sit for 10-15 seconds. If you don't press down on your design, it may not transfer evenly onto the balloon.
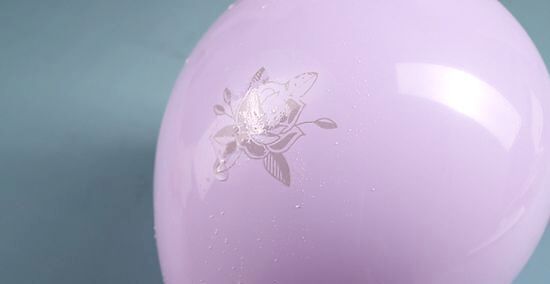
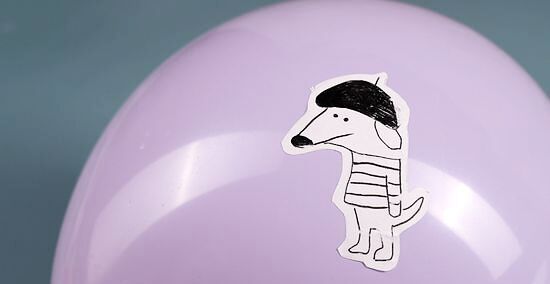
Peel the tattoo paper off of the balloon to transfer your design. Slowly lift one edge of the tattoo paper and peel it off of the balloon. When you lift the paper, the design will stay on the balloon and the paper will look clean. Throw away the tattoo paper and let the design dry for a few seconds before inflating it. If any part of your design still sticks to the paper, press the paper down and wet it again.
Using Vinyl Stickers
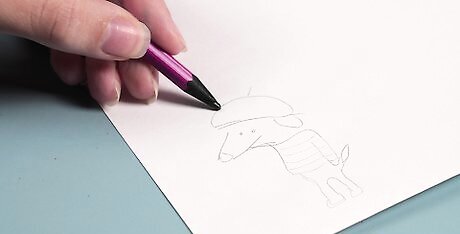
Draw your design directly on a sheet of vinyl sticker paper. Set a sheet of vinyl sticker paper on a flat surface so you can easily draw on it. Draw your design on the vinyl side of the sticker paper with a wet-erase marker so you can clearly see it and change it if you need to. If you want to trace a design, make a stencil so you can easily draw the outlines. You can buy vinyl sticker sheets from craft stores. If you want to make your designs digitally, you need to buy a special cutting machine and software to “print” them out.
Cut halfway through the vinyl around your outlines. Once you have your design drawn, use a craft knife to cut along the outline of your design. Only cut through the top layer of vinyl so it doesn't affect the layout of your design. Make your cuts slowly and carefully so you don't accidentally ruin your design. Don't cut all the way through the vinyl paper or else you'll ruin your design.

Peel off the pieces of vinyl that aren't a part of your sticker. Use the tip of your craft knife to lift up the pieces of vinyl that you don't want in your design. Once you lift up an edge, grab it and slowly peel up and away from the rest of your design. Work slowly and carefully so you don't accidentally remove your design from the backing sheet.

Place a layer of transfer tape on top of the vinyl and smooth it out. Set the vinyl on a flat surface and lay a piece of transfer tape on top of your design so the adhesive side is face-down. Use the edge of a credit card to smooth out any air bubbles or else your design won't transfer smoothly. Once the transfer tape is on your design, press down firmly so it adheres. You can buy transfer tape from your local craft store or online.
Inflate your balloon to the size you want it. Blow up the balloon with your breath or an air pump if you don't want the balloon to float. If you want the balloon to float in the air, then use a helium tank to fill the balloon completely. Once you've filled the balloon, tie a knot in the neck so it doesn't deflate. Be sure to tie your balloon down to a heavy object if you filled it with helium or else it will float away.
Peel the transfer tape and vinyl design off of the backing paper. After pressing down on the transfer tape, slowly peel one of the corners back up to lift your design. Your design will lift up with the adhesive so you can transfer the vinyl sticker onto your balloon. If the vinyl doesn't come up with adhesive, press it back down again and let it adhere for another few seconds. Be careful not to let the adhesive touch itself or else it will deform your sticker.
Position the sticker on your balloon and press it on firmly. Apply one corner of your sticker onto the balloon and press it down on the surface of the balloon. Slowly lay the rest of the sticker onto the balloon and smooth it out on the surface. Rub the sticker against the balloon for 30-60 seconds so the vinyl adheres to the balloon. If you're using a Mylar balloon, you do not need to inflate it before you put the sticker on. Don't press too hard since you could pop the balloon.
Peel off the transfer tape carefully so the vinyl stays on the balloon. Grab a corner of the transfer tape and peel it back from the balloon. When you lift the transfer tape, the vinyl will stick to the balloon's surface and leave your design behind. If part of the vinyl sticks onto the transfer paper, press it back onto the balloon and rub it onto the balloon again.Tip: If you don't like where the sticker is positioned, you may be able to peel it off carefully and place it again.


Comments
0 comment