
views
Using a Rotary Polisher

Mask off any rubber, metal, or glass surrounding your trim. Grab a roll of masking tape and peel off strips to cover up any rubber, glass, or paint that’s surrounding the trim you’re polishing. Get each strip of tape as close to the trim’s edge as you possibly can. This will keep any sensitive areas from getting damaged by the spinning disc on your rotary polisher. For best results, do this after washing your vehicle. You can still polish the trim if you haven’t washed the vehicle first, but it may take a little extra elbow grease to get the trim looking brand new again. If you’re polishing the trim on the top of your bumper, just open your trunk to protect the paint. If you’re polishing a front door panel, open your door to expose one side of the panel entirely. This process takes a little more effort and time than other options, but it’s the best choice if you want your trim to shine like new.
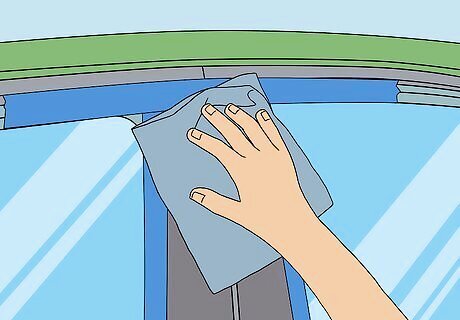
Wipe the trim with a clean, dry cloth to knock off any dust and dirt. Grab a clean microfiber cloth or rag and give the trim a quick wipe to wear away any clumps of dirt or dust. This will keep the polishing pad from picking up any gunk that’s resting on the surface of your trim and spreading it around the plastic. You can do this before masking the rubber, metal, and glass off if you’d like. It doesn’t really matter which order you complete these steps in.
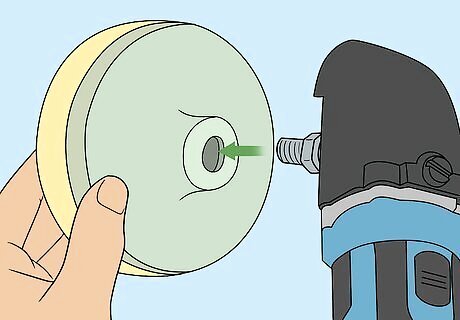
Attach a foam pad to a 3 in (7.6 cm) rotary polisher. Standard rotary polishers are likely too big for your trim, which can cause problems if the pad keeps picking up residue from the surface of the tape. To avoid running into any problems, use a mini- or 3 in (7.6 cm) rotary polisher to clean your trim. Place a clean foam pad on your rotary polisher. You can use a wool pad if you prefer. It shouldn’t make a ton of difference.

Prime the pad with a light polishing compound by spreading it out by hand. Grab a light- or medium-strength automotive polishing compound. Pour a thin bead of compound around the foam pad in a circle and spread it around with your gloved finger. You don’t need to use a ton of polishing compound, so don’t worry if your compound soaks into the foam pad after you spread it out. Plastic trim is basically painted plastic, so you don’t want to use any hard-polishing or cutting compounds on your trim if you can avoid it. If you do, you may wear away a layer of the plastic.
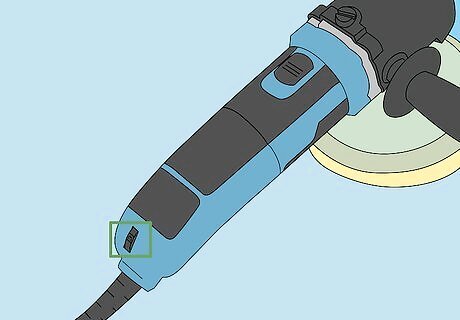
Set the rotary polisher to a medium-low speed. Start on the top of your trim if you’re polishing a vertical panel and start on the left or right end if you’re polishing a horizontal panel. Hold the pad against the surface of the trim and turn the rotary polisher on medium-low. On most rotary polishers, this is between 2-4 on the speed dial. If the trim is thinner than the width of your foam pad, tilt the polisher up at a 15- to 25-degree angle so only part of the foam pad is touching the trim.
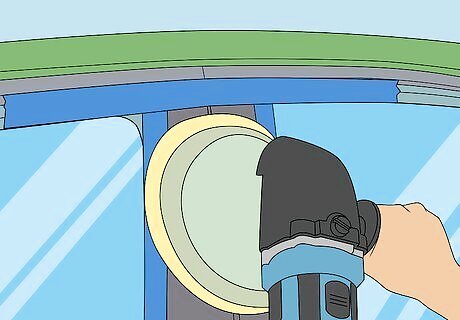
Move the rotary polisher slowly along the trim while applying light pressure. Keep the foam pad pressed against the trim and slowly move it to the other end of the trim while pressing it gently into the plastic. You don’t need to apply much force here, so just guide the polisher along the surface. Move the pad all the way to the end of the trim while maintaining a consistent degree of pressure. Cover the entire length of the trim 2-3 times. Cover roughly 3 inches (7.6 cm) of trim every second with your foam pad. You don’t need to move the polisher back and forth really fast.

Wipe away the polishing compound with a clean microfiber cloth. Once you’ve covered the trim with your foam pad a few times, turn your polisher off and set it aside. Grab a clean microfiber cloth and wipe the trim down 2-3 times to remove any chunks of the polishing compound. Inspect the surface of the trim at this point. If there are any big scratches or obvious damage, repeat the polishing process using a fast- or hard-cutting compound. Ideally, you won’t need to use an abrasive polishing compound, but you may need to break the tougher stuff out if you have visible damage after this point in the process.
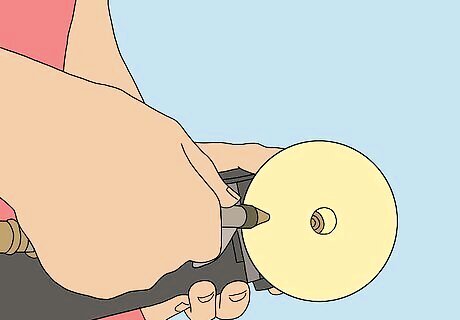
Polish the trim with an air-dried pad to remove any residue. Take your foam pad and spray it down with compressed air. Alternatively, you can rub the pad with a dry cloth to soak up the remaining polish. Do not add any new compound and run the dried-out foam pad along the trim a few more times to buff out any residual polishing compound. You can use a finishing polish instead of an air-dried pad if you prefer. You likely won’t see much of a difference, though. At this point, your trim should look basically brand new. If there are still scratches or dirt on your trim, repeat this entire process to wear away anything that is still standing out on your trim.
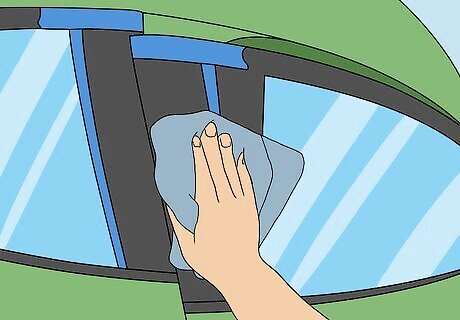
Wipe the trim clean with a microfiber cloth and remove the tape. Grab a fresh microfiber cloth and wipe the trim down an additional 2-3 times to ensure that none of the polishing compound dries out on the trim. Then, remove the masking tape. If the tape leaves any residue behind, wipe it away with your cloth. Enjoy your shiny, new plastic trim! If you were polishing your vehicle normally, you’d seal the polished paint with a car wax. Do not do this with your trim; wax will dry on your trim as a white, chalky residue and it won’t protect anything. Repeat this process every year or so to keep scratches from developing on your trim. If you’re diligent about cleaning your trim regularly though, you may not need to do this for years to come.
Opting for Restoration Spray
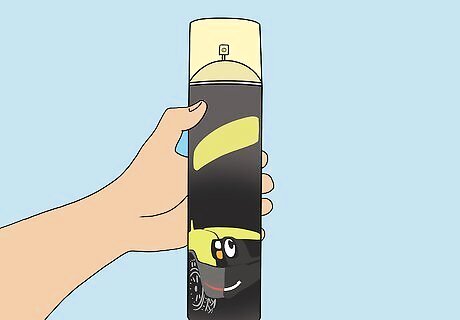
Purchase a trim restoration spray to remove blemishes and dirt. There are dozens of trim restoration sprays on the market. Purchase any trim restorer designed specifically for the color of your trim. Read the label thoroughly to ensure that it will work on plastic, since some trim restoration sprays are designed for metal. Purchase your trim restoration spray online or from your local automotive shop. Compared to polishing compounds, trim restoration sprays are more likely to leave residue and wipe marks behind. However, this process is much faster and easier than using a polishing compound. This makes trim restoration spray the better option if you’re just looking for a quick cleaning or you’re removing a little discoloration.
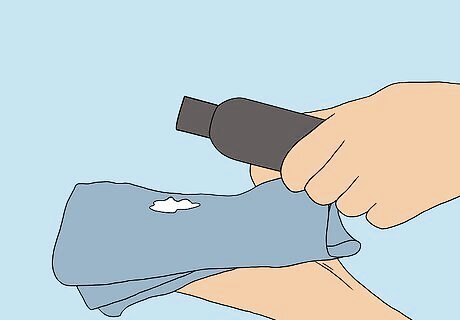
Pour or spray a few drops of trim restorer into a microfiber cloth. Grab a clean microfiber cloth and spread it out in your hand. Then, either open the bottle and pour a few drops of restoration spray into the cloth, or spray the cloth 3-4 times with your restoration spray to get it damp. You don’t need the cloth to be soaking wet for this to work! Trim restoration spray is pretty potent, so don’t overdo it.
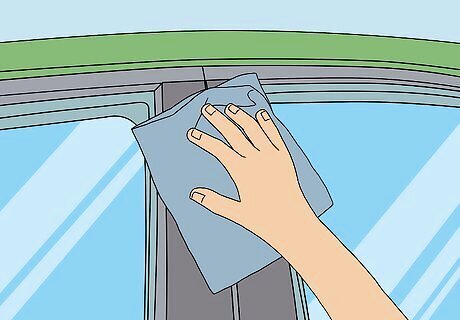
Wipe the plastic trim down using firm, smooth strokes. Hold the cloth against the trim and move it back and forth along the plastic. Use a firm amount of pressure to wear away any dirt, residue, or scratches. You should be able to see the trim getting clean as you’re wiping, so monitor the plastic while you work. Continue wiping the trim down until the surface is clean. If you’re wiping a large portion of trim down, you may need to reload the microfiber cloth with a little more restoration spray. It shouldn’t take a ton of this stuff, though. You don’t need to mask off the glass or rubber surrounding the trim before doing this. The restoration spray won’t damage anything on your vehicle.
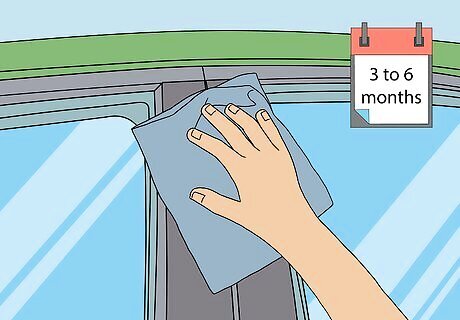
Repeat this process every 3-6 months to keep the plastic trim clean. Wipe your trim down with your restoration spray every 3-6 months to keep dirt and grime from building up on your trim. If you use a restoration spray to clean your trim regularly, you may never need to break out the rotary polisher and polishing compounds!
Refurbishing Unpainted Trim

Take your vehicle out in the sun on a hot day. If you have non-glossy, unpainted plastic trim that has been dyed a pale grey in the sun, you can restore it by heating the plastic with a heat gun. The trim needs to get extremely hot for this process to work, so park your vehicle out in the sun and let it sit for 3-6 hours before getting started. This process applies specifically to plastic trim that doesn’t have that glossy, smooth finish you typically find on panel trim. You usually find this kind of untreated plastic on side mirrors and bumpers. It’s an especially popular choice for American trucks and SUVs. For the cleanest results, wash your vehicle before doing this. This will still work if your vehicle isn’t perfectly clean, but it may be a little easier to get a uniform finish if you wash your vehicle first.
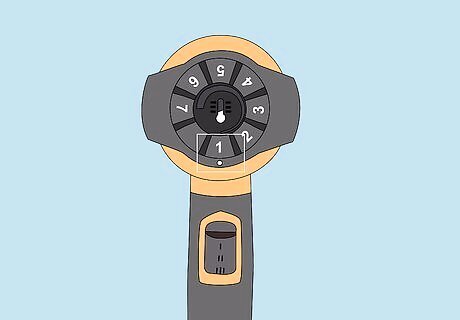
Turn a heat gun on the lowest setting available. You don’t want to potentially burn the plastic trim, so grab a heat gun and turn it on to the lowest setting. Give the heat gun 5-10 seconds to reach a stable temperature. Be careful and keep your hands away from the heat gun while it’s on.
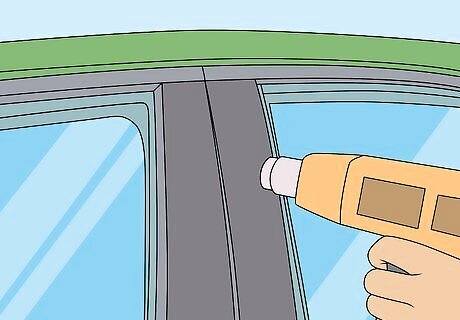
Run the heat gun along the plastic trim in an even, sweeping motion. Hold the heat gun 3–4 inches (7.6–10.2 cm) away from the plastic trim and pull the trigger to turn it on. Hold the trigger down and move the heat gun slowly across a portion of the trim. Move it back and forth until you see the color of your trim returning to its original hue. This may take 30-60 seconds. Then, move on to another portion of your trim. As you heat the plastic, the oils and dyed pigments in the plastic warm up and disperse on the surface of the trim. Once the color has returned to a section of the trim, you’re done! Depending on how big your trim is, this can take quite a while, though.
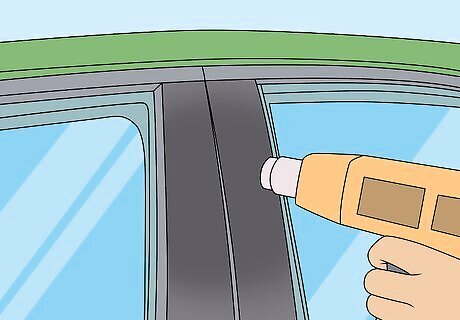
Continue heating the trim until the plastic’s color returns. Once the first portion of your trim is restored, move to the next section. You can work in 1 ft (0.30 m) horizontal portions, or restore the trim in small rectangular sections; it’s entirely up to you. Keep moving the heat gun slowly along the trim until the color returns. You’re done once the trim is uniform in color and the discolored portions are all gone. You don’t need to wash or seal the plastic when you’re done. As soon as the color is restored, you’re finished!


Comments
0 comment