views
Setting up Your Supplies
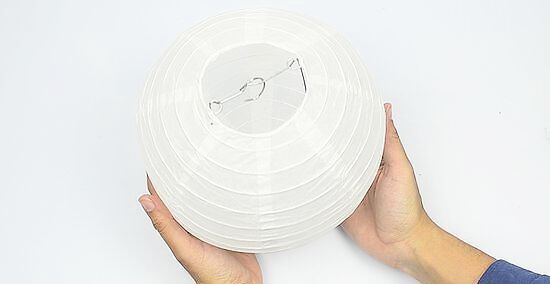
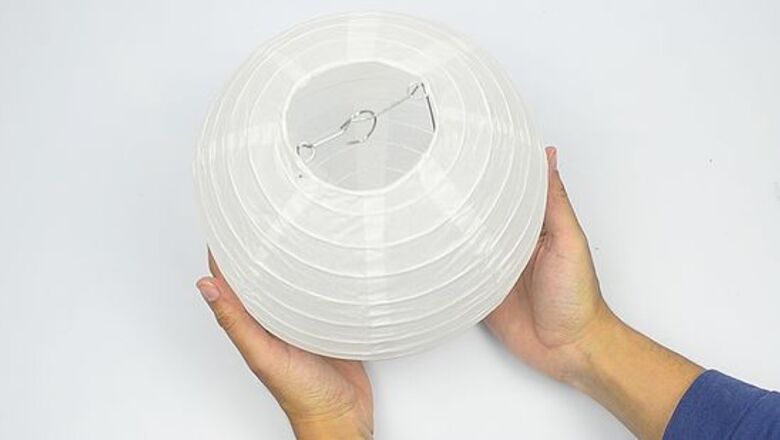
Put the wire frame inside of a spherical lantern to make it full size. Slowly pull the ends of the paper lantern apart to open it without ripping it. Take the wire frame, which usually has a rectangular shape, and slide it through the largest hole of the lantern. Once you have the wire frame completely in the lantern, push it underneath the metal hooks along the edge of the lantern’s top hole to secure it in place. Don’t leave the lantern closed when you paint it since you won’t be able to get even coverage. Be careful not to poke the sides of the lantern with the wire or you will make a hole in it. If you have a lantern that does not have a wire frame, just lay the lantern flat on your work surface instead.

Lay a drop cloth over the area where you’re painting. Fold a drop cloth in half and set it on a large, flat work surface. Put the lantern on top of the drop cloth so you have at least 3 inches (7.6 cm) of drop cloth extending out from each side. Make sure you don’t leave any of the work surface exposed, or else you may spill paint on it and leave a stain. If you don’t have a drop cloth, you can also use scrap pieces of cardboard, newspapers, or plastic sheeting to protect your work area.

Keep a glass of water and paper towels nearby to clean brushes. Make sure to use a clean glass to keep your brushes from getting dirtier. Fill ¾ of the glass with water so you don’t have to replace it while you’re working. Set a few paper towels next to your workstation just in case you need to wipe excess paint off of the bristles or clean up a spill. It’s okay to use a glass that you would normally drink out of for rinsing your brushes. Just make sure to wash it thoroughly before using it again.
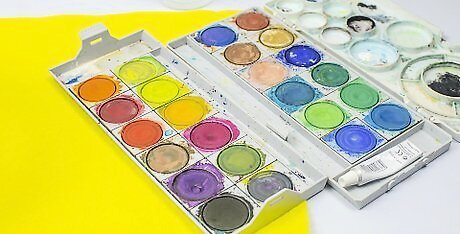
Put acrylic or watercolor paints on an artist’s palette. Watercolor and acrylic paints are both water-based so they dry the quickest and can be used interchangeably on your lantern. Choose the colors that you want to use for your lantern and squeeze a coin-sized amount onto your palette. Leave about 1–2 inches (2.5–5.1 cm) of space between each of the colors so you have room to mix additional colors if you need to. You can buy acrylic and watercolor paints from art stores or craft shops. Mix colors with black paint if you want darker tones, or use white paint to make lighter tints of colors.Tip: Acrylic paints may have an opaque appearance, which means they won’t let as much light through the lantern as watercolor paints.
Applying the Paint
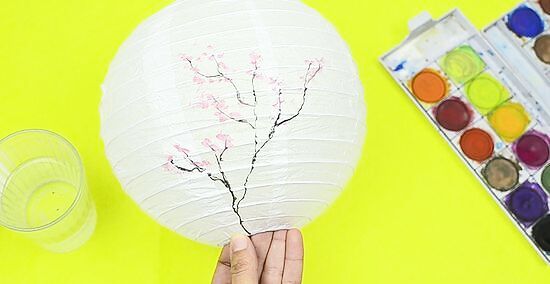
Use standard brushes if you want to paint by hand. Standard brushes with rounded or flat tips work well for making thin, detailed lines, Dip the end of your paintbrush into the color you want to use so there’s a thin layer of paint on the tip. Carefully paint directly onto the lantern to add your design to it. Whenever you switch colors, rinse off your brush in the glass of water and pat it dry on the paper towel. The size of the brush you use depends on how thick you want the strokes. Get a brush set that has multiple sizes so you can try them out. Work from the lightest color to the darkest color so it’s easier to apply. Paper lanterns usually have horizontal lines running across them where they were folded. Try painting horizontal stripes on your lantern using the lines as guides.Warning: Be careful not to press into the side of the lantern too hard or else you’ll poke a hole through the paper.
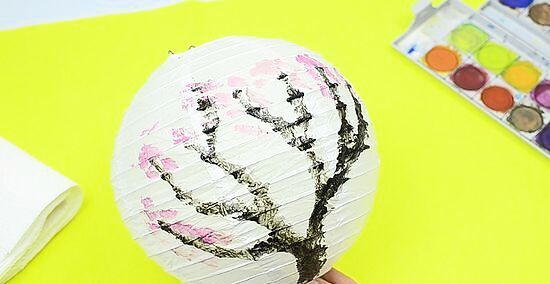
Try foam brushes if you want to cover large areas with color. Wet the foam brush in your cup of water and squeeze out any excess water. Dip the tip of your foam brush in the color you want to apply and wipe off any paint drips. Carefully drag the foam brush across the paper to make a thin layer of paint. Spread the paint as thin as you can before applying more paint to the brush. Using foam brushes also works well for painting sky lanterns, which use candles to float, and homemade lanterns made from construction paper.
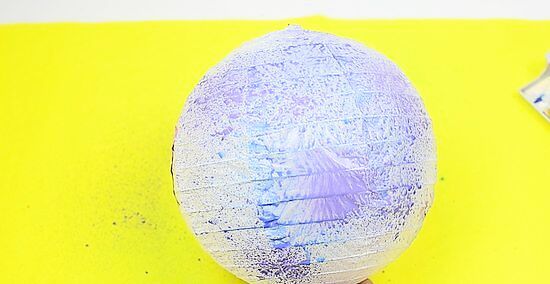
Put diluted paint in a spray bottle to create a splatter pattern on the lantern. Combine 2 tablespoons (30 ml) of water and 1 tablespoon (15 ml) of paint in a small glass and stir it together. Pour the mixture into a clean spray bottle with a funnel and shake it up to make sure it’s thoroughly combined. Hold the bottle about 6 inches (15 cm) away from the lantern and pull the trigger to spray it. Rotate the lantern as you spray to get even coverage. Combine colors together to make your spray a different shade. For example, you can mix a solution of red and blue paint to get a purple spray. Be careful not to spray the mixture on anything else, or it will leave a stain. Spray clean water through the spray bottle when you’re finished painting with it. That way, you can get any leftover paint out of the spray nozzle.
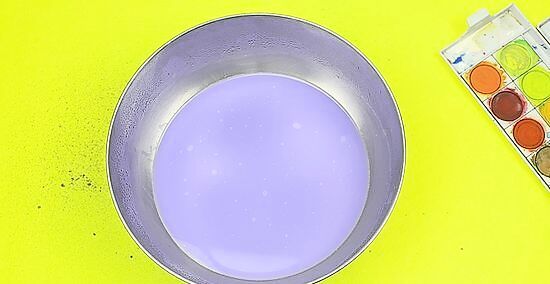
Dip a spherical lantern in dye and water to make it a single color. Use a bowl that’s large enough to fit the paper lantern inside. Mix 1 teaspoon (4.9 ml) of all-purpose dye with 1 US quart (0.95 L) of warm water and stir it together until it’s combined. Hold the lantern sideways and lower it into the dye until it just touches the surface. Slowly rotate the lantern in your hands to coat the rest of the paper lantern with dye. Test the color of the dye on a paper towel or scrap piece of paper to see if you’re happy with the color. This works best for making pink blush paper lanterns, which have a paler tone than others. You can also just dip sections of the lantern in the dye if you want it to have polka dots or unique shapes in the design. Avoid dipping sky lanterns or construction paper lanterns in dye since they’re more likely to get damaged.
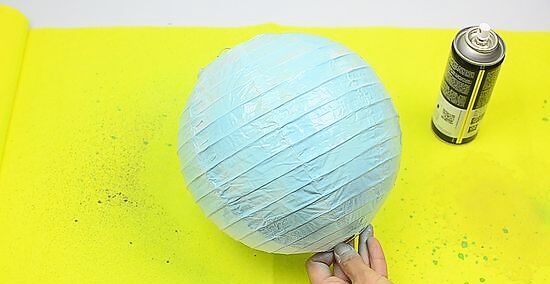
Try craft spray paint for light, even coverage on your lantern. Craft spray paint has a more concentrated mist so it’s easier to control. Hold the can of spray paint about 6 inches (15 cm) away from the paper lantern and press down on the trigger. Use short bursts of paint at a time and rotate the lantern so you can get even coverage. Try to cover the entire outside of the lantern with the spray paint so you can’t see the paper beneath it. You can buy craft spray paint from art stores or online. If you choose to spray paint, work in a well-ventilated area or outside since it can create harmful fumes. Spray paint also works great for sky lanterns. Spray paints blend well together and can create ombre patterns on your lantern. Try making stripes of 3–4 different colors of spray paint so the edges blend together.
Displaying Your Lantern
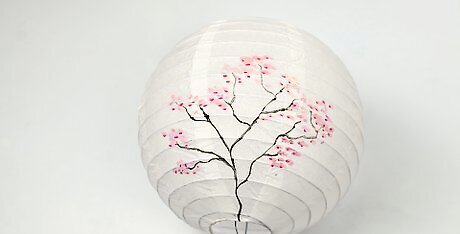
Allow the paint to dry completely after painting it. The length of time the paint takes to dry depends on the method you used. Usually, it will take around 2–3 hours to dry entirely, but it may take longer if there’s thicker paint. Tap the paint lightly with your finger to see if any of the pigment lifts up. If it does, allow it to dry for another 30 minutes before checking again. You may be able to run a fan on low in the same room as the lantern to help it dry faster.
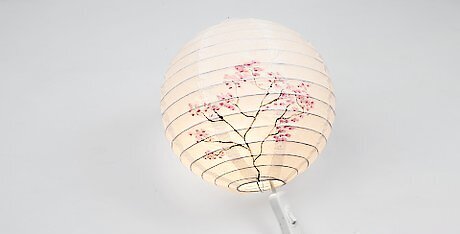
Put a light inside your lantern if you want to illuminate it. Feed the cable for a light bulb socket through the middle of the lantern. Position the bulb so it’s in the middle of the lantern and secure its cable in the clip at the top of the wire frame. Plug the light bulb into a power outlet to turn it on and illuminate the lantern. Make sure to unplug the light bulb when you aren’t using it so you don’t waste energy. Make an LED paper lantern with an energy-efficient bulb if you want the lantern to look a little brighter. You can also set the lantern on top of a small disk light or artificial candle if you want. You do not have to use a light in your lantern if you just want it as a decoration.
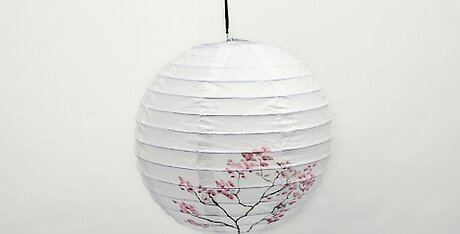
Hang the lantern with a piece of twine to keep it suspended. Determine how far you want the lantern to hang down and cut a piece of twine that’s about 6 inches (15 cm) longer. Tie a loop using the additional length you left on the twine. Put the loop into the clip at the top of the lantern’s wire frame and tighten the knot so it doesn’t fall off. Attach the other end of the twine to a nail or hook to suspend the lantern. You can also use 18-gauge wire if you want to. Just bend the ends of the wire into loops or hooks and put attach it to the lantern.Tip: If the power cord for the light bulb is long enough, tape it to the twine so it’s out of the way. Make sure you’re still able to reach a power outlet before you start.
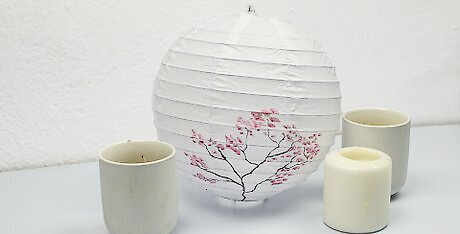
Place the lantern on a table to create a fun decoration. Set the lantern on your table so the largest hole is face-up and so the lantern doesn’t roll around. Keep it in the middle of the table as a centerpiece to make an eye-catching display. Keep a battery-powered light inside the lantern so you can still use it to illuminate your space. Try adding smaller paper lanterns as accent pieces to make the decor stand out even more. Put a bouquet of artificial flowers through the top hole of the lantern to make a unique vase.


Comments
0 comment