views
Making Decoupage Blocks
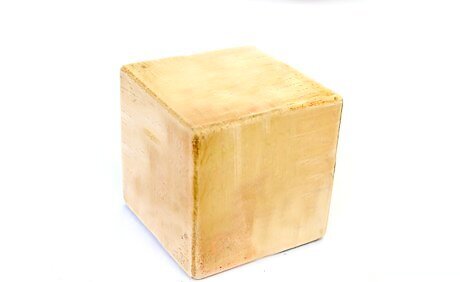
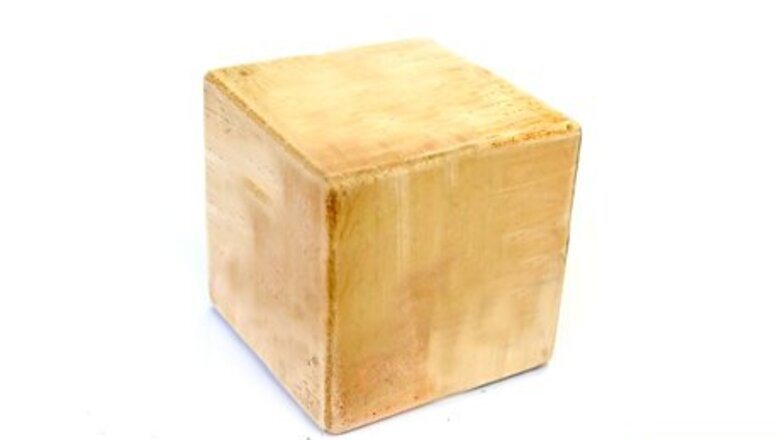
Get some 4-inch (10.16-centimeter) wooden blocks. You can buy ones that are already pre-cut from the craft store. You can also buy a wooden beam at a hardware store and cut it yourself, or ask the store to do it for you.
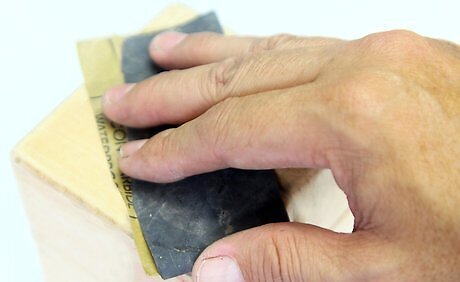
Paint the blocks with acrylic, if desired. This is not completely necessary, but it will give the blocks a nice touch. You can paint them all one color, or multiple colors. Consider sanding the blocks lightly for a weathered effect. You can also apply a light coat of paint with a dry paintbrush instead for a streaked look.
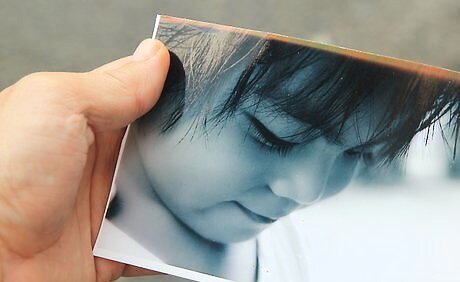
Find 5 to 6 photos. You can glue a photo to every side, or you can leave the bottom part of the cube blank. You will be cropping the photos down, so make sure that the person in the photo is small and doesn't fill up the whole page.
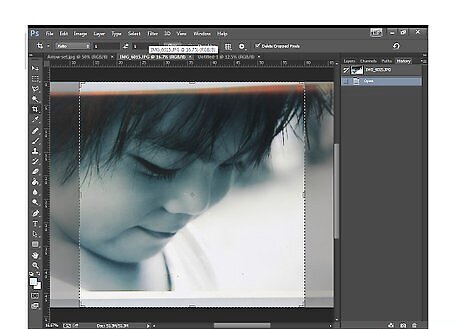
Crop the photos down. If you painted the blocks, crop the photos down to 3 inches (7.62 centimeters) on each side. This way, you will get a nice, painted border all around the photos. If you did not paint the blocks, you can crop the photos down to 4 inches (10.16 centimeters) square, and cover the entire block. You can crop the photos down using an image-editing program on your computer, or you can crop them by hand using a ruler and craft blade.
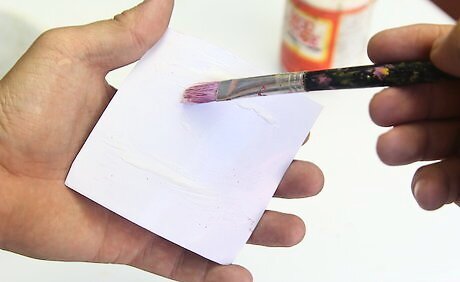
Coat one side of the block with a decoupage glue, such as Mod Podge. You can apply the glue using a paintbrush or foam brush. Make sure that the layer is thick. Don't worry if it looks white now; it will dry clear. You can use a glossy, satin, or matte finish.
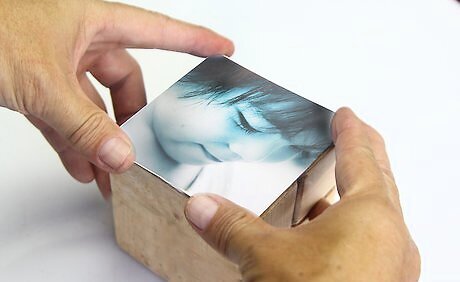
Press the photo into the glue. If you printed the photos on regular printer paper, be sure to smooth out any wrinkles. Make sure that the photo is centered.
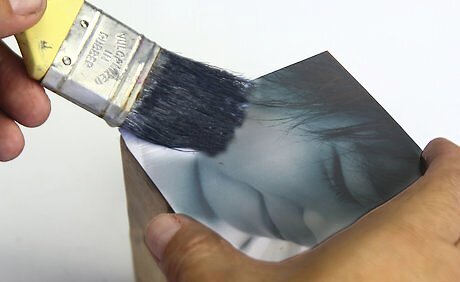
Apply another layer of decoupage glue over the photo. Make sure that you apply the glue over the entire block face, from edge-to-edge. This will seal in the edges of the photo and prevent them from peeling away.
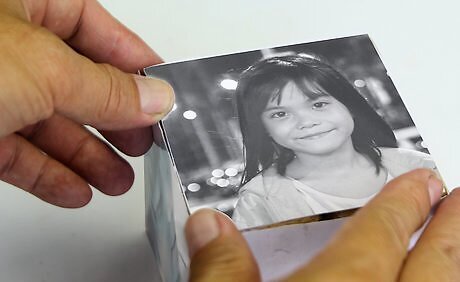
Continue applying the rest of the photos. At one point, you will need to stop and let the glue dry so that you can hold the block and continue working without getting your fingers sticky. Be sure to wipe away any streaks using your brush. Make sure that all of the photos are pointing in the same direction.
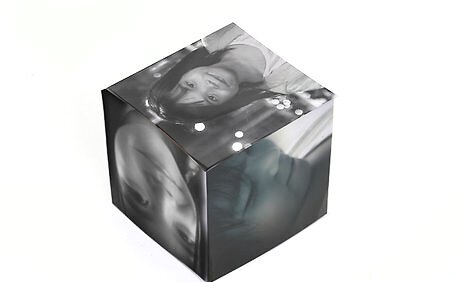
Let the glue dry. Once it is dry, you blocks are ready to display! Keep in mind that most decoupage glues are not water resistant, and may warp or bubble if they get wet.
Making Printed Blocks
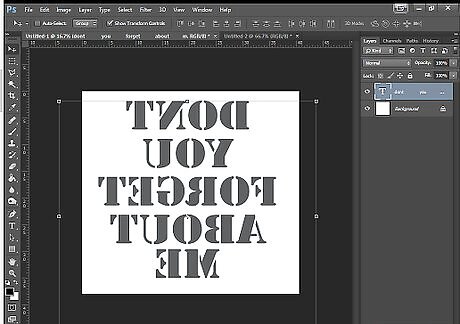
Crop and flip your desired photo using an image editing program. Find a photo that you want to use on your computer. Crop it down to 4 inches (10.16 centimeters) on each side using an image editing program. Flip or reverse the image in the program. This way, when you go to transfer the photo, it won't come out mirrored. You will be transferring the image using wax paper. This will give you a rustic, translucent result. You will see some of the original wood color and texture.
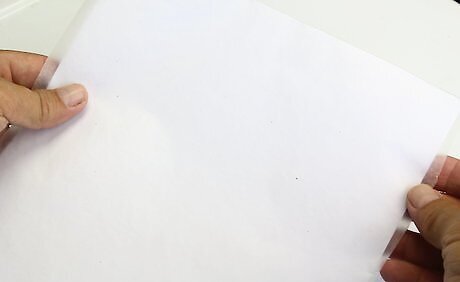
Attach a sheet of wax paper to a piece of printer paper. Place a piece of wax paper over a piece of regular 8½ by 11-inch (21.59 by 27.94-centimeter) printer paper. Fold the top edge of the wax paper over the top edge of the printer paper by ½ inch (1.27 centimeters). Tape the folded edge of the wax paper down. Do not tape the other side. The wax paper should be roughly the same size as the printer paper: 8½ by 11 inches (21.59 by 27.94 centimeters). It does not matter which side of the wax paper is facing up. Both sides are waxed.
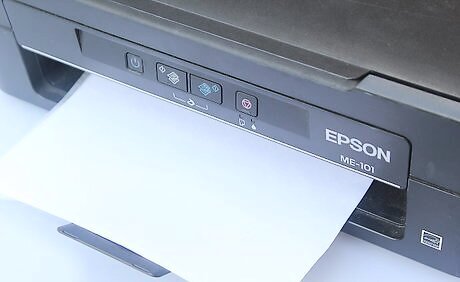
Print the photo out using an ink jet printer. Make sure that you feed the paper so that the image gets printed directly onto the wax paper. The printer paper is there to help feed the wax paper into the printer. You will not be doing any actual printing on the regular paper. Avoid touching the image. The ink will still be wet. It will smear if you touch it.
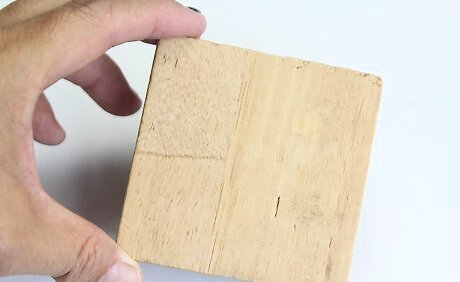
Get a 4-inch (10.16-centimeter) wooden block. You can buy one that's already pre-cut from an arts and crafts store. You can also buy a wooden beam at a hardware store and cut it yourself, or ask the store to do it for you. Make sure that the wood is smooth and light-colored. This will ensure that your image comes out nice and clear.
Dampen the block using a wet towel. Pat the wood with a dry towel to absorb any excess water. This will help the ink transfer better and give you a darker, brighter image. Some people find that this causes the images to blur a little, however. If this bothers you, you can omit this step. Not dampening the block will result in a faint, faded image. You can also use a damp sponge instead.
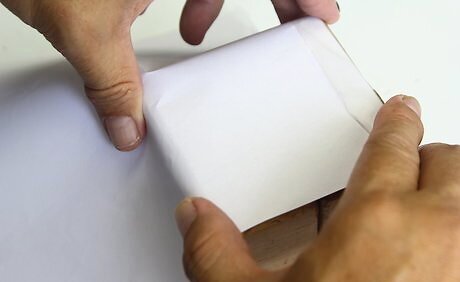
Place the wax paper, image-side-down, onto the block. Be careful not to move the image once you set it down. If you do, the ink will smear. Let the printer paper flop over onto the table, so that the backside of the wax paper is visible.
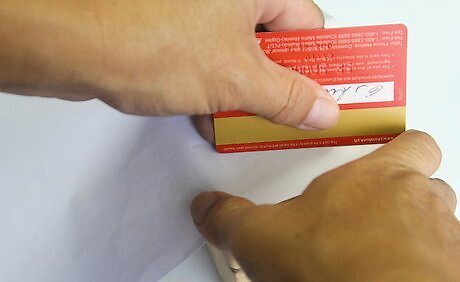
Rub the back of the wax paper using a credit card. Hold the wax paper down firmly as you rub the back. Be sure to rub the entire image across the entire block, from edge-to-edge. When you are done rubbing, peel the wax paper away. You should have a printed image on your block.
Consider adding more images. When you are done, you can print off more photos, and transfer them to the other block faces in a similar manner. You can cover all six sides of the block, or leave some blank.
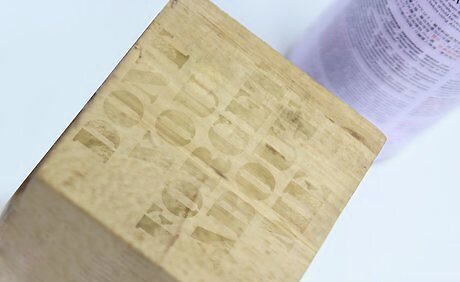
Seal the wood. Wait for the wood and ink to dry completely. Next, spray the image using an acrylic sealer. Apply several light coats, allowing each coat to dry. Do not spray too heavily or hold the can too close to the block, as this may cause the ink to run. If you covered all six sides of the block, let the other sides dry first before sealing the last one.




Comments
0 comment