views
X
Research source
Preparing Your Supplies
Put together everything that you need. Because you’re making easy pants, you only need a few things. When choosing your fabric, remember that you’ll need two pieces and they need to be 5” taller than your pants and 2” wider. Measuring tape Scissors Sewing chalk Sewing kit A drawstring Jeans or pajama pants that fit you Fabric

Prepare your fabric. Wash and dry your fabric as per the care instructions that are usually found on the bolt of fabric purchased at the store. This prevents the fabric from shrinking after you make your pants and wash them.
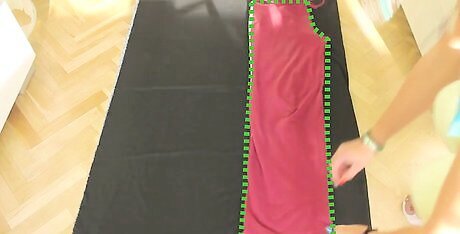
Outline your pants. Do this with the fabric on the wrong-side out. Using a pair of pants that fit you, trace an outline for your new pants using the sewing chalk. To do this, fold your pants in half, pulling out the crotch seam to that they lay completely flat from waist to ankle. Trace the outline on both pieces of fabric. Jeans are harder to fold perfectly flat than other fabrics. Avoid pants with cargo pockets.

Add 2” above the waist and 2” below the ankle to your outline. Add ½” around both sides of your outline. Duplicate this on your second outlined piece of fabric and cut along this outline.
Starting the Sewing Process

Anchor your stitch. In order to anchor your stitch, insert the needle into the wrong side of the fabric, up through the right side. Move the needle 1/16” and insert it back into the right side of the fabric. Pull the thread through and you now have your anchor stitch. Place your anchor stitch in the crotch of your pants. A proper anchor will help your stitch last longer than the fabric. If you have sewing machine, simply hit the reverse button and back stitch 2-3 stitches to create an anchor stitch.
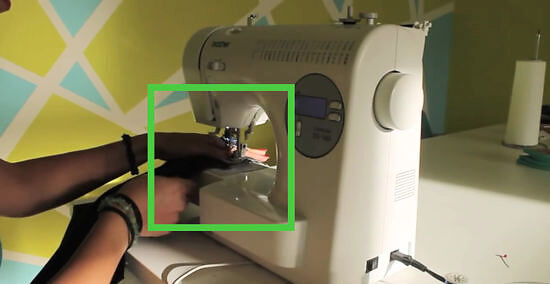
Begin sewing. From your anchor stitch, continue with straight stitches that are ¼” away from the edge of the fabric. The stitches should be 1/8” thick and continue from crotch to ankle. A straight stitch is the default setting “Pattern 01” on a sewing machine. You’ll have to select the stitch length. 3.5 will work perfectly for your pants. Zigzag stitch raw edges to prevent your fabric from fraying. This is “Pattern 06” for most sewing machines.
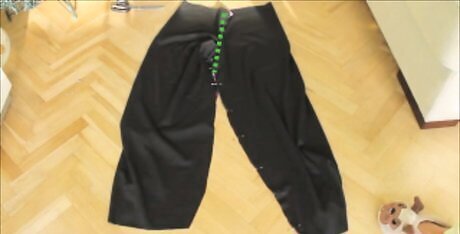
Sew the crotch seam. Start at the bottom of the crotch. Properly anchor your stitch and straight stitch to the waistline. Repeat this with the back of the pants.
Adding Drawstrings
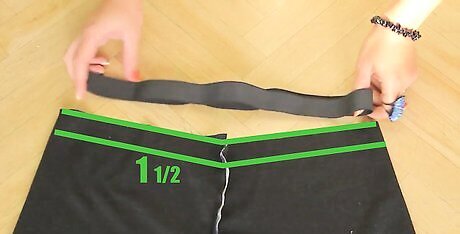
Measure the waistline for your drawstring/waistband. Measure two inches from the top of the waistline to the center seam. From this pint, measure 1 ½” to the right and left. Mark a 1” vertical line on each side with your sewing chalk. There should be 3” between each line and they should be the same distance from the center seam.

Use a buttonhole stitch. Stitch along these vertical lines using a buttonhole stitch—this gives the fabric strength and support. Anchor your thread and then turn your needle toward the fabric. Insert the needle into the wrong side of the fabric and pull 1/8” out the right side. Loop the thread under the tip of your needle, pull the needle through the fabric, over the thread, and pull tight. This should create a looped knot at the top of the fabric. Continue this stitch, making sure they are very close together. 1/8” is a recommended size. However, you can use anything smaller than ¼”. If you’re using a sewing machine, “Pattern 07” will work for this buttonhole.
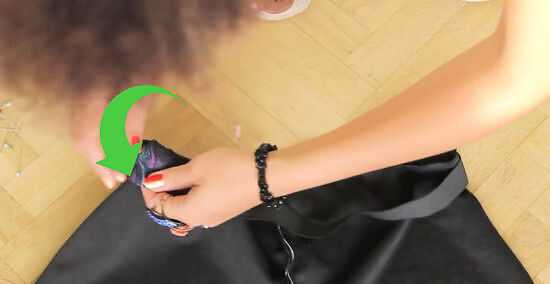
Attach your drawstring/waistband. Using a safety pin, attach your drawstring to one side of your buttonhole. Then, fold your waist over it. Straight stitch all the way around.
Finishing Your Pants
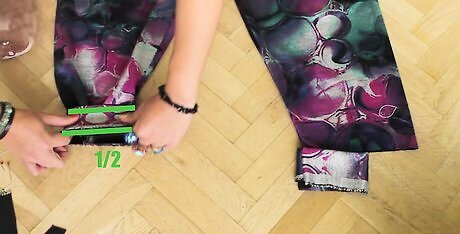
Hem the bottom. Put your pants on (inside out) and decide how long you want them to be. Fold in and pin the bottom hem where you want them to be. Straight stitch along your hem ½” from your raw edge. You can decide to make Capri’s or shorts here. You can also stitch along the bottom of the hem for a finished look.
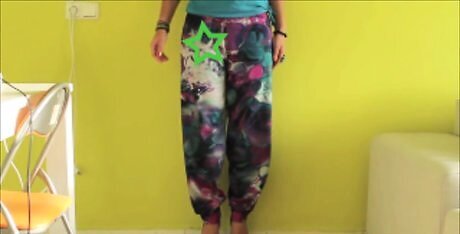
(optional) Add a patch. If you want to add some flair to your pants, this can easily be done by taking fun shapes of fabric and attaching them. Use a glue stick to temporarily attach your patch and then sew around it using the stitching of your choice.

(optional) Add a back pocket. If you decide you need a pocket, you can easily attach one on the back side of your pants. Simply use your scrap fabric to cut the size pocket you want. Use a straight stitch to attach it.






Comments
0 comment