views
Baking the Cake
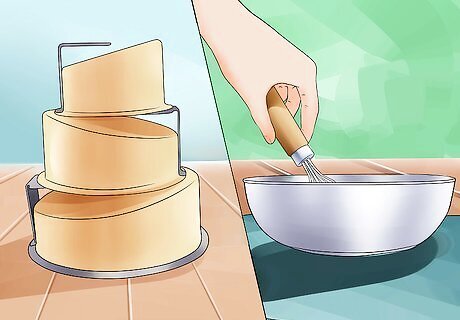
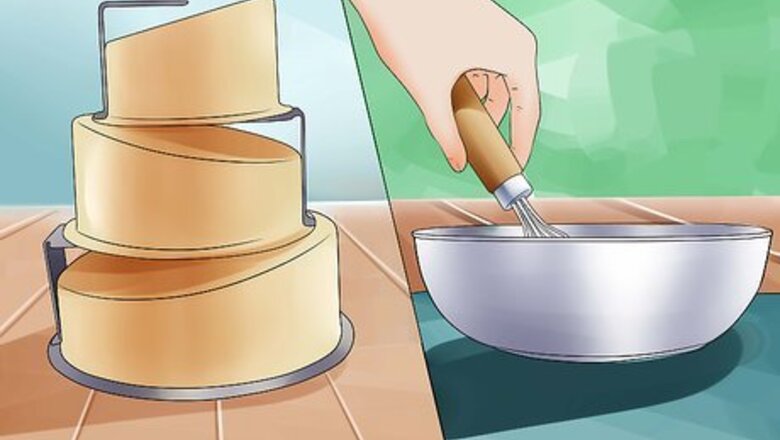
Prepare a standard cake batter. You can prepare any boxed cake mix or homemade cake batter recipe with topsy turvy cake pans. Simply make sure that you prepare enough cake batter for all the pans you'll be using. Look at the total number of servings indicated by the recipe instructions. Compare that amount to the estimated number of servings indicated for each topsy turvy cake pan you plan to use. If the recipe makes less than you need, increase the recipe. If it makes more, cut the recipe down.
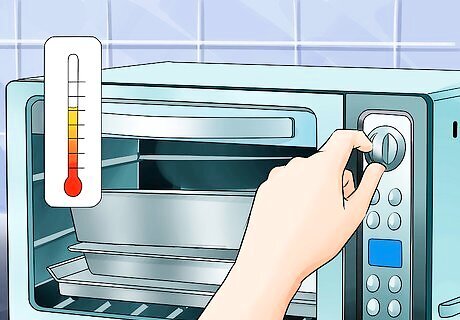
Preheat the oven. The exact temperature can vary based on the cake batter you prepare, but usually, you will need to preheat the oven to 300 degrees Fahrenheit (150 degrees Celsius). If you are only baking in pans that are 10 inches (25 cm) or smaller, preheat the oven to 315 degrees Fahrenheit (160 degrees Celsius). If you're also including a 12-inch (30-cm) or 14-inch (36-cm) layer, however, you should stick with 300 degrees Fahrenheit (150 degrees Celsius). These temperature guidelines should apply to nearly all boxed cake batters and most homemade batters. If a cake has to bake at an abnormally high or low temperature, however, you should consult the instructions and preheat the oven according to the guidelines they provide.
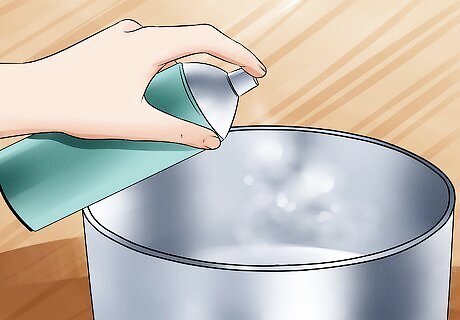
Grease the pans. Spray each of the topsy turvy cake pans with nonstick cooking spray. Make sure that the bottom and sides are thoroughly coated to prevent the finished cake from sticking. Shortening or butter can be used to grease the pans if nonstick cooking spray is unavailable. To provide an extra layer of protection, you can also dust the inside of each pan lightly with flour after greasing it.
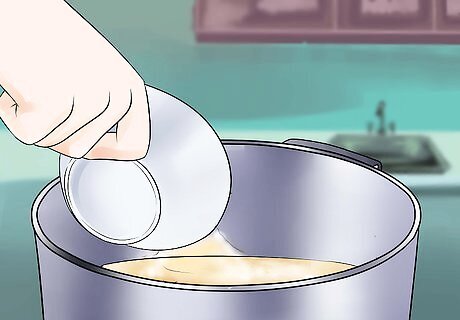
Pour the batter into the pans. Pour your prepared batter into each of the cake pans. Only fill the pans roughly three-quarters high with batter. Do not fill the pans to the top. Leave one-quarter of the pan (measured from the shallowest end) empty to allow the cake room to expand as it bakes. Otherwise, you will be left with layers that have a rounded top, and that rounded top will need to be trimmed off if you want the layers to stack well.
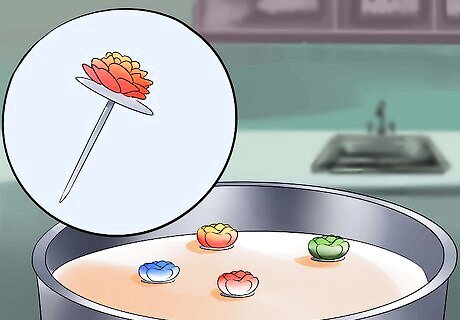
Place heat conductors in the pans. Insert two to four flower nails into the batter at the deep end of each cake pan. The head of each nail should rest on the batter and the rest of the nail should point down. A flower nail is a metal tool typically used for holding flower decorations on cakes. Note that a heating core can be used instead of a flower nail. Use two or three nails for a 10-inch (25-cm) layer and three or four nails for larger sizes. Grease the inside and outside of the heat conductor before inserting it into the deep side of the batter. If you are using a heating core, make sure that batter gets inside the core. The metal of the nail or core conducts heat, thereby providing more concentrated heat to the portion of batter it's in. By placing the conductors in the deep side of the pan, you can help the deep side cook evenly with the shallow end.
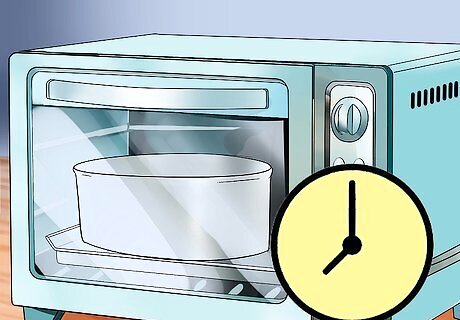
Bake until done. The exact amount of time can vary depending on the size of the pan and the cake batter. For most cakes, you should start checking the cake for doneness after 25 minutes pass. To check for doneness, stick a knife or toothpick into the thickest end of each cake layer. The tool should come out dry and clean. If you drag batter out of the cake, continue cooking for another 5 to 10 minutes and check again. Get a more accurate estimate of how long to cook the cake by referring to the recipe instructions.
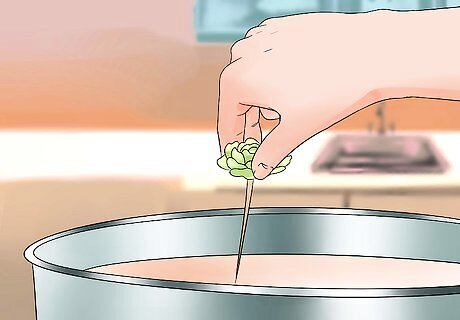
Remove the heat conductors. Once the cake has finished cooking, immediately remove the flower nails from the finished cake. If you used heating cores instead of flower nails, you will need to remove the core and carefully remove the cake from inside the core after it has cooled. Use this small cylinder of cake to fill the hole in your cake layer left by the core.
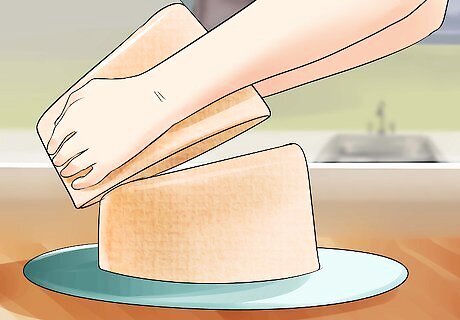
Remove the cake from the pans. Let the layers cool in their pans for 10 to 15 minutes before carefully removing each one. Place the pans on wire racks as the cake cools inside. After 10 to 15 minutes, slide a butter knife around the edges of the pan to help separate the cake from the pan. Carefully tip the pan upside-down and tap on the bottom with your fingers. The cake should fall out. If the cake does not fall out on its own, you might need to carefully glide a knife or spatula beneath the cake while it is still in the pan to help loosen it.
Stacking the Cake
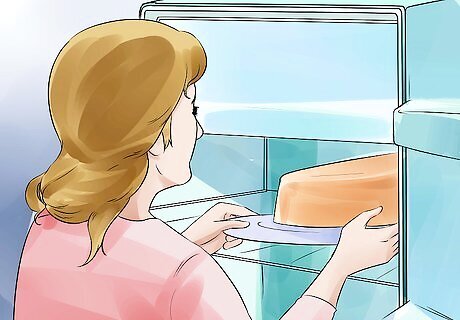
Chill the cakes. Gently each layer of cake in plastic wrap and place it in the refrigerator for two to three hours, or until it has completely cooled. You can let the cakes cool at room temperature, but refrigerated cooling is more thorough. Cooled cakes are easier to work with than warm cakes, and you'll likely end up with less mess if you handle the cake once it has cooled instead of handling it while it is warm and soft.
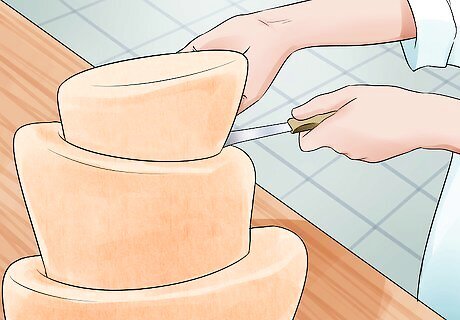
Figure out how to stack the tiers. A topsy turvy cake must be assembled in a way that keeps the center of gravity positioned above the cake's base of support. Regardless of how you stack the tiers, this physics principle must be kept in mind. Topsy turvy cakes use a principle known as counterbalance to keep the center of gravity properly positioned. Each wedge of the cake should counter its neighboring wedge so that the weight is distributed evenly throughout the structure. In other words, the slant of one layer must run at an angle opposite the slant of the second layer. The slant of the third layer should run in the same angle as the first and opposite the second. Don't be afraid to turn your layers upside-down as you stack them, if necessary. As long as each layer is aligned to the center of gravity of the bottom layer, and the weight of each layer balances out the weight of the layers around it, the cake should remain stable and upright.
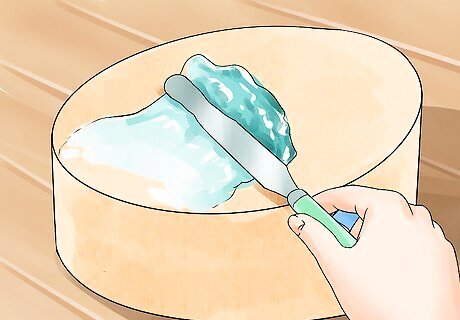
Frost the top of the bottom layer. Set the bottom layer down on a large cake board. Spoon a large glob of frosting onto the layer and spread it evenly over the top. The cake board should be slightly larger than the bottom of the cake. You'll need to be able to lift this board to move the cake around. It is strongly recommended that you "glue" the bottom of the cake to the cake board by spooning 1 to 2 Tbsp (15 to 30 ml) of frosting on the center of the cake board before resting this bottom layer on top. You will need to spoon anywhere from 1 to 1.5 cups (250 to 375 ml) of frosting on top of this bottom layer. You should have a layer of frosting at least 1/2 inch (1.25 cm) once you smooth it out.
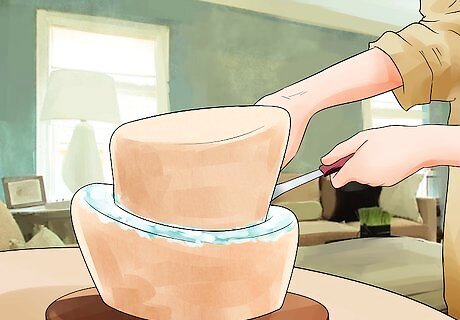
Stack the second tier on top of the bottom tier. Position the second layer on top of the bottom layer, following the design scheme you decided on earlier. Step back and look at the cake after positioning this second layer. If the upper layer appears to be sliding or slipping from its place, you may need to alter the way it is positioned to keep the cake more balanced and aligned to its center of gravity.
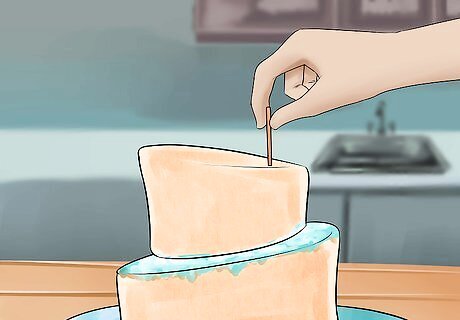
Insert wooden dowels. Slide two to four wooden dowels into the top of your second cake layer. These dowels should be long enough to go through the second layer and into the bottom layer. Make sure that the dowels are flush with the top-most layer they'll be in. Push the dowel through both layers of cake. Mark around the part of the dowel just above the surface of the cake with a pencil, then pull it back out. Trim the dowel at your mark. Make sure that you cut the dowel at the appropriate angle so that it slants along with the tilt of your cake layers. Re-insert the dowel back into both layers.
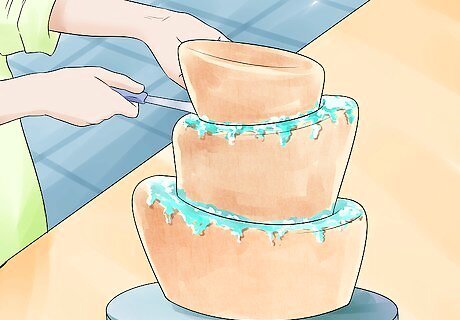
Repeat the process as needed. Continue stacking the topsy turvy tiers on top of one another using the same general pattern. Cover the top of the last layer with frosting, then set the next layer on top of it. Insert more wooden dowels to keep the structure steady. For the dowels leading into the top layer of cake, cut each one so that it is just shy of the combined height of the top and second-from-top layers. Insert the dowels into the second-from-top layer, then put the top layer in place. The dowels should not pierce through the top of the final layer. Once all of your cake layers are in place, you should insert one large dowel through the center of the entire structure.
Decorating the Cake
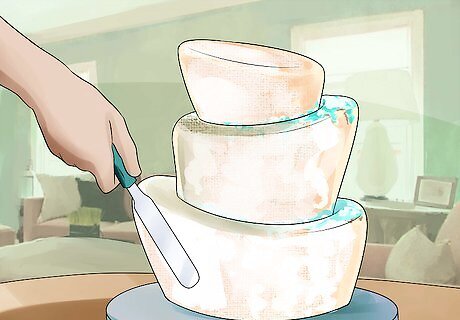
Apply a crumb coat. When you want to frost the sides of the cake, you'll need to apply a thin crumb coat to the exposed cake, trapping any loose crumbs inside. Note that the cake will show through the crumb coating. You only want to use a thin layer of frosting to trap the loose crumbs. This layer will not be visible once the cake is complete.
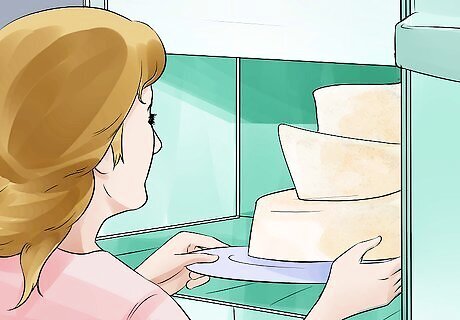
Chill the cakes again, if feasible. If your refrigerator is large enough, place the cake inside for roughly 30 minutes to help the crumb coat set. If you cannot chill the cake in your refrigerator, you should at least let it rest in a cool room for several minutes before handling it again. Consider placing a small fan in front of it to help the frosting cool. Ideally, the frosting should become so cool that it no longer feels sticky.
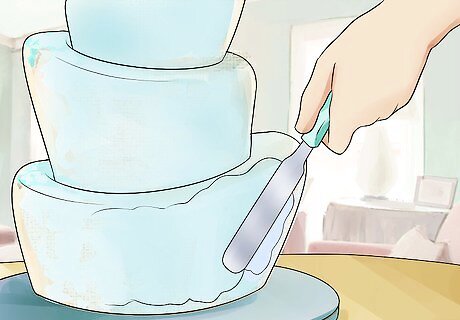
Frost the sides of each tier. Apply a thicker layer of frosting over the crumb coat of the cake. Continue until all sides are thoroughly coated and smooth. Before frosting the cake, slide strips of wax paper underneath the bottom of the cake, forming a square frame. Excess frosting will get on the wax paper instead of the cake board or platter. When you finish frosting the cake, you can remove the wax paper strips and the mess all at once.
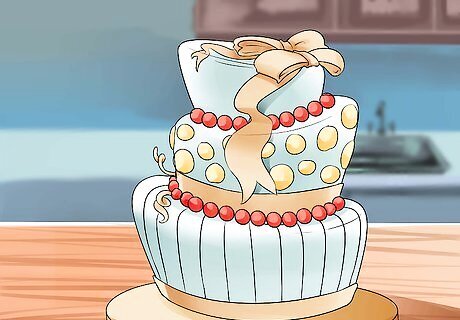
Decorate the cake as desired. From this point on, you can apply any decorations you want using additional icing, candies, or non-edible embellishments. Once you've added the finishing touches to your decorations, the cake will be complete and ready to serve.



Comments
0 comment