
Making a Dress out of a pillowcase

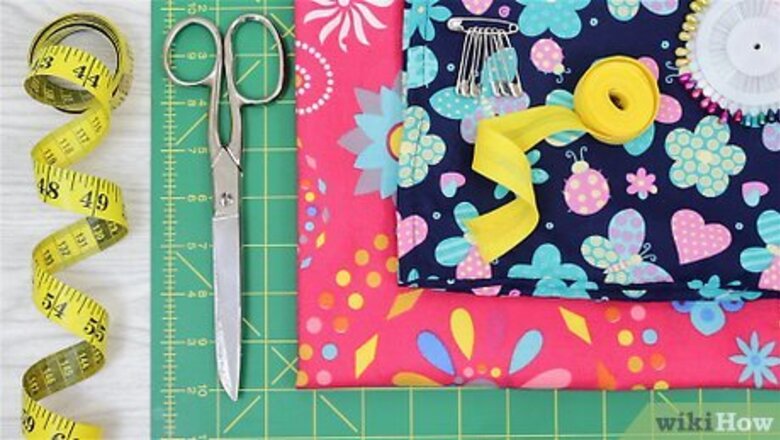
Gather your supplies. This method will show you how to turn a pillowcase into a simple child's dress. The dress is meant to be loose-fitting, like a sundress or a maxi dress. Because pillowcases only come in certain lengths, this method may not be suitable for dresses for larger children. You might still be able to use this method to make a shirt or blouse for a larger child, however. Here is a list of what you will need. A pillowcase Single-fold bias tape Sewing machine Thread Scissors Pins Ribbon Safety pin
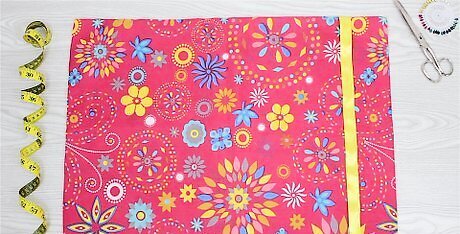
Find a suitable pillowcase. The best pillowcase to use for this is a rectangular pillowcase. Keep in mind that the bigger child is, the longer pillowcase you will need. Consider getting a pillowcase that already has a pattern along the open part. The open part will become the hem of the dress. Something with ribbon, embroidery, or lace could be really pretty.
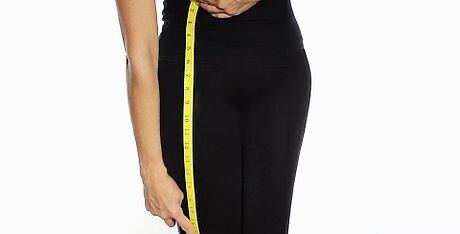
Measure your child down from the shoulder to get the length of the dress and add 1 inch (2.54 centimeters). Place a measuring tape at your child's shoulder. Measure down to where you want the dress to end. Keep in mind the length of your pillowcase; you can make the pillowcase shorter, but you cannot make it longer. If your pillow is too short, you can do one of two things: You can find a longer pillowcase. King-sized pillowcases tend to be longer. Add some fabric lace or a ruffle to the open end of the pillowcase.

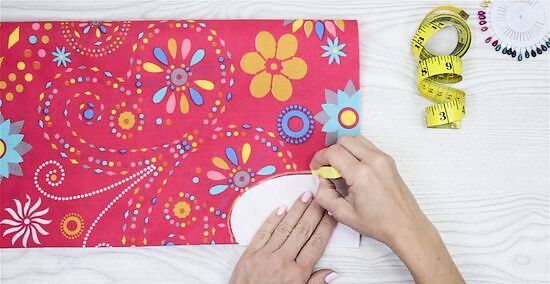
Cut the pillowcase according to that measurement. Start from the open part of the pillowcase and measure up towards the top seam. Cut horizontally across the pillowcase when you get to the length you want. This cut part will become the top part of the dress.

Fold the pillowcase in half vertically. You should end up with a long, skinny, rectangle. This will allow you to cut two identical armholes at the same time.
Cut a J-shaped armhole into the top of the pillowcase. The top of the J should be aligned with the top of the pillowcase. Be sure to cut through all layers of fabric at the same time. This will make everything even. Here are some measurements to guide you: For a small child, make the armhole 1 ½ inches wide and 3 inches tall (3.81 centimeters wide and 7.62 centimeters tall). For a medium child, make the armhole 2 inches wide and 4 inches tall (5.08 centimeters wide and 10.16 centimeters tall). For a large child, make the armhole 3 inches wide and 6 inches tall (7.62 centimeters wide and 15.24 centimeters tall).

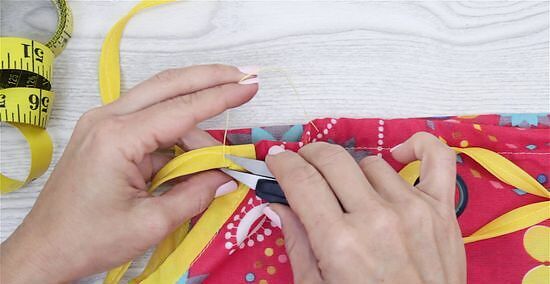
Pin some single-fold bias tape around the edge of each armhole. Open up the fold in the tape, and line up the edge with the edge of the fabric. Make sure that the right sides of the tape and pillowcase are facing each other. Pin everything in place. You will be flipping the seam tape over, into the pillowcase after you sew it down.
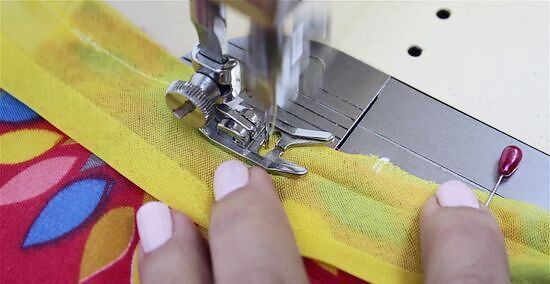
Stitch the bias tape down. Use the fold in the tape as a guide. Knot the ends of the threads and snip them off. Don't forget to remove the pins.
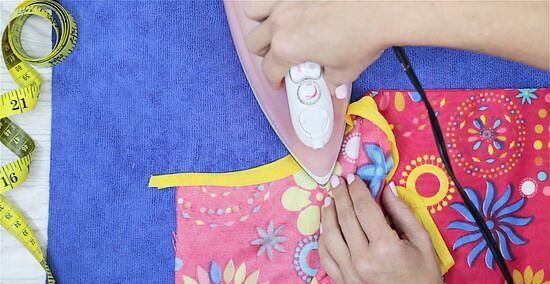
Flip the bias tape inside the pillowcase and topstitch it down. Press it with an iron first, then sew it down. Try to sew as close as possible to the edge of the bias tape. Now you will have a clean edge inside the pillowcase. Use a thread color that matches the pillow. If your pillow has a pattern on it, use a thread color that matches the base of the pillow, instead of the designs.
Fold the top part of the pillowcase twice to make a casing for the ribbon. Take the front of the pillowcase and fold the top ¼ inch (0.64 centimeters) inside. Fold it another ¾ inch (1.91 centimeters). Press the seam with an iron. Repeat the process for the back of the pillow, and pin everything in place.

Sew the two hems down. Try to sew as close to the bottom edge as possible.
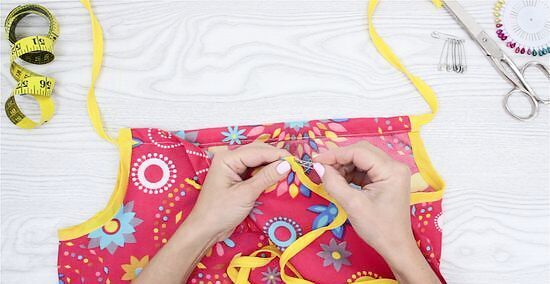
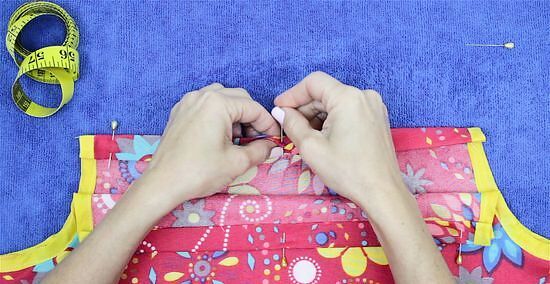
Thread a long piece of ribbon through each casing. Slip a safety pin through the end of a ribbon, and use it to guide the ribbon through the front casing. Repeat the process with a second ribbon through the back casing. Take off the safety pin when you are done.
Go over the dress when you are done and check for loose threads. If you find any, tie them off into a tight knot, then snip off the excess.

Put the dress on the child and tie the ribbons into bows. Take the two ribbons on the left side and tie them into a bow above the left shoulder. Repeat the process with the ribbons on the right side. You may have to scrunch the front and back of the dress to get it to fit across your child's chest and back.
Making a Tank-Top Dress
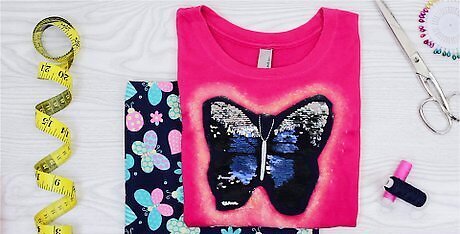
Gather your supplies. This dress combines a pillowcase and a tank top to make a cute, jumper-like dress. The key to making this dress fit properly is to use a tank top that is already somewhat loose on your child. If you use a tank top that must stretch a lot in order to fit your child, the dress may end up too tight; the skirt part won't stretch. Here is a list of what you will need: Tanktop Pillowcase Sewing machine Thread Scissors Pins
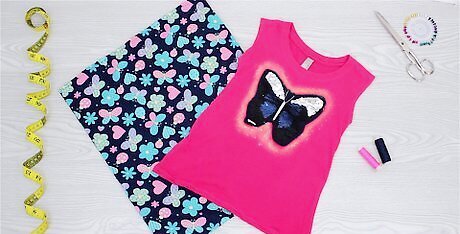
Find a suitable tank top and pillowcase. The tank top should fit your child well, but still be just a little on the loose side. Keep in mind that the skirt part of the dress will not stretch, so if the tank top is already tight on your child, the dress will end up too small. Try using a solid-colored tank top and a pillowcase with a pattern on it. This will be the most pleasing to the eye. Patterns on both the tank top and the pillowcase may clash or make the dress appear too busy. You can also use a fitted t-shirt as well, just make sure that it is not too tight on your child.
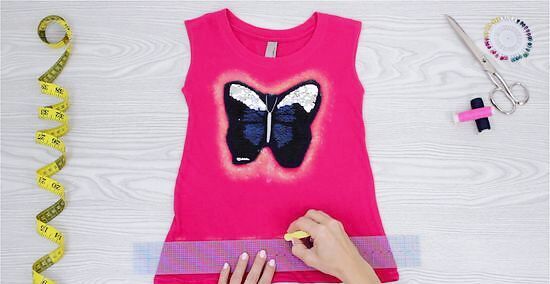
Make a mark on the tank top where you want the skirt to begin. If you need to, you can put the shirt on the child first; it may help you decide where you want the skirt part to begin. You can have the skirt begin a few inches below the arm hole or even at the waist. The choice is up to you. The tank top will become the bodice part of the dress.

Cut straight across the tank top, ½ inch (1.27 centimeter) below the mark you made. Try to cut through both layers at the same time. This will make it more even. Set the tank top aside.

Cut the top seam off of the pillowcase so that you have an opening at both ends. You will be sewing the pillowcase onto the tank top to make the skirt, so make sure to include add ½ inch (1.27 centimeter) to the total length. How much you cut off of the pillowcase will depend on how tall your child is, or how long you want the skirt to be. For a tall child or a long skirt, cut less off. For a small child or a shorter skirt, cut more off.

Sew two straight rows around the top edge of the pillowcase. The first row should be ¼ inch (0.64 centimeters) away from the cut edge. The second row should be ½ inch (1.27 centimeters) away from the edge. Do not overlap, knot, or trim the threads. These are basing stitches, and you will be pulling them to gather the skirt later. Try to use the longest possible stitch on your sewing machine, and a lower tension. Using two rows of stitches helps make the gathering easier. It will also make things more even.

Turn the pillowcase inside out and tuck the tank top inside. Do not turn the tanktop inside out. The right sides of both the pillowcase and the tank top should be touching.

Align the tank top with the pillowcase. The cut edges of the tank top should be aligned with the cut edges of the pillowcase. The pillowcase will likely be much wider than the tank top. This is normal; you will be gathering the pillowcase later. Just make sure that the side seam of the pillowcase is touching the back of the tank top.
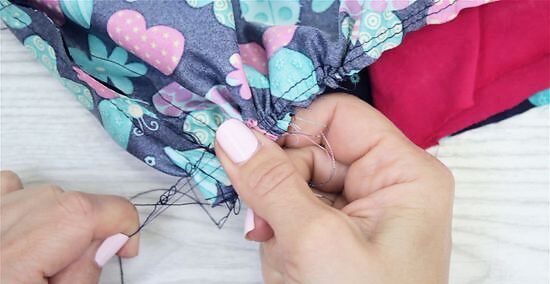
Start gathering the pillowcase until it fits the tank top. Find the ends of the basting stitches you made earlier. Gently tug on the threads and begin gathering the top of the pillowcase. Keep gathering until the pillowcase is the same width as the tank top. Knot the threads and snip off the excess.

Pin the pillowcase to the tank top. This will help keep everything in place when you go to sew. Keep the pins a few inches apart, and pin all the way around the waistline of the dress. Be sure that the cut edge of the tank top and the pillowcase are matching up, or the skirt will be uneven.
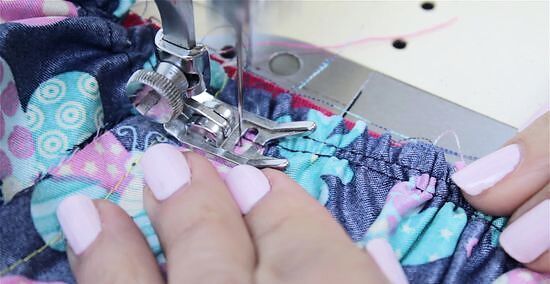
Sew the pillowcase and tank top together using a ½ inch (1.27 centimeter) seam allowance. The tank top will likely stretch a little. Be sure to knot and trim the threads when you are done.

Finish off the waist seam. You can use a serger to finish off the hem. You can also use a zigzag stitch.
Turn the dress inside out. At this point, your child can wear the dress, but you can also topstitch the waist hem down. To do this, pin the waist hem against the tank top. Next, topstitch it down; try to get as close as possible to the seam line.

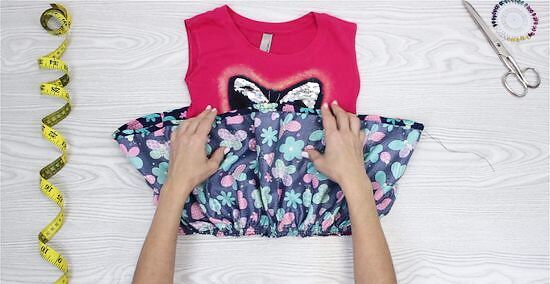
Check for any loose threads. When you are done sewing, go over the dress. Make sure that there are no hanging threads. If you find any, knot them tightly, then snip them off as close as possible to the knot.


Comments
0 comment