views
Shaping a 3-D Bird
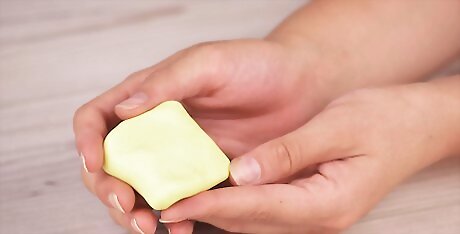
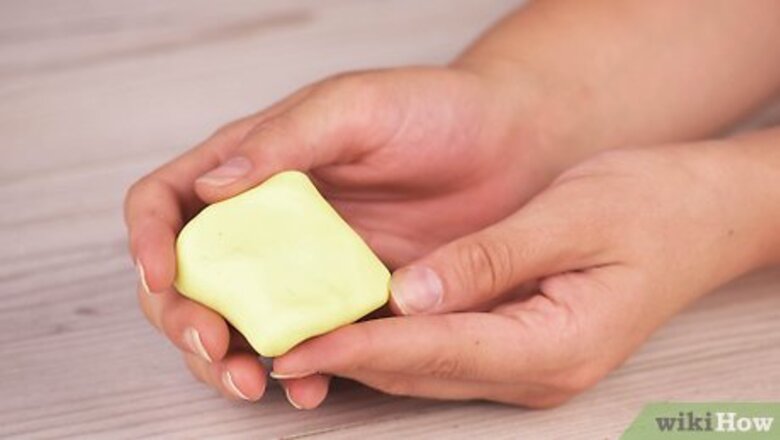
Scoop out a piece of clay about the size of an egg. Whether you’re using clay in blocks or a container, scoop out an egg-sized piece to make the bird’s body with. You can use a different amount of clay if you want to, but this amount should give you a bird that fits nicely in your palm, so it’s perfect to start with. You can use any color of clay that you want to. If you use plain white clay, you could always paint it later on to give your bird some extra decoration. Use acrylic paint, which is best for clay. The size of the clay you start out with isn’t super important. If you want to make a bigger or smaller bird, then just use a different amount of clay. Any type of modeling clay that you'd find in a craft store will work for this. You might want to get a few different colors for the different parts of the bird.
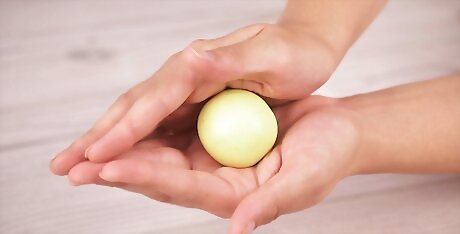
Roll the clay into a ball between your palms. Hold the clay in between your palms. Then roll the clay between your palms by making small circles with your hands. Don’t press too hard or you’ll crush the clay. Stick with light pressure. Keep rolling until the clay forms into a ball. The ball doesn’t have to be perfectly round.
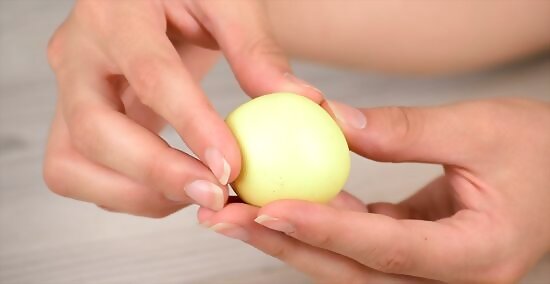
Mold the clay into a teardrop shape. Now give the bird’s body some shape. Pinch one end of the ball to thin it out. Imagine you’re trying to make the ball into a teardrop shape. The thinner end is the bird’s tail. If you mess up at any point, just roll the clay back into a ball and start over. Any mistakes are really easy to fix.
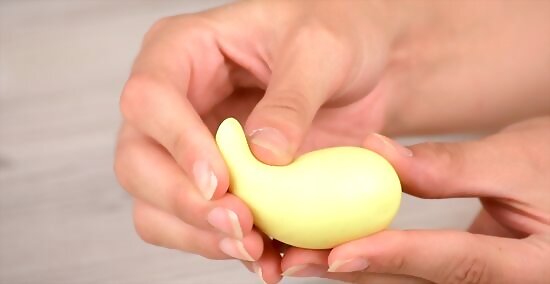
Bend the tip of the teardrop up to make a little tail. Hold the thin end of the teardrop between 2 fingers. Bend it up a little so it forms a little tail for your bird. You can bend the tail as much or as little as you want. Bending it up a lot gives your bird a very pronounced tail, like it’s in flight.
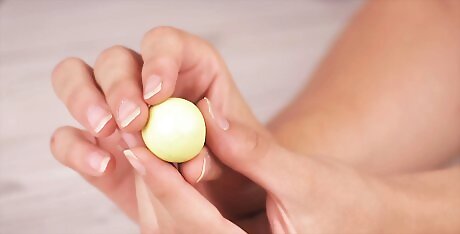
Roll another clay ball about 1/3 the size of the bird's body for its head. Put the bird’s body to the side and scoop out another piece of clay. Make it about 1/2 to 1/3 the size of the bird’s body. Roll it into a round ball like you did for the bird’s body to make a perfect head. You can always add more clay or take some away if the size of the head isn’t right. It’s easy to fix if you don’t like the size at first.
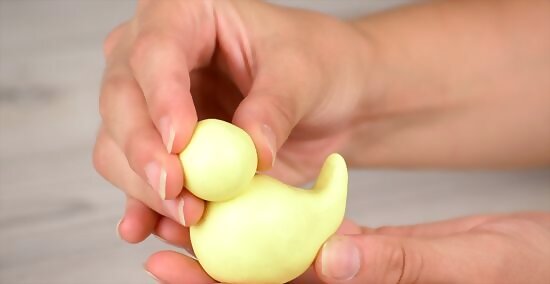
Press the head firmly onto the thick end of the body. Take the head and gently press it onto the side of the body opposite from the tail. Hold it for a second to make sure it sticks. Now your bird has a head! Don’t press too hard when you stick the head on or you could crush the bird’s body. You can leave the head rounded, or mold it a bit so the borders blend with the body. This makes your bird look more lifelike. It depends on the look you’re going for.
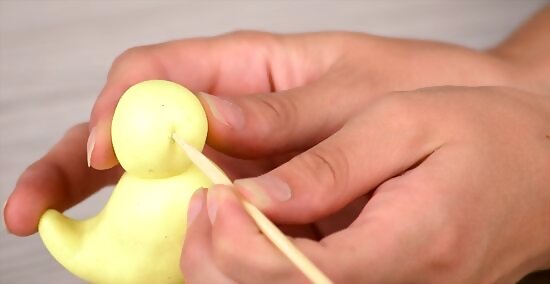
Poke 2 holes in the head for the bird’s eye sockets. Get a pen or toothpick and poke holes on either side of the bird’s head to make eye sockets. Depending on the size of the bird, the pinpricks could be large enough for the eyes, or you might want to widen them a bit if your bird is bigger. This helps the clay eyes stick better later on. Do your best to make the eyes even on each side. Otherwise, the bird’s eyes will look crooked.
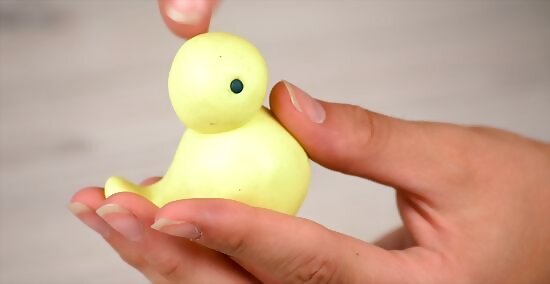
Add 2 small clay balls for the bird’s eyes. Scoop out 2 tiny pieces of clay, about the size of the 2 eye sockets that you made for the bird. Roll each piece between your fingers to make them into little balls for the eyes. Then gently press an eye into each socket. Don’t press too hard or you could knock the bird’s head out of place! You can use all different colors for all of these detailed pieces. For the eyes, you might want to use black or a similar dark color. If you prefer, you could skip this step and just leave the eye sockets empty. The little holes also look like eyes by themselves.
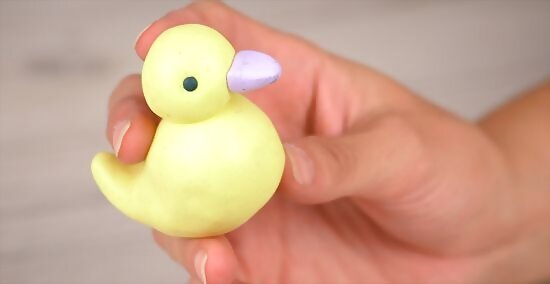
Mold a little cone for the bird’s beak. Scoop another piece of clay, about twice the size of the eyes. Hold the clay between your fingers and roll it into a little cone, so one side is thinner than the other. Then take your little beak and angle it so the thicker side is facing the bird’s head. Gently press it onto the front of the head to give your bird a beak. If you want to use a different color for the bird’s beak, yellow or orange are good choices. Don’t worry if the shape isn’t perfect. As long as it’s a little thinner at one end, it will make a great beak. You can make a little slit with a knife if you want the beak to look like it’s open.
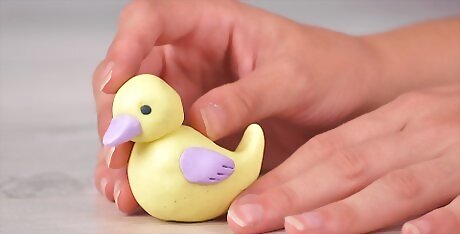
Make 2 flat teardrop shapes for the bird’s wings. Use 2 more small pieces of clay. Flatten each one out so they can cover about half of the bird’s side section. Then pinch one end of each piece to mold it into a flat teardrop shape for the bird’s wings. Press a wing onto each side of the bird. Hold each one for a few seconds to make it stick. Now your bird looks like it’s ready to fly! You can also use different colors for the wings, or just the same color as the bird’s body. If you want your sculpture to harden, then leave it out to dry. Different clay types have different drying times, but most clay should harden within 24 hours.
Making a Flat Clay Bird
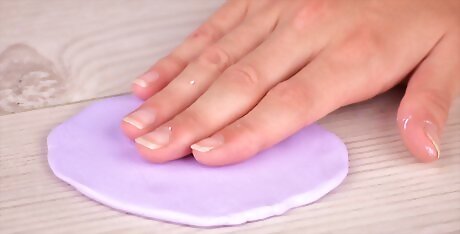
Flatten an egg-sized piece of clay onto a table. Take clay of any color and break off a piece. Roll it out on a table, then flatten it out so it’s a little bigger than the cookie cutter that you’re using. You might want to work over a placemat or on a cutting board so you don’t make a mess. If you have trouble getting the clay flat enough, you can use a rolling pin to help. Any type of modeling clay that you'd find in a craft store will work for this.
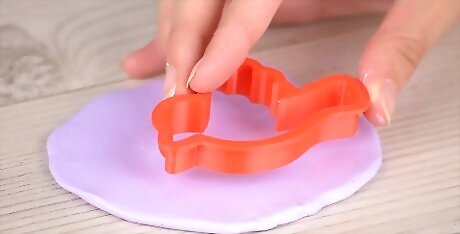
Press a bird-shaped cookie cutter into the clay. Get the cookie cutter and center it over the clay. Then press it down to cut a bird shape into the clay. Brid-shaped cookie cutters are easy to find online or in craft stores. If you don’t have a cookie cutter, you could use a knife and cut a bird shape into the clay.
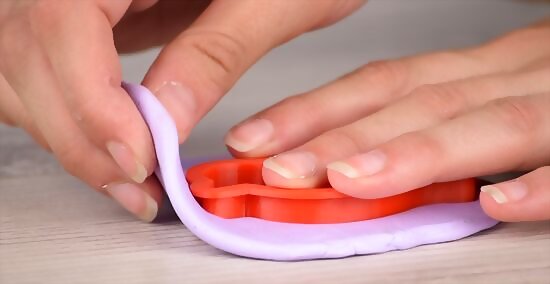
Peel away the excess clay around the cookie cutter. After cutting the bird into the clay, there should be some extra clay outside the bird. Peel this away so you’re just left with a bird-shaped piece of clay. Save the extra pieces of clay. You can do other crafts with them.
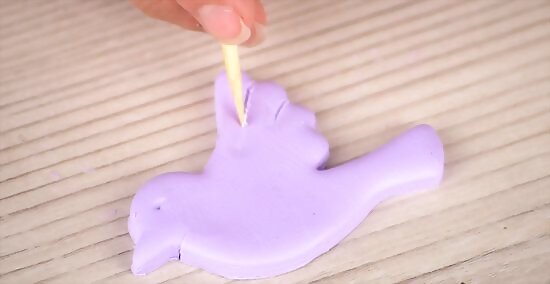
Draw an eye and a wing onto the bird with a pen or toothpick. Decorating your bird is easy. Just get a pen, toothpick, knife, or stick to start. Then poke a hole on the bird’s head for an eye. To give your bird a wing, simply draw a wing shape around the middle of the bird’s body. You could also draw decorative shapes like stars or hearts on the bird. Just have fun! Instead of poking holes into the clay, you could also use paint or a marker to decorate it. If you paint, use an acrylic type for the best results.
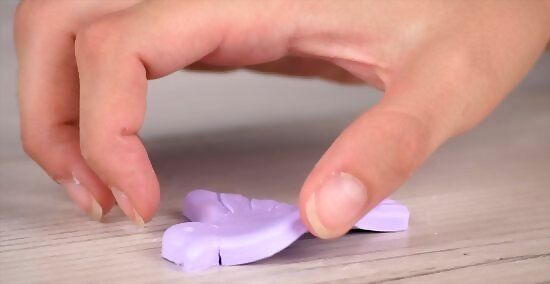
Flip the bird over to decorate the other side. Decorating the rest of the bird is easy. Just flip it over and draw on the other side as well. You can add an eye and wing, and any other shapes you want to. This is optional, and you don't have to decorate the other side if you don't want to.
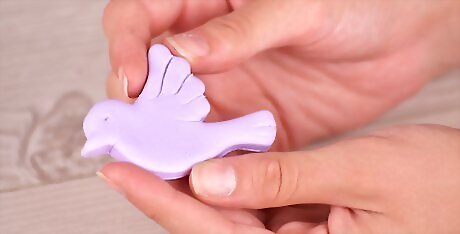
Leave the clay to dry for 24 hours. Once you’re all done decorating, then give your clay some time to dry. Leave it out for 24 hours and let it harden. After it’s dry, you’ll have a brand new clay bird decoration! Dry clay is usually brittle and breaks easily, so be careful not to drop your bird. Different clay types might need specific times to dry. Check the instructions to see how long you have to leave it out.





Comments
0 comment