
Signs of a Roof Leak
Any alteration to your wall or ceiling could indicate a leak. In general, you likely have a leak if you notice any of the following in your home’s walls, ceilings, or attic: Dark spots or discoloration on wood, drywall, or insulation. Softened or squishy drywall or plaster. Mold growth or a mildew smell. Bulging or misshaped walls. Rust or condensation on nails and other metal objects. Damage, stains, or dampness (especially noticeable in the insulation).
Finding a Roof Leak With Attic Access
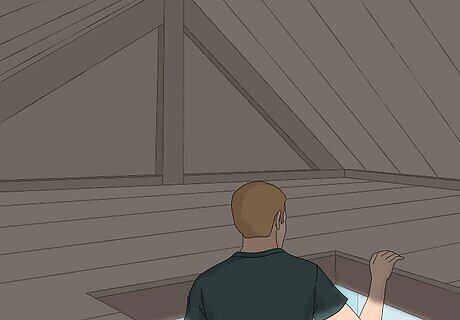
Go into your attic when it’s still light out. If you have a dedicated entry point to go into your attic, use that to access your attic. If you have an outdoor hatch, wait until it’s dry out to set the ladder up to go into your roof. Do this when it’s bright out so you can see light coming in through the leak. If you’ve never accessed your attic’s crawlspace, look for a square-shaped board embedded in the ceiling of the highest floor in your home. Get on a ladder and try pressing the panel up to open the access hatch.
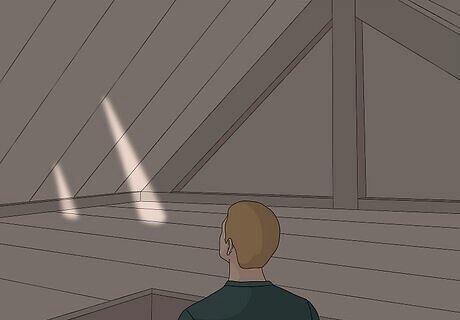
Look for shards of light bleeding into the attic. Turn any lightbulbs or light sources off. Give yourself a minute or so to let your eyes adjust. Then, look for any points of light that you can see pouring into the attic from the outside. Take your time and work your way around each section of your attic. Just look for any light that shouldn’t be there and follow it to find the source of your leak. Turn the light back on if you’re worried about where you’re stepping as you work your way around the attic. Really take your time. Even the tiniest point of light indicates there’s a gap between the roof and your attic.

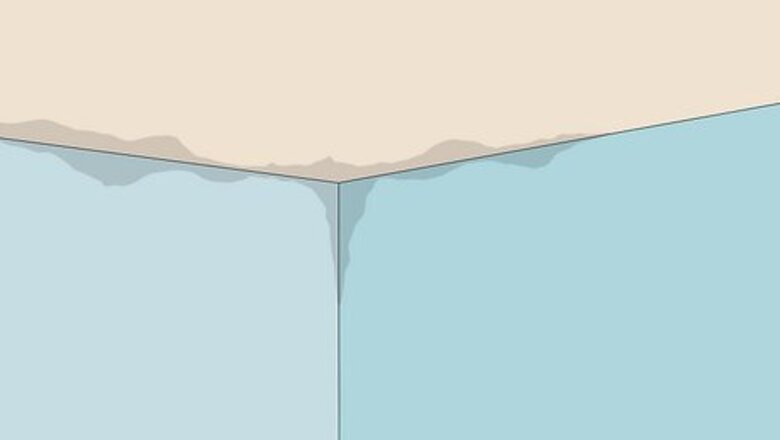
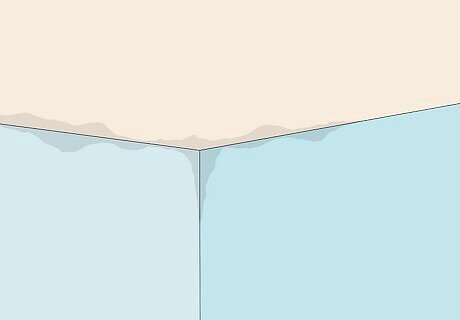
Inspect the walls if you can’t find any light. If the roof seems to be solid and you don’t see any light coming into the attic, shine a flashlight on the walls and floor. Look for any evidence of water damage. This includes stains, mold, discoloration, dampness, or rust. Pay special attention to the area where the ceiling meets the floor. If your gutters are the source of the leak, you should see discoloration in these corners.
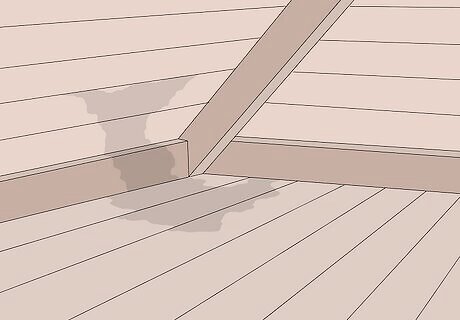
Track your way up until you find the point of the leak. Once you find evidence of a water leak, follow the trail upward to trace the source of the leak. If the leak is near the corner at the floor, your gutters are likely to blame. If the leak is in the floor but nowhere near the wall, you probably have to open the floor up to look for leaking pipes. The highest point where you find evidence of a leak is most likely the source of the leak. Ask your roofer to inspect the area on the other side to repair the shingles. If the area is dry and you see the opening inside, feel free to patch it with roofing cement. You’re still going to need to get the shingles on the other side replaced soon, though.
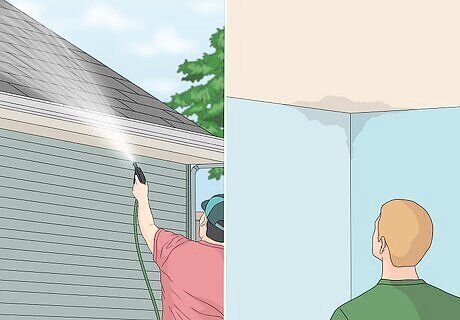
Run the hose test to see if you can recreate the leak. If you can’t find any evidence of a leak, enlist a friend or neighbor to help you test the roof. Have them stand outside with a high-powered hose nozzle and ask them to spray one part of the room. In the attic, inspect the area yourself. Continue working your way around the attic until you find the water leaking in. If you still can’t find a leak, the odds are high that the water is either coming in through the wall (usually because of a bad gutter), or you don’t have a roof leak—you’ve got a leaky water pipe in the wall.
Finding a Roof Leak Without Attic Access
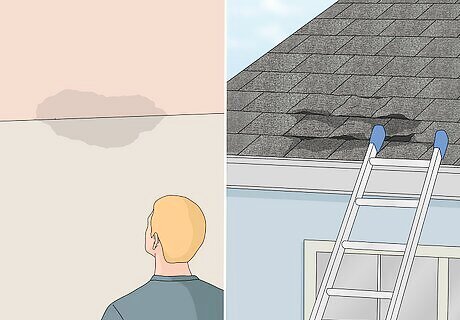
Work backwards from the leak to look for visual damage. If you see water damage in your wall, figure out what’s on the other side of the wall. Go outside and visually inspect the roof on that side to look for damage. If you’ve got a ladder big enough, climb to the highest rung to take a closer look to see if you can spot the damage. Warning: Do not get off of the ladder to go onto the roof unless it is 100% safe (i.e. it’s a flat roof and you have a roof harness installed and set up properly). Just look from the ladder.
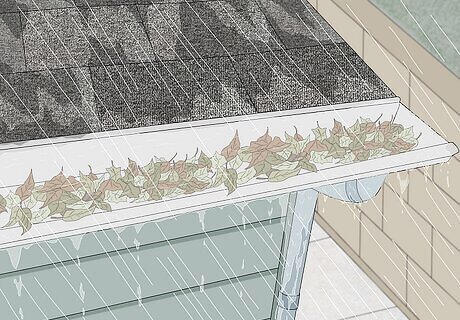
Inspect the gutters and downspouts when it rains next. If you cannot find a single source of the leak or the evidence of the leak appears to cover a large area, wait for it to rain. When it does, go outside and look at your gutters and downspouts. If the water is spilling over a section of gutter or a downspout isn’t letting water out, it’s a sign there’s a blockage. This is likely the source of the leak. If the gutters are blocked or damaged, water can pool up and soak into the wood siding behind it.
Contact a roofer to find the leak on an angled roof. If you don’t see any damage and you just can’t locate the source of your leak, reach out to a professional roofing company. You’ll need a professional to repair the damage anyway if it’s on an angled roof, and they’ll be able to isolate the source of the issue for you.
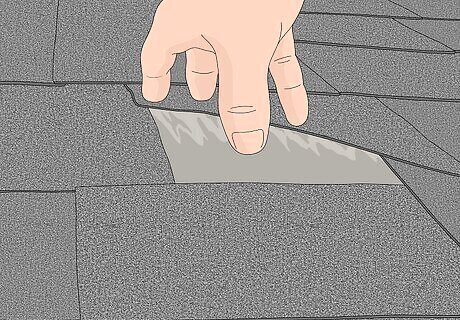
Inspect the seam under the shingles to see if they’re wet. If you can safely get on your roof (it’s flat and you have a harness or there’s a railing), use a plastic putty knife or some other dull, flat object to gently pry up the edge of a shingle. Put your hand underneath to feel for moisture. A leak that gets under a shingle will keep the subroof moist for a very long time, so unless it hasn’t rained recently, moisture means you’re closing in on the leak. Keep checking the shingles around the area where the signs of a leak should be and work your way out. A leak can be caused by extremely small tears, so you may not immediately see the source of the problem. A lot of the time it will be obvious, though. A shingle will likely be torn, damaged, or missing.
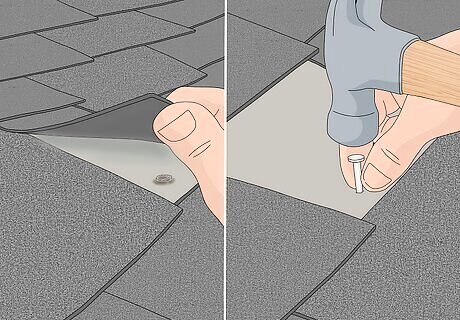
Look for rust on the roofing nails under the shingles. Once you’ve found wet shingles (and you’re ready to replace them, peel them up by hand and inspect the roofing nails in the subroof. Any rusty nail is indicative of a leak source. Remove these nails and replace them with slightly larger alternatives before installing the new shingles. A single rusted nail can let in over a gallon (3.75 L) of water during a heavy rain! It’s not a small issue. Roofing nails can rust when they’re exposed to excess water or wear and tear. This is normally caused by shingle damage. However, if multiple nails are rusted through and this problem keeps reoccurring, it’s probably time for a new roof.
Causes of Leaks

Age of the roof. Most roofing materials can stand the test of time for 15-25 years. Eventually, your roof is going to need to be replaced, though. Shingles start to deteriorate, the subroof starts to warp and become brittle, roofing nails rust, and all kinds of weather just compound to the point where it’s cheaper to replace the roof than continue making repairs.
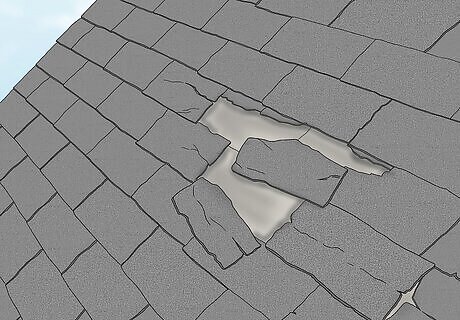
Worn-down shingles. The shingles are the first line of defense against squirrels, rain, hail, and tree branches. If a shingle becomes damaged or falls off, the underlayment of the roof becomes exposed. If that underlayment tears (which is quite easy once a shingle is gone), the subroof is going to start absorbing water. This will cause all kinds of leaks over time.
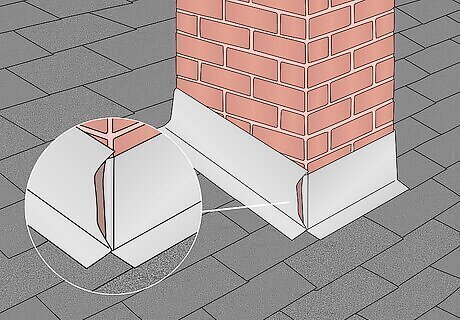
Loose flashing. Flashing refers to the metal panels that surround the chimney and cover the corners and weird angles of your roof. If any of the flashing comes loose or falls off, it will reveal a seam where water can enter underneath the shingles. At some point, this will lead to a leak.
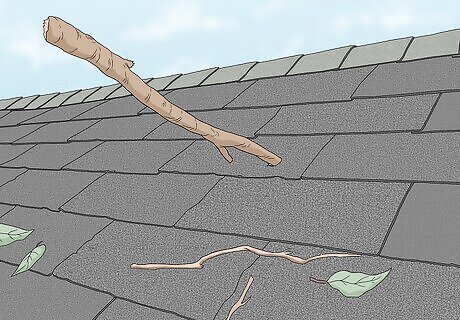
Damage from weather or debris. If a leak develops after a storm, the odds are good that something punched a hole in your roof. Strong rain, wind, snow, hail, or flying branches can easily puncture a roof if the shingles are on the older side.


Comments
0 comment