
Creating the Back of the Sweater
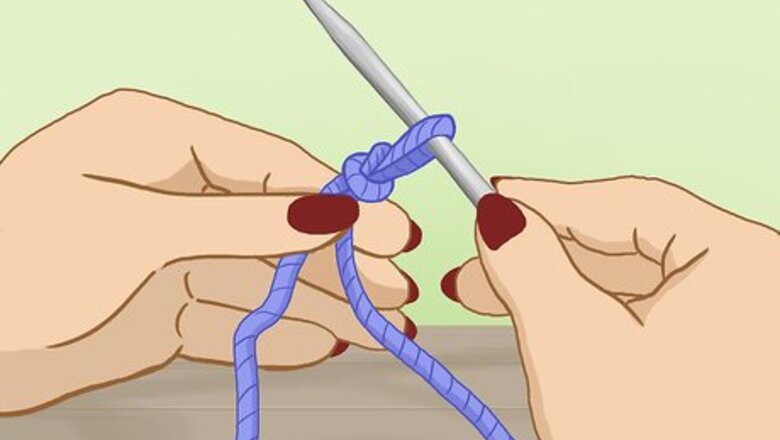
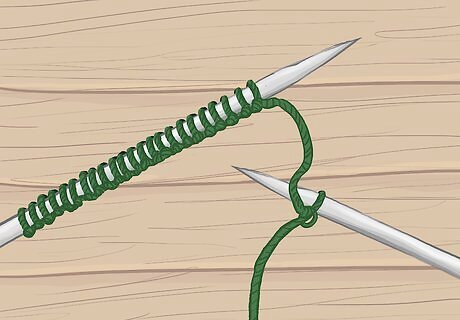
Create a slipknot. Loop the yarn around your index and ring fingers twice, and then pull the first loop through the second loop. Pull the tail to secure the loop and then slide the loop onto your right-hand knitting needle. Tug on the tail to tighten the loop around the needle. The slipknot will count as the first cast on stitch.

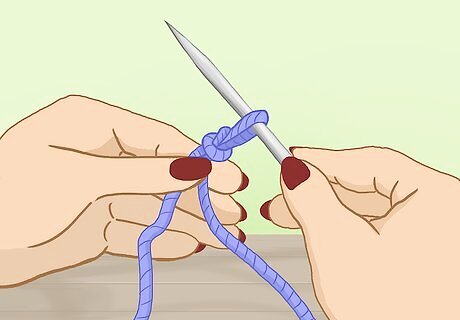
Cast on 33 stitches for a newborn size sweater. Loop the yarn over the left-hand needle and then insert the right-hand needle through this loop. Yarn over the right-hand needle and pull this yarn through the loop to create a cast on stitch. You should now have 2 stitches on your right-hand needle. Continue casting on until you have a total of 33 stitches. Cast on 3 extra stitches for 3 month size, 6 extra stitches for 6 month size, 9 extra stitches for 9 month size, and so on.
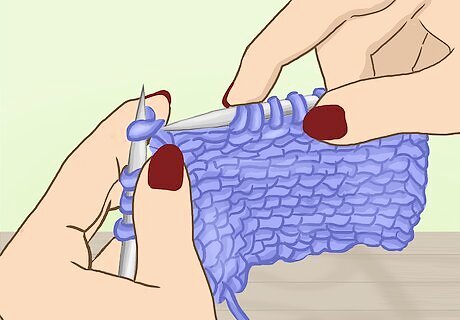
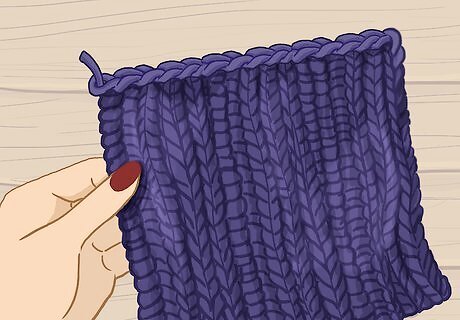
Knit for 44 rows for a newborn size sweater. Place the needle with all of the cast on stitches in your left hand and the empty needle in your right hand. Insert your right-hand needle into the first cast on stitch. Loop the yarn over the right-hand needle, and pull this yarn through the cast on stitch. Continue working across the row in the knit stitch, and then knit for 43 more rows in the same way. If you are making a larger size baby sweater, use a shirt or sweater in that size to help you determine how long to make the back piece. Keep knitting until the piece is the same as the shirt or sweater. Make a note of how many rows this is so you can knit the front pieces to the same length. If desired, you can use a special stitch to knit the body of the sweater. This will allow you to add some extra body and texture to the baby sweater.

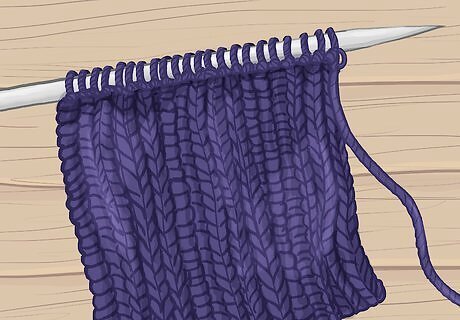
Cast off the stitches after you complete the 44th row. When you have completed the 44th row or the row that you need to complete for the desired length, begin casting off your stitches. Knit the first 2 stitches, and then bring the first stitch over the second stitch. Then, knit 1 stitch and bring the first stitch over the new second stitch again. Keep casting off to the end of the row and then tie a knot through the last stitch to secure it.
Knitting the Front Pieces

Cast on 20 stitches for a newborn sweater. Make a slipknot as before and then cast on 20 stitches in the same way as you did for the back of the sweater, but leave a 18 in (46 cm) long tail, which is a strand of yarn that you do not knit. You will use the tail for sewing the front piece onto the back piece. Cast on 1 extra stitch for each size above newborn. For example, if you are making a 3 month sweater, cast on 21 stitches. For a 6 month sweater, cast on 22 stitches.
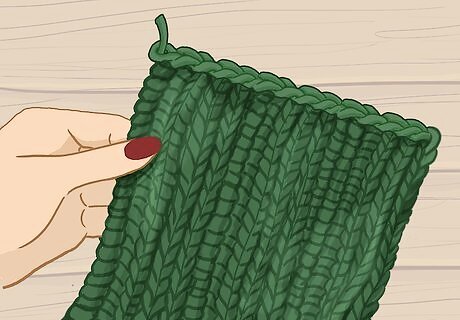
Knit for the next 44 rows. Knit across all of the next 44 rows in the same way as you did the back piece. The front piece should be the exact same length as the back piece, so make sure to count your rows. If you are making a larger size sweater, knit the same number of rows as you did for the back of the sweater.
Cast off after the 44th row. When the piece is 44 rows or the desired length for the size sweater you are making, begin casting off in the same way as you did for the back piece. Cast off all of the stitches in the row. You can tie a knot through the final stitch to secure it and then cut the yarn 0.5 in (1.3 cm) from the last stitch. Repeat the process to create the second front piece. The 2 front pieces need to be identical in size, so repeat the process in exactly the same way.
Making the Sleeves
Cast on 22 stitches and leave a 18 in (46 cm) long tail. Make a slipknot and cast on as you did for the other parts of the sweater. You will need a total of 22 cast on stitches if you are making a newborn sweater. Add 3 extra cast on stitches for a 3 month size sweater, 6 for a 6 month size sweater, and so on.
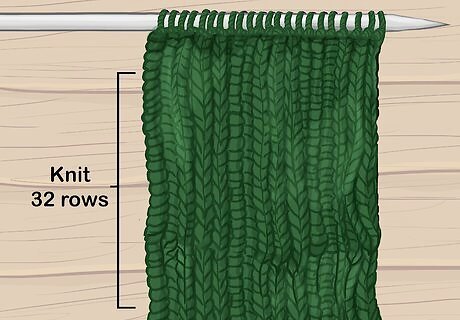
Knit for 32 rows for a newborn size sweater. Work the sleeve as a flat piece just as you did for the other parts of the sweater. You will sew it into a sleeve shape before attaching it to the sweater. For a larger size sweater, add 1 row per size up from newborn. For example, if you are making a 3 month size sweater, knit 33 rows. For a 6 month sweater, knit 34 rows. You can also measure the sleeve against an existing shirt or sweater sleeve to determine how wide you need to make it. Place the folded sleeve over the sleeve of an existing sweater or shirt to check the width and see how much you should add.
Cast off to complete the sleeve. When you have finished knitting the sleeve to the desired size, cast off just as you did for the other sweater pieces. Tie a knot to secure the last stitch and cut off the excess 0.5 in (1.3 cm) from the last stitch. Repeat the process exactly the same way to make the second sleeve.
Assembling the Sweater

Lay out all of the pieces in the form of the completed sweater. Fold the sleeve pieces in half width-wise, but leave the other pieces open. Place the back piece down first, the 2 front pieces directly on top of the back piece, and then place 1 of the folded sleeve pieces on the side of each armhole. This will help you to see where you need to sew to complete the baby sweater. If you left long tails on the ends of your sleeves, place the sleeve pieces so that the tails are next to the armhole areas of the front and back pieces.
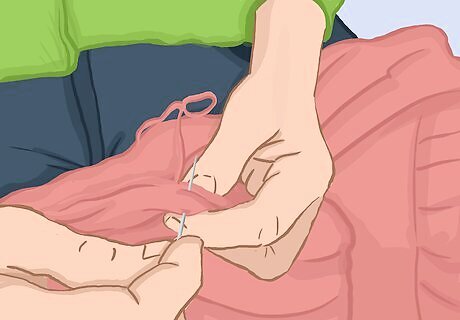
Sew the shoulder seam to connect the front and back pieces. With the pieces on top of each other, insert the threaded yarn needle into the first stitch on the top of the back piece and then through the first stitch on the front piece. Bring the needle and yarn all the way through, leaving just a few inches on the other side of the stitch. Then, bring the yarn needle up and around to the back piece again and sew through the back and front pieces as before. Keep sewing until you reach the width of 3 fingers to create the shoulder seam. Then, repeat the same process on the opposite side with the other front piece.

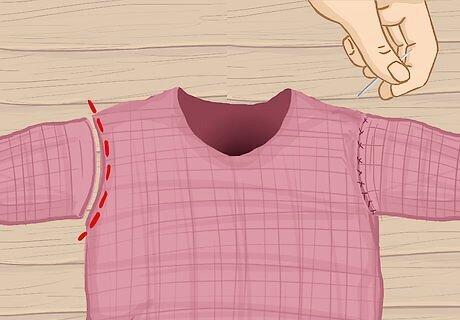
Connect the sides of the front and back pieces. Use the same stitching technique to sew through the stitches on the side of the back piece and 1 of the front pieces. Sew from the bottom up to the area where the sleeve will need to be attached. Use the sleeve to help you determine where this will be. Stop sewing where the sleeve's armpit will be. Repeat the same process for the opposite side.

Create seams on the bottom edges of the sleeves. Thread the yarn needle with the tail of yarn you left and sew through the stitches on the top and bottom of the folded sleeve piece. The piece should be folded width-wise so that your first and last rows are aligned. Insert the yarn needle through the first stitch on the top and bottom of the folded sleeve edge, and then bring it through the top and bottom of the second stitch in the same way. Keep sewing through the stitches in this manner until you reach the end of the sleeve. Then, tie a knot through the last 2 stitches to secure the seam. Leave the sleeve turned inside out until after you sew it onto the armhole.
Connect the sleeves to the armholes. With the body and sleeve still turned inside out, line up the stitches on the end of 1 sleeve with the stitches around the armhole. Insert the needle through the sleeve and armhole stitches at the center of the armpit. Pull the yarn until only 3 inches (7.6 cm) is poking through on the other side of the stitches. Continue sewing around the armhole in the same manner to connect the sleeve. Tie a knot through the last stitch at the center of the armpit, and then tie the ends of the yarn together to secure the other end of the yarn. Repeat the same process for the other side of the sweater to secure the other sleeve.

Turn the sweater inside out and check for loose threads. After the sleeves are attached, turn the sweater inside out to hide the seams. If you spot any loose strands of yarn poking through, tuck them into the inside of the sweater. You can also cut any remaining longer pieces down to 0.5 in (1.3 cm).
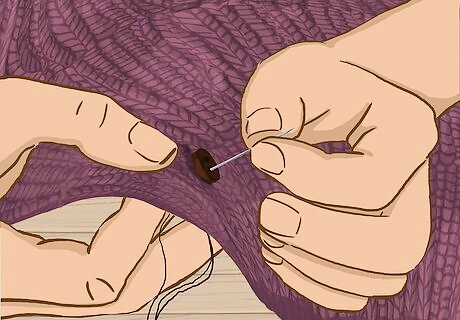
Sew 3 evenly spaced buttons onto the front edge. To secure the sweater when the baby wears it, you will need to add a few buttons to the opening on the front. Use a threaded (with yarn) yarn needle to sew 1 button about 1 to 2 in (2.5 to 5.1 cm) below the neckline of the sweater, the next 1 about 2 to 3 in (5.1 to 7.6 cm) down from that button, and then a third button 2 to 3 in (5.1 to 7.6 cm) down from that button. Sew through the button hole several times to secure it to the sweater tightly. You may need to use a smaller needle and regular thread to sew the buttons onto the sweater depending on how wide the openings on the buttons are. You don't need buttonholes for the buttons. You can just slip them in between the stitches on the opposite edge in the front of the sweater to secure them.


Comments
0 comment