
Installing Plastic Edging
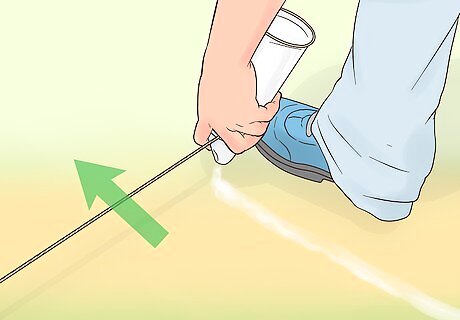
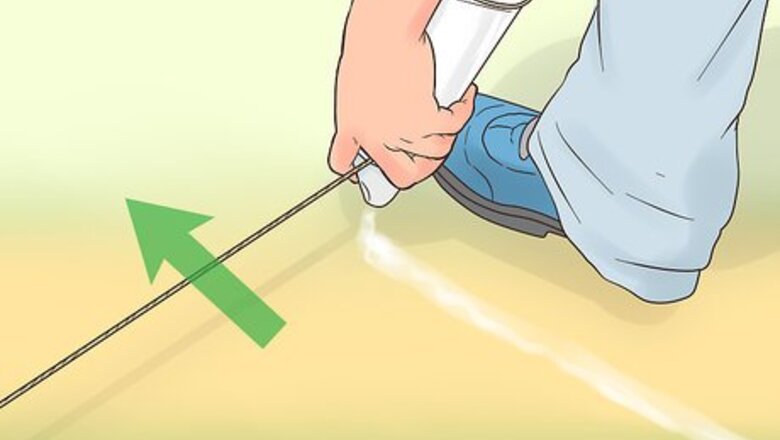
Mark the area with spray paint. Use an old garden hose to mark the perimeter of the area you want to edge. Once it’s laid out in the shape and size you want, spray paint the ground around the outside edge of the perimeter.
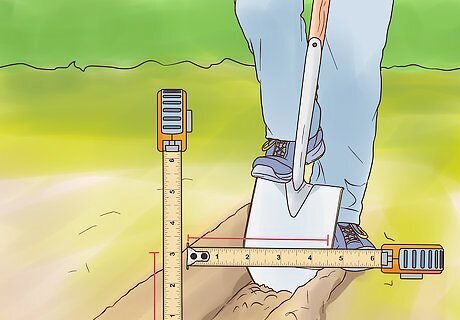
Dig a trench with a spear-headed shovel. Use the shovel to start digging a trench along the spray painted line. Make sure the trench is 4–6 inches (10–15 cm) wide and 3–4 inches (7.6–10.2 cm) deep so that the edging can be properly installed and secured. Fill the bottom of the trench with about 1 inch (2.5 cm) of sand and pack it down so that it’s smooth and level. Loosen the soil as you dig to make the ground ready for landscaping.

Place long strips of edging into the trench and stake them. If you’re using plastic edging in the form of long, flexible strips, take a segment and place it into the trench horizontally. Then, hammer 3–4 inches (7.6–10.2 cm) stakes into the ground every 5 feet (1.5 m) along the inside of the edging at a 45-degree angle, so that the bottom of the stakes hold the edging in an upright position. Edging should be at least 5 inches (12.7 cm) wide for the best aesthetic appearance. Aim to have .5 inches (1.3 cm)of the edging visible above the ground.
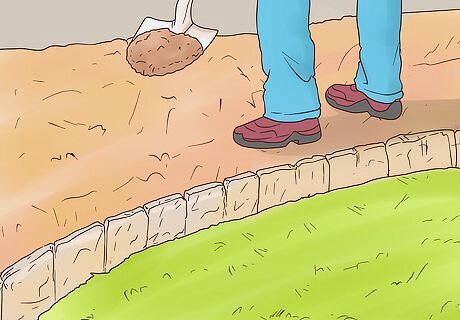
Backfill the area around the edging. Use soil, mulch, or rocks to fill the trench in the rest of the way on both sides of the edging. This will help the edging stay upright and in place. Water the soil on all sides of your edging to help cement the edging into place.

Place short pieces of edging in the trench and interlock them. If your edging is made up of interlocking panels, place a piece inside the trench vertically. Get another piece of edging and connect one end to the previous piece. Continue adding pieces in, connecting them, and backfilling as you go until the whole trench is filled.
Edging with Brick

Lay out a bed and dig a trench around the edges. Lay out the borders of the garden or planter that you want to create. Dig out the inside and fill it with soil, or whatever medium you wish to use. Use a spade to dig a trench for the edging to go into. Then, pack down the trench bottom with scrap lumber so that it’s flat.
Insert 2 stakes and string a level mason’s line. Hammer stakes that are about 4–6 inches (10–15 cm) long into the ground at either end of the trench. Tie or hook mason’s line to the top of one stake and walk it to the other stake. Hold the twine taut and tie or hook it to the other stake. Put a brick in the trench and hang a line level from the twine to make sure it’s level.

Set each brick with a mallet and backfill as you go. Use the mason’s line as reference while you place the bricks in one at a time. For each one, pound the top with a mallet and fill in the space left in the trench around the brick with soil, rocks, or mulch. Continue this until the entire trench is filled in with bricks. Water around all the your edging to help bring the components together.

Cut a brick with a brick chisel if necessary. If the perimeter of your bed is a little too long or short, you may need to cut a brick to complete the edging. Measure the length of the space that still needs to be filled with the edging and mark the length on a brick. Position a brick chisel on top of the mark and strike down forcefully to break the brick. Use this piece to fill in the last bit of the trench.
Using Metal
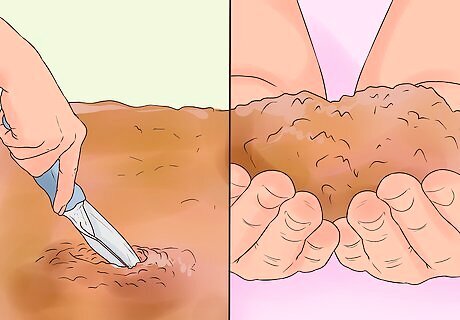
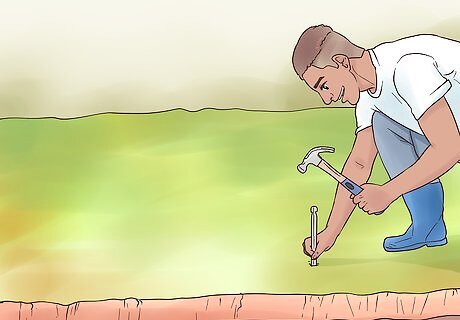
Test the soil’s softness. Use a small gardening shovel to dig up some of the dirt where you’re planning on installing the edging. If it feels soft in your hands, then you may be able to simply push the edging into the ground. If not, you may need to dig a trench for it.
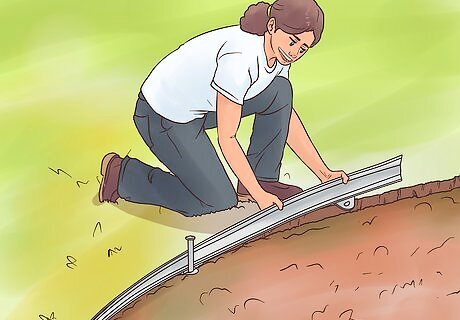
Insert steel or aluminum edging 2–3 inches (5.1–7.6 cm) into the ground. If the soil is relatively soft, use a block of wood to pound your steel or aluminum edging into the ground. If the soil is hard, use a shovel to dig a slim trench where you want your edging to go. Each time you place a new piece into the trench, overlap the previous piece by about 1 foot (0.30 m) so that the edging appears connected. If you want to create a garden or planter with a straight-edged perimeter, opt for edging that’s made of steel, as it’s very strong. If you’re hoping to create a curvy perimeter, go for treated aluminum edging.
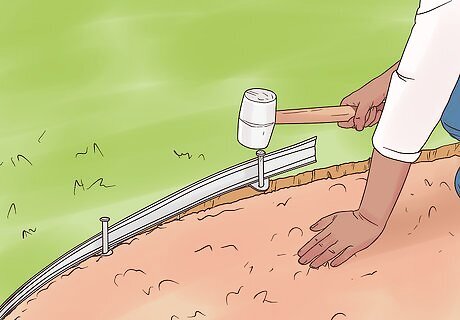
Hammer metal stakes into the ground on either side of the edging. Secure the edging by hammering 4–6 inches (10–15 cm) stakes into the ground on the inside and outside of the edging every 2–3 feet (0.61–0.91 m). This should keep the edging strong and stable. To make installation easier, get metal edging that comes with anchors or slots for staking. Water all around your edging once it is in place.


Comments
0 comment