
Warming up an Incubator
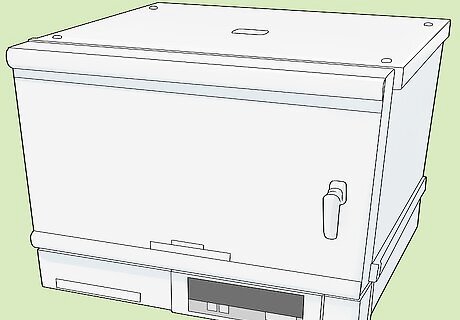
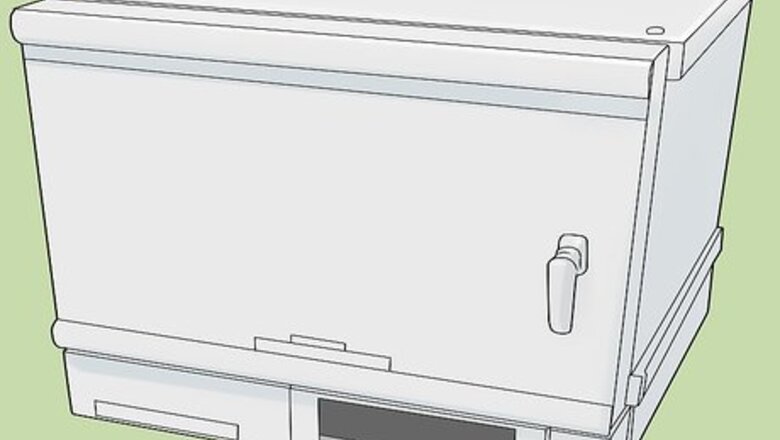
Choose an incubator with plenty of space for your eggs. There are a few different styles of incubators, but they all work the same way. The most basic part of choosing an incubator is getting the right size. Turkeys lay an average of 2 to 3 eggs per week, so factor in how many turkeys you have and how many eggs you plan on hatching. Then, pick a style of incubator according to your preferences and budget. Still air incubators are often inexpensive and good for small batches of eggs. They don’t have circulating air, so you need to open the door every day to let in oxygen, adjust the temperature, and turn the eggs. Forced air incubators have a fan that keeps the air even throughout the incubator. Many of them are programmable and have automatic turning racks to help keep growing turkeys healthy. Most incubators have slots you put individual eggs in, so you know exactly how much space you have. Incubators work for chickens or any other type of bird, so you don’t need to look for something turkey-specific.
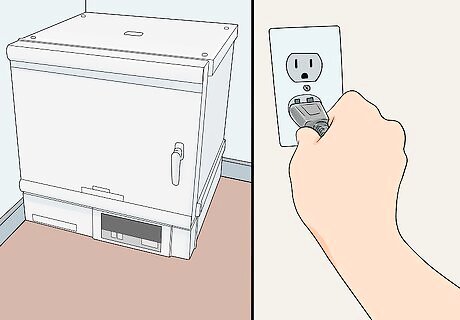
Set up your incubator 24 hours before you put the eggs in. Set the incubator on a safe, stable surface in a room with a steady temperature, then plug it into the wall. Give it plenty of time to heat up and adjust to the humidity in your area. To avoid harming the turkeys, get the incubator hot before putting the eggs in. Store the eggs in a cool place, such as a pantry or cupboard, until the incubator is ready. Cool temperatures arrest the turkey’s growth. Let the eggs warm back up to room temperature for 4 to 8 hours before incubating them. Most likely, your incubator is a forced air incubator, which has a fan that distributes air evenly. It’s far more common than still air incubators, which need to be opened to let fresh air in. Check which kind of incubator you have while you wait for it to heat up.

Fill the lower trough with water to increase the humidity. Depending on your incubator, the trough may be marked with a “W” for water. If it isn’t marked, look for a flat trough or compartment that doesn’t have racks to hold eggs. Pour at least ⁄2 cup (120 mL) of clean water into the trough. The temperature doesn’t matter, since the heat inside the incubator will warm the water until it evaporates. To change the incubator’s humidity level, adjust the amount of water in the trough. Add more water to increase the humidity. Remove some of it to decrease the humidity.
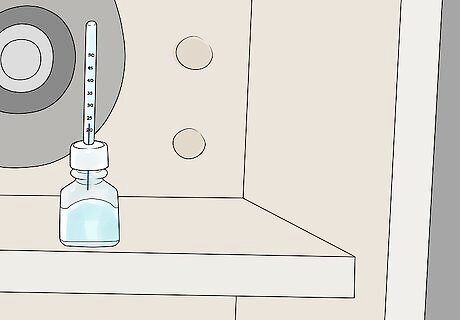
Set a thermometer in incubator and heat it to the correct temperature. When you look through the front of the incubator, the clip will likely be near the center, slightly to the right. Slide the thermometer’s stem into the clip, positioning the thermometer so it points towards the center of the incubator. Set the incubator to 99.5 °F (37.5 °C) if it’s a forced air model or 100.5 °F (38.1 °C) if it's a still air model. Use a thermometer with a long stem for the best results. The thermometer needs to be at least halfway as high up as the eggs to get an accurate readout of the temperature in that part of the incubator. To elevate a short thermometer, place a disposable plastic cup or wood block under it.

Attach fabric to the bulb of a second thermometer and put it in the water. To make a wet bulb thermometer, dampen a cotton shoelace, slide it over the bulb, and clip it in place. Dangle the other end of the shoelace in the water. Then, check the thermometer to make sure it reads between 80 and 90 °F (27 and 32 °C) or 55% humidity. A wet bulb thermometer shows you the relative humidity as long as the fabric extension stays wet. You need to compare the wet bulb’s readout to the overall temperature in the incubator to determine the humidity. To simplify this, print out a wet bulb humidity chart for incubators. For an easier time reading the humidity, invest in a quality hygrometer from an animal supply store.
Caring for the Eggs

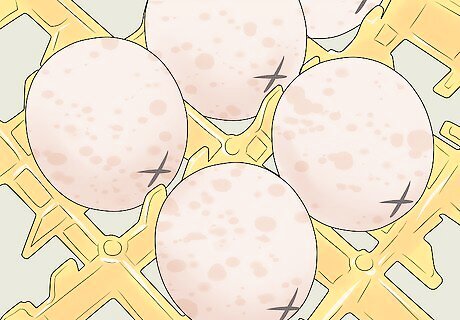
Mark the eggs with a regular pencil to track their turning schedule. Lay the eggs flat on their sides. Put an “X” on 1 side of each egg and an “O” on the other side. When you turn the eggs in the incubator, you will be able to turn them exactly 180 degrees by following the markings. The eggs need to be turned properly in order for the turkeys to grow. Avoid using colored pencils, pens, or markers. These all contain chemicals that will get through the pores in the shells and harm the turkeys.
Place the eggs gently in the incubator. Arrange the eggs so they all have the same letter facing up. If your incubator has egg holders, place the eggs in the holders with their narrower end facing down.

Turn the eggs at least 3 times a day for 25 days. Turn all of the eggs each day to prevent the turkeys from sticking to the shells. Pick the egg up, flip it onto its other side, then put it back down in the incubator. Use the letter markings as a guide while moving the eggs. Turning the eggs prevents the turkeys from sticking to the shells. If you don’t turn the eggs, they likely won’t hatch. Turn the eggs more frequently to increase the chances of hatching healthy turkeys. This is a time-consuming process, so invest in an incubator with automatic turning if you hatch a lot of eggs.

Shine a flashlight on the eggs after 1 week to test their viability. This is called candling, and it allows you to identify the fertile eggs. As you turn an egg, bring the flashlight close to its shell. You will be able to see the turkey embryo, which looks like a dark, veiny blob in the larger end of the egg. If you can’t see distinct veins, the egg is most likely not viable and can be discarded. Bad eggs often have black or red rings inside of them. Also, the embryo may look like a small, dark smear against the shell. Some embryos are late-bloomers, so keep the eggs if you’re unsure about their viability. Embryos that aren’t viable stop growing. If the embryo grows but doesn’t have noticeable veins yet, give it a little more time.

Turn the heat down and increase the humidity after 25 days. Make a small adjustment to the incubator’s settings to keep the young turkeys happy. Lower the temperature down to about 99 °F (37 °C). Raise the humidity up to 75%. At these settings, the turkeys will be ready to emerge from their eggs. If you’re using a wet bulb thermometer, it needs to be between 90 and 94 °F (32 and 34 °C)

Wait 3 more days without turning the eggs for the turkeys to hatch. The turkeys will be in hatching position during this time, so don’t move the eggs at all. Watch the eggs for cracks. Puffy little turkeys will come out healthy and dry on the 28th day. When the turkeys hatch, they may roll over the other eggs. Use the pencil marks to reposition the eggs.

Move the newborn turkeys into a brooder. Keep the brooder warmed up so the turkeys have plenty of heat when they hatch. Sprinkle sawdust over the brooder floor, then put bowls of food and water in. Once you teach the turkeys how to eat and drink, they will be well on their way to growing up strong and healthy. Newborn turkeys need to be shown their food and water 24 hours after they hatch. Dip their beaks in the bowls, making sure they don’t get food or water in their nostrils. Watch how the turkeys react to warmth. If they huddle together under heat sources, the brooder is too cold. If they huddle together away from heat sources, the brooder is too hot.


Comments
0 comment