
views
Brushing Up on Tagging

Research its history. Treat tagging just like any other art form. Learn about its evolution over the years so you can spot the difference between modern, classic, and outdated trends. There are plenty of books and other materials on the subject, but popular titles include: Subway Art, written by Martha Cooper Style Wars, directed by Henry Chalfant
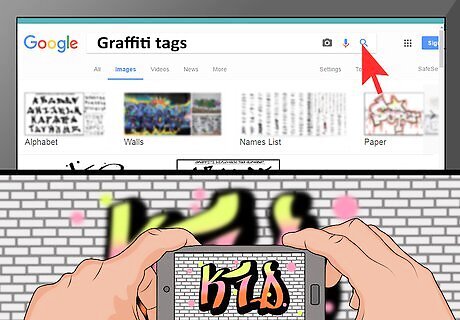
Study others’ handiwork. Before you attempt your own tag, check out other people’s styles. Photograph local artwork or save online images that impress you. Use these as reference as you start to develop your own style. Find these by: Searching online for uploaded images of tags. Taking a walking tour highlighting areas with active graffiti artists. Going on your own hunt for tags in your area.

Favor legal artwork. Keep in mind that a lot of graffiti is against the law, which means many artists have to work with only half their mind on the job at hand. Since the other half is distracted by having to keep an eye out for the cops, expect illegal tags to often be rushed and less than stellar. Because of this, focus your attention on legal artwork, since those artists were able to devote their full attention on what they were doing. Visit https://legal-walls.net/ to locate nearby artwork that was done by permission.

Focus on your own area. Expect tagging to develop just like any other artform. This means that certain cities and regions may develop their own nuances, so pay attention to what’s being done around you. Bring yourself up-to-date on local styles and trends. Reach out to local artists to find out their personal take on both the medium at large and their own contributions to it. This isn’t to say that you should limit yourself to just your area. In fact, comparing and contrasting what local artists are doing versus what’s being done in, say, Los Angeles or Berlin could be just as enlightening.
Developing Your Own Style
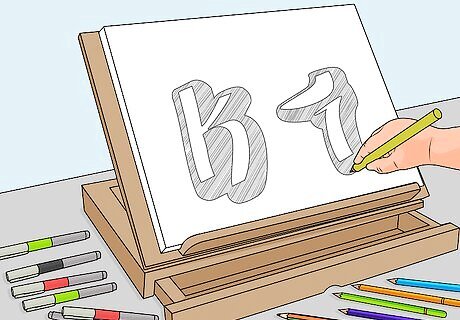
Start with paper and pen. Remember that designing your own tag and actually tagging a physical space are two different things. Don’t rush out and try doing both at once. Before you pick up a spray can, sit down with some paper and a pen, pencil, or marker. Sketch your ideas and gradually perfect them before committing them to a (near) permanent can

Choose an alias now, or wait until later. If you’re anxious to dive right into actual tagging, decide which letters you need to focus on instead of practicing the whole alphabet. Before you settle on one, check online to see if anyone else already goes by that tag. If so, come up with another. However, if you feel more patient, hold off on a name for right now. Keep in mind that: Your tag needs to be visually appealing, so a name that sounds cool might be less impressive visually than one that sounds blah but looks pretty awesome. You’re free to change your name at any time, both before and after you start tagging. If you plan on doing any illegal artwork, make sure that your alias can’t be traced back to you in any way.
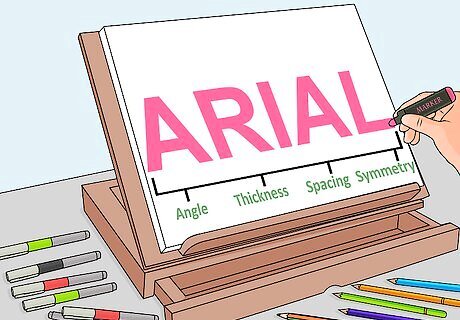
Start with “static” fonts. Understand that tagging incorporates your whole body’s movement as you paint, with the end result ideally conveying a sense of that movement and energy to the viewer. However, realize that you need to take baby-steps to do that with any level of mastery. For now, practice drawing simple forms of typography freehanded, like Arial or Sans-Serif. As you do, pay particular attention to: Angles Spacing Symmetry Thickness
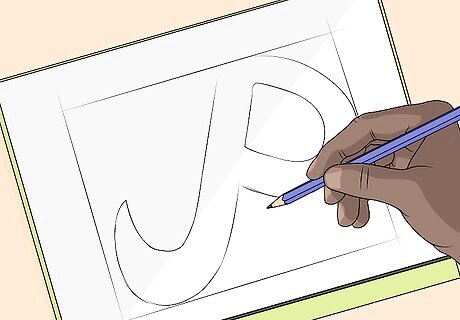
Start tinkering with each letter to suggest movement. As you grow more confident in drawing simple fonts freehanded, experiment by altering them slightly. Aim to suggest movement with each line to a letter. Play with angles, spacing, symmetry, and thickness to transform a whole letter into a more dynamic shape. For example, with the letter “P,” you could: Tilt the angle of the whole letter so that its top is pointing slightly to the right, and its bottom to the left, or vice versa. Curve its vertical line so it resembles the letter “J” for a more languid, swooping effect. Reduce the size of the loop at its top to suggest a sharper, tighter, swifter line.

Copy others’ styles at first. Feel free to simply copy what others have already done when you start tinkering. Virtually all artists (whether they’re graffiti artists or another kind) start out by doing this, so don’t feel bad about it. If anything, feel confident, because this way you’ll be more conscious about what aspects you end up borrowing and which you can credit as your own original ideas. However: Don’t be content with just copying. Blatant mimicry in finished tags (or “biting,” as it’s called in graffiti circles) is frowned upon. This is another reason why it’s important to start out with a sketchbook. This way you can learn by others’ examples without being accused of trying to pass off borrowed styles as your own.
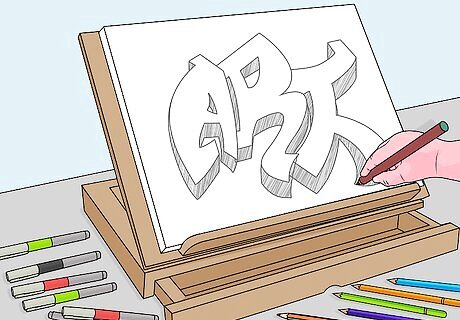
Practice your full tag. As you grow more satisfied with each letter on its own, start grouping them together to see how they look as a whole. You don’t have to literally paint the whole tag in one unbroken move, but aim to suggest a fluid, graceful motion from one letter to the next. Continue tinkering with each letter as needed with an eye toward how it gels with the rest until you’re satisfied with the full effect. For example: If you’re using the letters “U” and “V,” you may be pleased at first with how they each look individually. However, you may then realize that they’re too similar and confusing when paired together. In this case, you’ll have to alter one or both to make them more distinct so your tag is easily legible.
Spraying Your Tag

Practice first. Remember: practice makes perfect. Before you debut your tag for the world to see, start off with something that’s for your eyes only. Grow accustomed to using spray-paint where you won’t be embarrassed by any mistakes or mishaps. Use a canvas that you can practice on and repaint as needed without being arrested, such as: An actual large canvas A sheet of plywood A wall that belongs to you

Stretch beforehand. Keep in mind that you want your tag to appear fluid and dynamic, regardless of how small or large it is. At the same time, realize that you will often need to move quickly to keep your lines nice and neat. Avoid mistakes that could be caused by a stiff body, aches, and cramps. Limber up beforehand. Also keep in mind: This goes for your whole body, not just your arms. Expect your waist, hips, legs, and feet to have an impact on the quality of your work. The larger the surface area to be covered, the wider your range of motion will need to be. A larger canvas means you have to reach, lean, and bend to a greater degree, and more often.
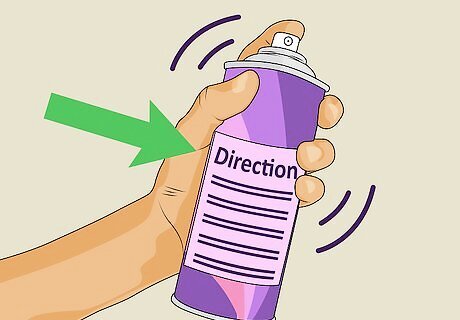
Shake your can up. Expect the paint’s ingredients to separate over time. Always give it a vigorous shake before you use it, even if you only set it aside for a few minutes. Check the directions on the can to see how long you should shake, both before its first use and (if mentioned) again after a short pause. If you don’t shake it up, the consistency will be uneven. This means that it will be extremely thin at times (which makes for a weak coat), and thicker at others (which could cause clogs).
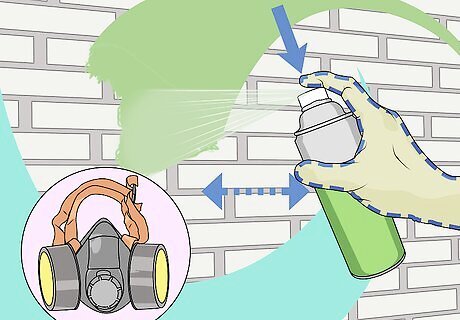
Put your spraying cap on well away from your canvas. If you need to attach a separate spray cap to your can, expect this to release some paint as you do so. Stay away from your canvas so it doesn’t get any spray-back. Place your finger (or better yet, a loose strip of tape) over the cap’s nozzle to catch what comes out. Remember that many paints have toxic ingredients. Even those that don’t should never be inhaled or ingested. Wear protective gloves and mask to reduce this risk.
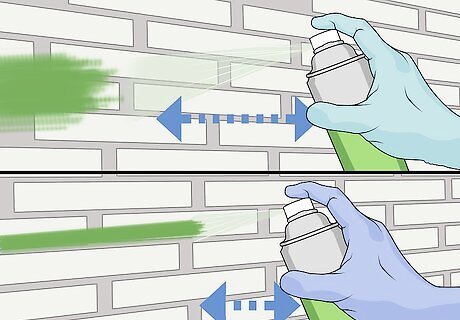
Experiment with distance. Before you try your hand at spraying your tag, start with simple lines sprayed from various distances. Judge the effect of how near or far you stand from your canvas. Expect a wider dispersal the farther back your stand. For neat, crisp lines, you need to work up close. For fades and shadows, you need more distance.

Move quickly. Remember that the paint is going to dry immediately upon contact. Expect prolonged spraying over one area to result in a wet buildup. Avoid drips and runs by keeping the can in motion constantly, especially if you’re aiming for very thin lines. Again, some experimentation may be needed here. Constant motion is always key, but do some practice lines at various speeds to see what effect each has on your lines. Another reason not to dawdle is if you decide to tag some place without permission.

Be choosy about locations. Once you’re confident in your spray-painting skills, decide where to apply them. Avoid the temptation to simply tag a surface on impulse. Think before you act. Things to consider include: Whether the area has already been tagged, in which case you should choose another. How visible it is, since you may be better off improving your skills on less visible areas. If it’s legal to tag this space, and if so, whose permission you need to obtain, if any. If it’s illegal to do so, and if so, if you’ll be easily noticed or caught.


Comments
0 comment