

Android 11
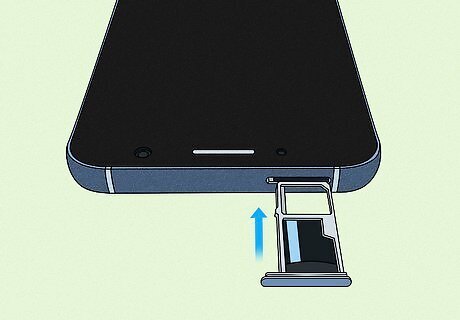
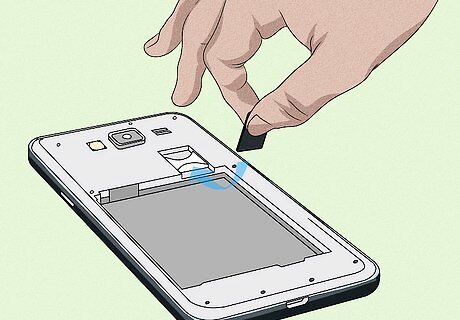
Insert an SD card. Most newer phones allow you to insert an SD card using the SIM tray. Locate the oval-shaped compartment that has a pinhole on the right. Insert a paperclip, pin, or the SIM tray tool that came with your phone into the pinhole and press down to eject it. Place a micro SD card in the SIM tray and reinsert it. Your phone should automatically detect it. Warning: Formatting an SD card will erase all data on the card and you will not be able to recover it. Make sure you back up all data you want to keep on the SD card before formatting it.

Open the Settings app Android 7 Settings. To do so, swipe down from the top of the screen to display the Quick Access menu. Tap the icon that resembles a gear in the upper-right corner. Alternatively, you can open the Apps menu and tap the icon that resembles a gear.
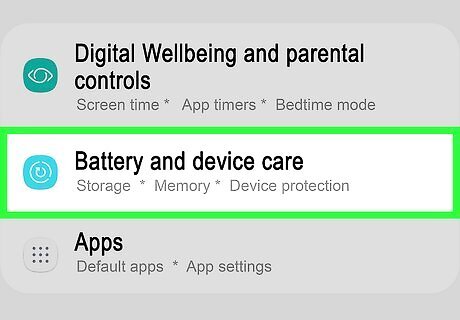
Scroll down and tap Battery and device care. It's next to a green icon that resembles a circular arrow inside another circle.
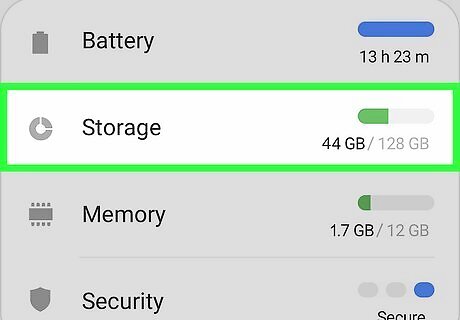
Tap Storage. It's the second option in the menu at the bottom of the screen.
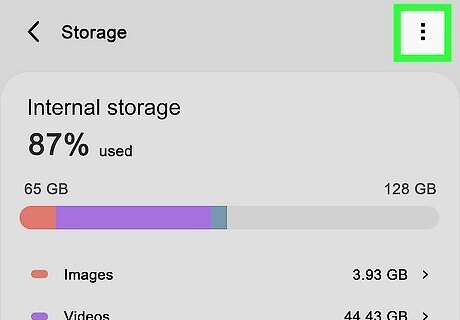
Tap the More menu ⋮. It's the icon with three vertical dots in the upper-right corner.

Tap Advanced. It's in the More menu that appears when you tap the icon with three dots.

Tap SD Card. It's at the bottom of the menu next to an icon that resembles an SD card.
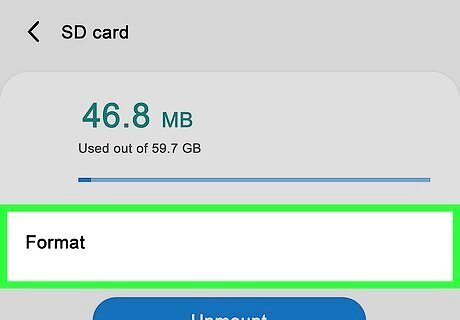
Tap Format. This formats the SD card.
Android 10
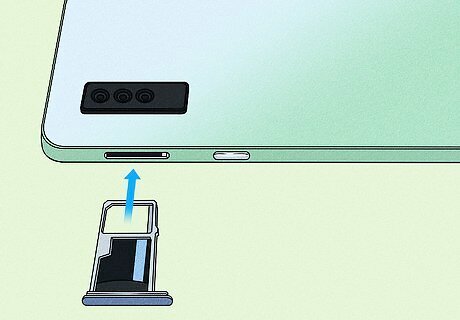
Insert an SD card. Most newer phones allow you to insert an SD card using the SIM tray. Locate the oval-shaped compartment that has a pinhole on the right. Insert a paperclip, pin, or the SIM tray tool that came with your phone into the pinhole and press down to eject it. Place a micro SD card in the SIM tray and reinsert it. Your phone should automatically detect it. Warning: Formatting an SD card will erase all data on the card and you will not be able to recover it. Make sure you back up all data you want to keep on the SD card before formatting it.

Open the Settings app Android 7 Settings. To do so, swipe down from the top of the screen to display the Quick Access menu. Tap the icon that resembles a gear in the upper-right corner. Alternatively, you can open the Apps menu and tap the icon that resembles a gear.

Tap Device Care. It's next to a green icon that resembles a circular arrow inside another circle.
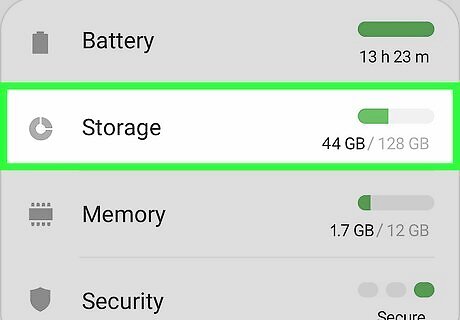
Tap Storage. It's the second option in the menu at the bottom of the screen.
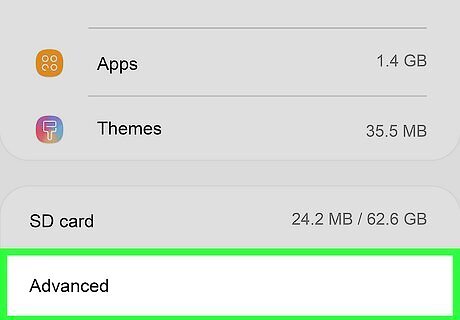
Tap Advanced. It's the last option at the bottom of the menu.
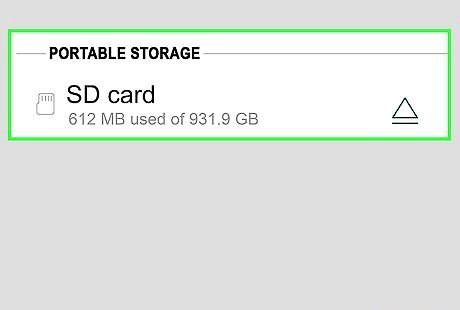
Tap SD Card. It's below "Portable storage" at the bottom of the menu.
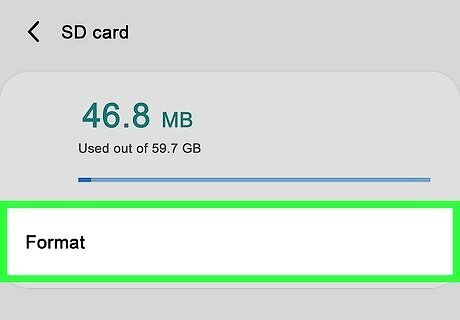
Tap Format. It's the only option below the text that says how much data is being used on the SD card.
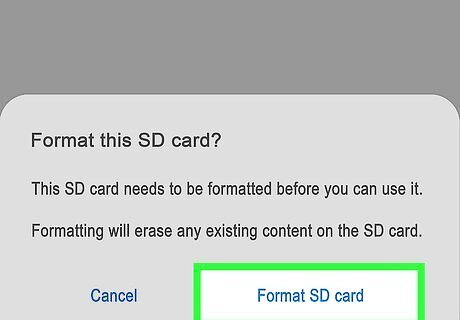
Tap Format SD Card. It's in the pop-up at the bottom of the screen. This formats your SD card.
Android 9 (Pie)
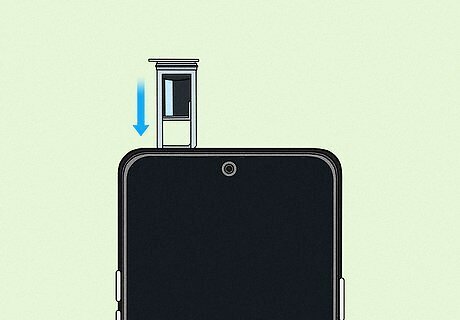
Insert an SD card. Most newer phones allow you to insert an SD card using the SIM tray. Locate the oval-shaped compartment that has a pinhole on the right. Insert a paperclip, pin, or the SIM tray tool that came with your phone into the pinhole and press down to eject it. Place a micro SD card in the SIM tray and reinsert it. Your phone should automatically detect it. Warning: Formatting an SD card will erase all data on the card and you will not be able to recover it. Make sure you back up all data you want to keep on the SD card before formatting it.
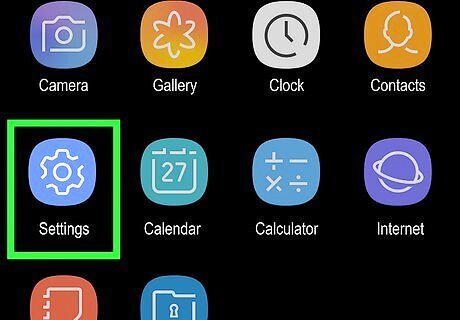
Open the Settings app Android 7 Settings. To do so, swipe down from the top of the screen to display the Quick Access menu. Tap the icon that resembles a gear in the upper-right corner. Alternatively, you can open the Apps menu and tap the icon that resembles a gear.

Tap Device Care. It's next to a green icon that resembles a circular arrow inside another circle.
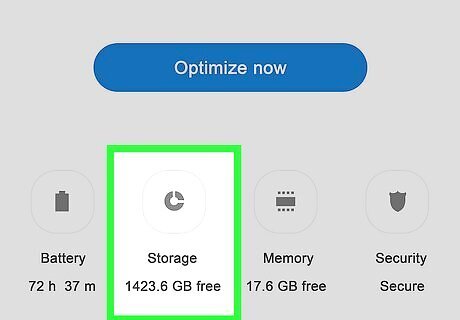
Tap Storage. It's the second option in the menu at the bottom of the screen.
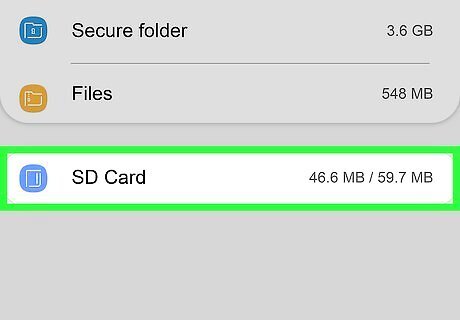
Tap SD Card. It's at the bottom of the menu. It's next to a green icon that resembles an SD card.
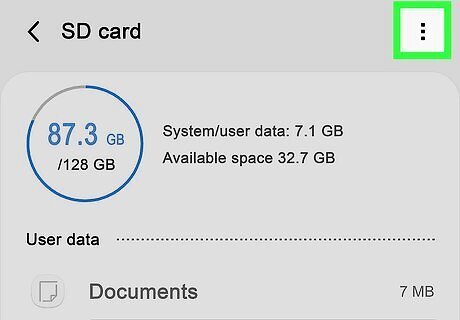
Tap the More menu ⋮. It's the icon with three vertical dots in the upper-right corner.
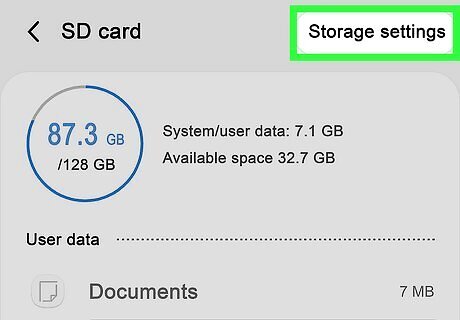
Tap Storage Settings. It's in the More menu that appears when you tap the icon with three vertical dots in the upper-right corner.

Tap SD Card. It's below "Portable storage" at the bottom of the menu.

Tap Format. It's the only option below the text that says how much data is being used on the SD card.

Tap Format SD Card. It's in the pop-up at the bottom of the screen. This formats your SD card.
Android 6.0 and 7.0 (Marshmallow and Nougat)
Insert your SD card. The process is a bit different on each device. You may have to remove the back cover of your Android to find the SD slot, and in some cases, you’ll even need to remove the battery. Other devices have a tiny SD tray that pops out from the edge when you insert a special tool. If you see a tiny hole next to a tray on your device’s outer rim, insert the tool that came with your device, or use an unbent paperclip.
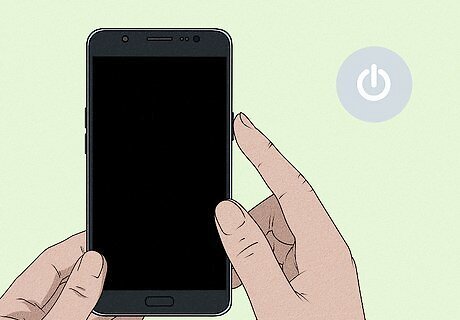
Power on your Android device. If you just inserted the card, hold the power button down on your phone or tablet until it turns on.
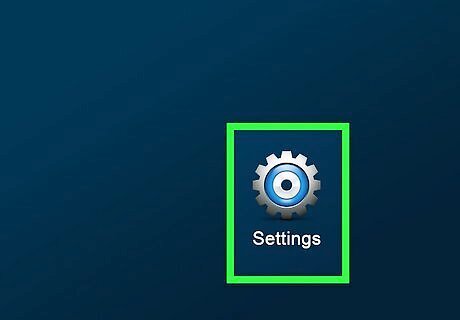
Open your Android’s Settings Android 7 Settings. It’s the wrench or gear icon labeled “Settings.” You’ll typically find it on the home screen or in the app drawer.
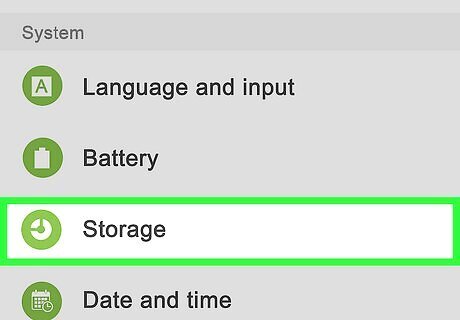
Scroll down and tap Storage.
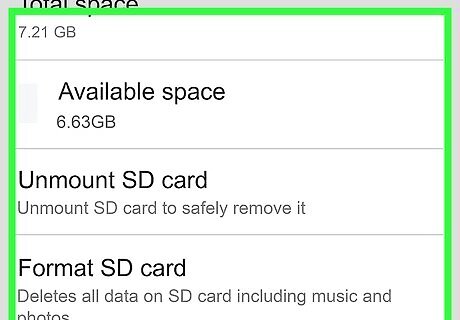
Scroll down to your SD card. A few different things may happen, depending on your device: If you see options beneath your SD Card’s name such as “Erase SD Card” or “Format SD card,” move to the next step. If you don’t see these options, tap the name of your SD card, then tap the ⁝ at the top-right corner of the screen. You'll see either "Format as Internal" or "Format as Portable" in the pop-up menu.

Tap Format SD Card or Erase SD Card. This will erase everything from your SD card. If you’re using Android Marshmallow, you’ll see the option to “Format as Portable” or “Format as Internal.” Choose “Portable” if you want to be able to use the card in other devices, and “Internal” if you want it to act like an internal hard drive.
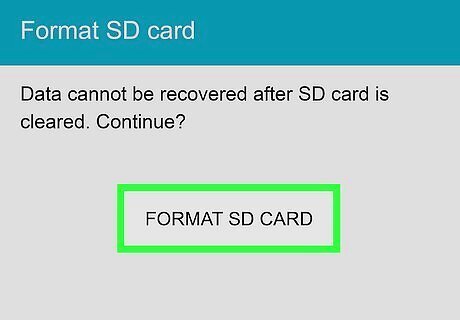
Tap Format SD Card or Erase SD Card to confirm. Any data on your SD card will now be erased. If you’re using Marshmallow or later, your card will now be available to use as either internal or portable storage.


Comments
0 comment