views
Removing the Old Clear Coat
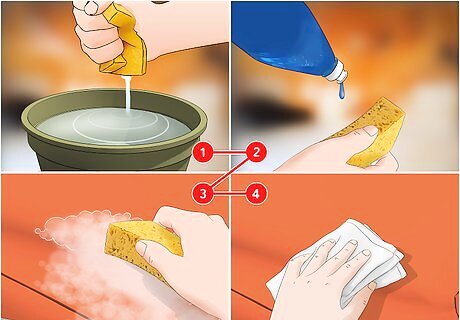
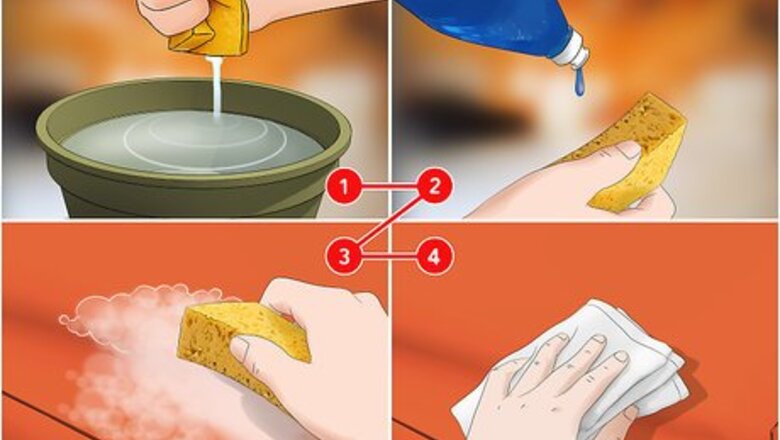
Wash the area that needs to be repaired. Fill a bucket with water. Soak a soft sponge, like microfiber sponge, in the water. Squirt a small amount of car wash soap onto the sponge. Scrub the area to remove any and all dirt and dust. Rinse the area with a hose. Use a dry microfiber cloth to dry the area until it is completely dry. You can purchase sponges, soap, and microfiber cloths from your local auto supply store.
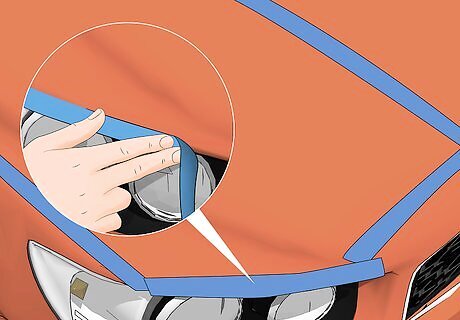
Block off the section to be repaired with masking tape. Place masking tape 5 to 6 inches (13 to 15 cm) past the parts of the panel that you need to sand. Place small pieces of tape in the gaps between the car’s panels to protect the other sections of the car. Press on the tape to secure it. The exterior surface of a car is made up of separate panels. Panels are usually broken up into sections, like hood, right front door, right rear door, and roof panel. You can use regular masking tape to do this.
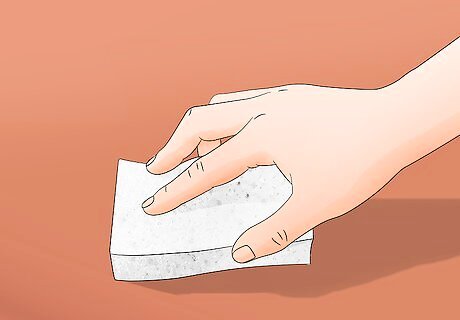
Sand the area with a fine-grit, non-woven scratch pad. Using firm but even pressure, sand the affected area. Sand 5 to 6 inches (13 to 15 cm) past the affected area into the unaffected area, which will be the blending section. Remove as much of the old clear coat as you can. Make sure to sand the edges and corners of the affected section. Once you are finished, the area should look dull, but smooth. By sanding past the affected area, you will be able to blend the new clear coat with the old clear coat on your car later. You can purchase the scratch pad from your local auto supply store. They are typically grey in color.
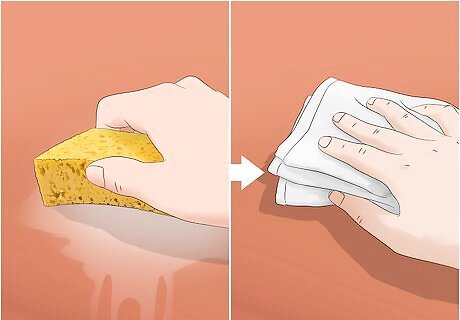
Rinse and dry the area once you are done sanding. Wet a soft sponge with water. Wipe the section to remove dust and debris that collected during the sanding process. Then dry the area with a dry, microfiber cloth. Make sure the area is completely dry.
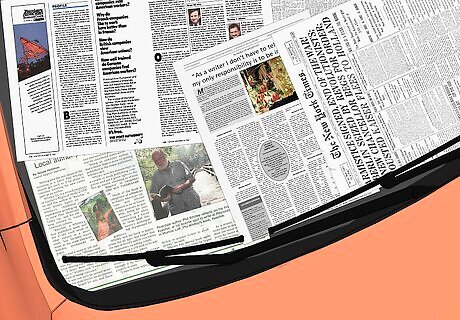
Cover the windows and other areas of the car with newspaper. Use masking tape to tape newspapers on top of the windows and panels near the affected area. This way, you can prevent clear coat from getting on these areas. You do not need to cover the whole car with newspapers, just the parts of the car that are near the affected area.
Applying the Clear Coat
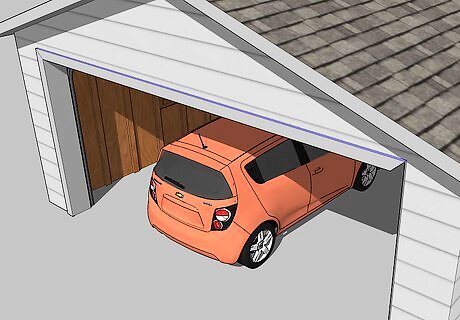
Park your car in a well-ventilated area with a roof. A garage or a car port are ideal. The roof will protect the car from the elements. If you are working in your garage, keep the garage door open while you are applying the clear coat.
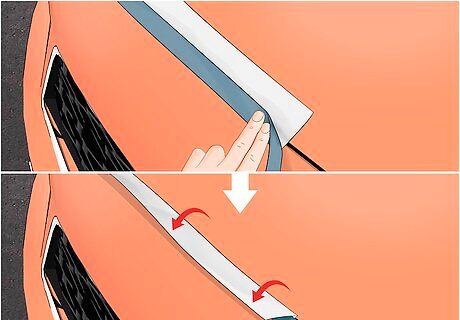
Back mask the area where the affected section meets the blending section. Place a piece of newspaper 2 to 3 inches (5.1 to 7.6 cm) past the edge of the blending area into the affected area. Place a piece of tape on the edge of the newspaper to secure it in place. Then fold the newspaper back. By back masking, you can minimize the appearance of a thick line of clear coat separating the new section from the old section.
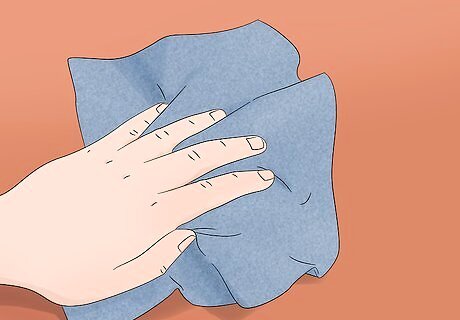
Remove dust particles with a tack cloth. Because dust particles can affect the adhesion of the clear coat to your car, make sure to use a tack cloth before applying the clear coat. Rub a tack cloth over the area. The tack cloth will remove any remaining dust particles. Purchase tack cloths from your local hardware or auto parts store.
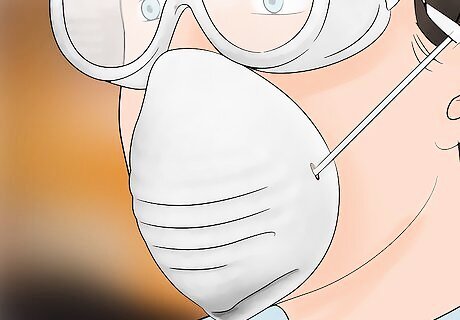
Wear a ventilated mask. A ventilated mask will prevent you from inhaling fumes from the clear coat while you apply it. Additionally, wear nylon gloves to protect your hands. You can purchase ventilated masks and nylon gloves from your local hardware store.
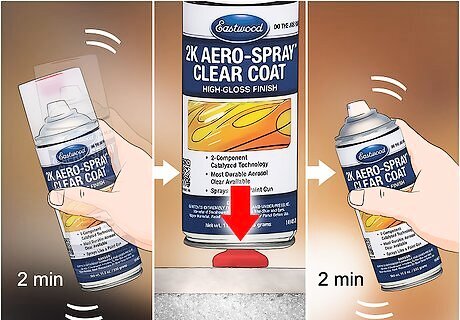
Activate your 2K clear coat aerosol can. Shake the can for 2 minutes. Remove the cap from the top of the can and attach it to the bottom. Place the can on the floor and press down on it to push the cap into the can. The cap is what mixes the hardener into the clear coat. Shake the bottle for another 2 minutes. A 2K clear coat can comes with a hardener, which is much more durable than a 1K clear coat. You can purchase a 2K clear coat aerosol can from your local auto body shop supply store, or online.
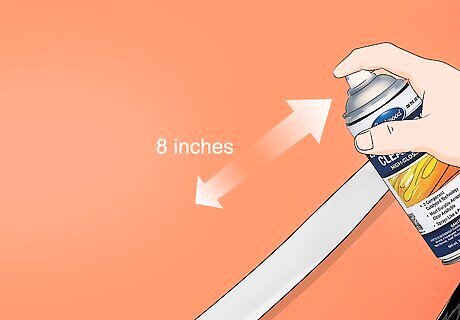
Hold the can 8 inches (20 cm) away from the area. Start moving the can first before you start spraying. Starting at one end, spray the clear coat in one even direction toward the other end. Move the can at a medium speed as you spray the area. Release the button before you stop moving the can as well.
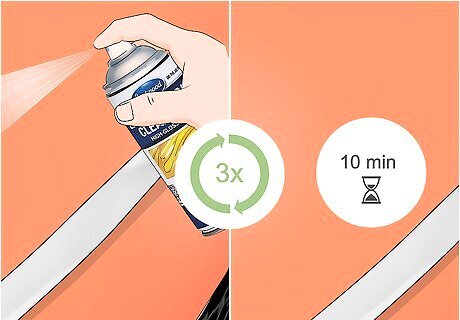
Apply 3 coats of clear coat. Let the clear coat dry for 10 minutes between each coat. Use the same technique to apply each clear coat. After the final coat, let the clear coat dry for 2 to 3 hours before removing the tape. Avoid driving your car while the clear coat is drying.
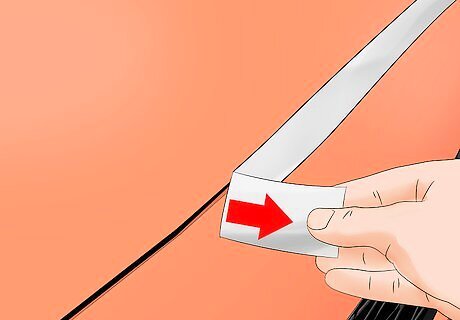
Remove the newspaper and tape. As you remove the tape, peel away from the clear coat. This way, you can prevent peeling off a section of your new clear coat. Once all of the tape is removed, you will see a line where the new clear coat stops and the blending area starts. Since you back masked the blending area, it will be easy to blend in the clear coat line.
Blending in the Clear Coat
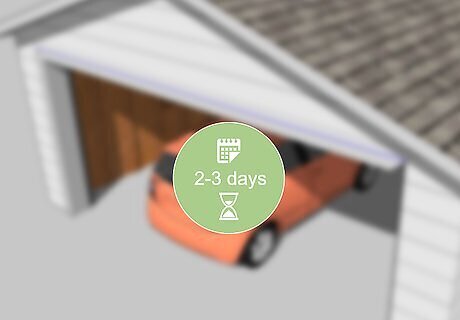
Wait at least 48 hours before you start blending. If you can, it is better to wait 2 to 3 days. This way, the clear coat will be totally cured and ready to blend. It is best not to drive your car during this period. However, if you need to drive your car, it should be fine as long as the clear coat is dry.
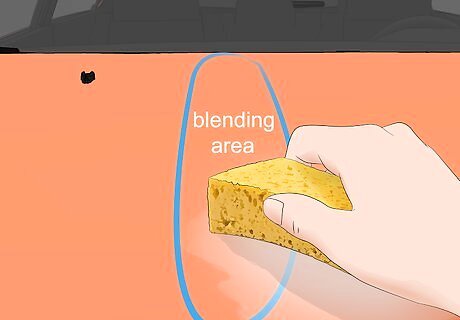
Clean the blending area with water. Wet a soft sponge with water. Wipe the area to remove any dirt and dust that may have accumulated on your car. Dry the area with a clean microfiber cloth until it is completely dry.
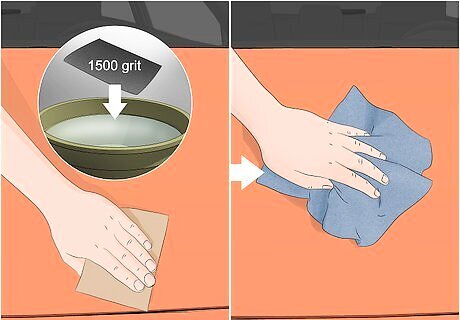
Wet sand the blending area. Dip a piece 1500-grit sandpaper in water. Gently sand the clear coat line. Sand the area until the line is noticeably reduced. After you finish sanding, wipe the area dry with a microfiber cloth. Avoid sanding too much as this may remove the new clear coat.
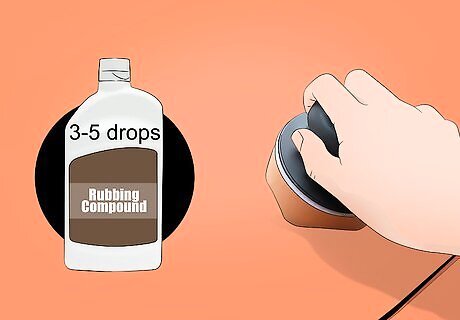
Polish the area. Squeeze 3 to 5 drops of a medium-grit rubbing compound onto the area. Fit a wool pad onto the polisher. Set the polisher on the lowest setting. Polish the area in the direction that you applied the clear coat. You want to avoid polishing against the clear coat as this may cause it to peel. Polish the car until it shines, about 3 to 5 minutes. You can purchase a rubbing compound, polisher, and wool pad from your local auto supply store. You may be able to rent a polisher from your local auto supply store.
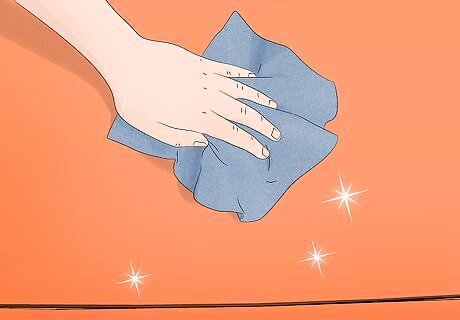
Wipe the surface of the car with a microfiber cloth. Gently wipe the surface to remove any accumulated dust and dirt. Avoid washing your car after you polish it since the soap and water may remove the polishing oils.


Comments
0 comment