views
Using Food-Grade Silicone Sealant
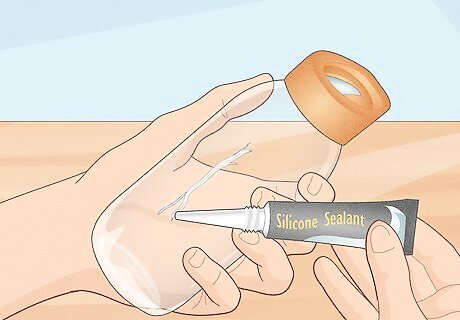
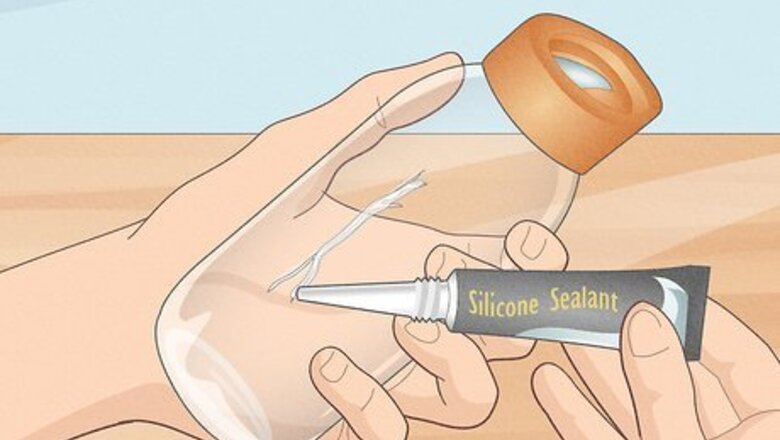
Apply a line of food-grade silicone sealant on top of the crack. Search online for a bottle of silicone sealant, which works like a waterproof glue. Before making any purchases, double-check that the sealant is food-grade since you’ll be drinking out of the repaired water bottle. Squeeze out a consistent line of sealant along the crack, as though you’re gluing both ends of the fissure together. Spread the sealant along the entire crack. Silicone sealant bottles come pretty small. Depending on the brand, you can get one for less than $10.
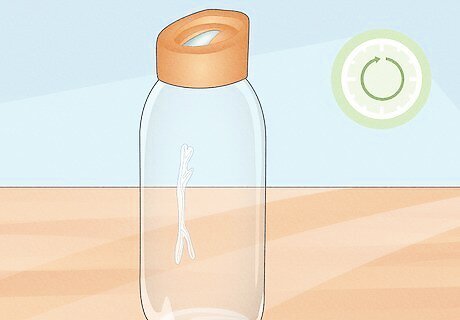
Wait for the sealant to cure completely. Read the sealant label to see how much time the product needs to dry, or cure, completely. Don’t pour any water into the bottle until that amount of time has passed. You may need to wait several hours before you can use your water bottle again.
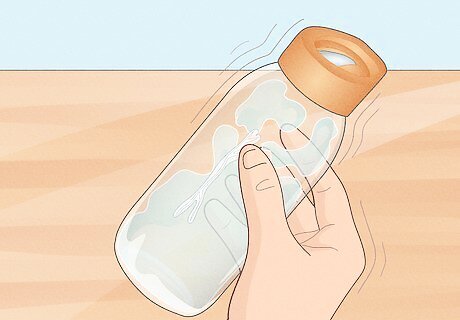
Test out your water bottle and see if it leaks. Fill your water bottle up and tighten the lid. As you did before, flip and shake your bottle around and see if you’ve successfully repaired it. Hopefully, your water bottle will be fixed and ready to go!
Taping as a Temporary Fix
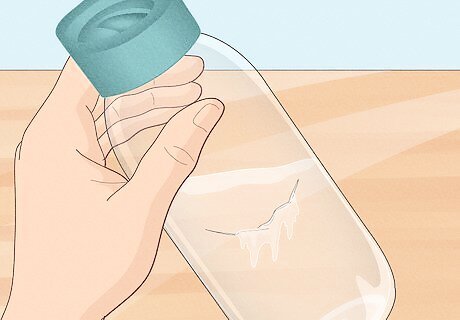
Find exactly where the crack is located. Look along the sides or bottom of your bottle for any obvious cracks or fissures. If you can’t find the crack right away, shake the bottle around to see where the source of the leak is.
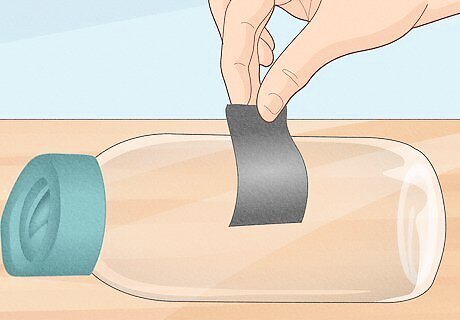
Apply a strip of waterproof tape over the crack. Grab a roll of waterproof tape and rip off a strip that’s large enough to cover the fissure. Center the tape over the crack in the same way you’d cover a scrape with a bandage. Press along the edges of the tape to ensure that it’s in place. Alternatively, use plumber’s tape instead.
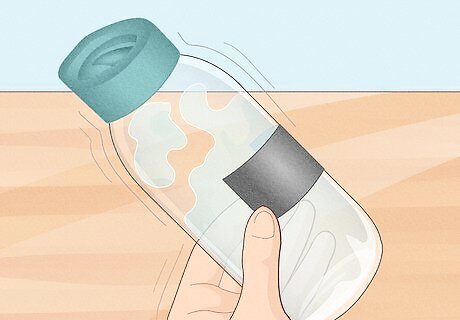
Check your bottle to see if it’s still leaking. Fill your water bottle up with water, then shake it around to see if there are any leaks. If water is still leaking out, you may need to use a bigger strip of tape.


Comments
0 comment