
Turning Notifications On or Off

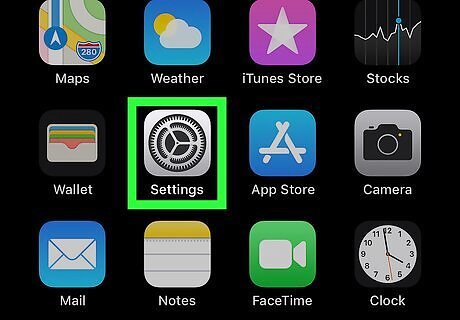
Open your iPhone or iPad’s Settings iPhone Settings App Icon. You’ll usually find it on the home screen or in the app drawer.

Scroll down and tap Notifications. It’s in the second group of settings.
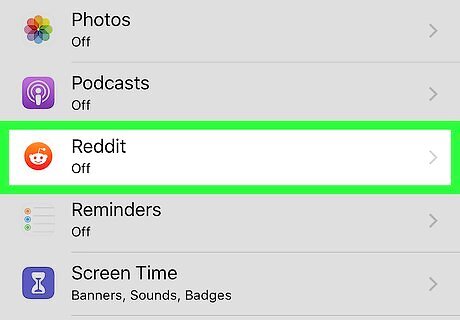
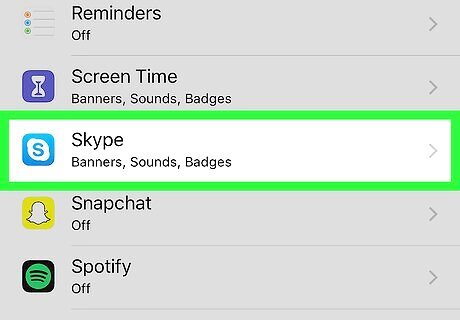
Tap an app.
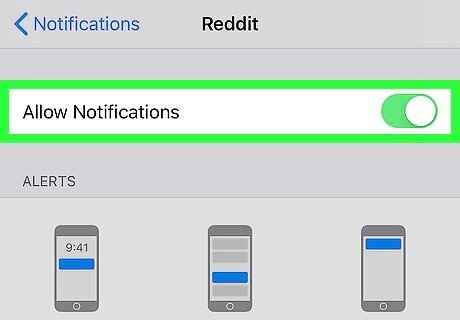
Slide the ″Allow Notifications″ switch On iPhone Switch On Icon to enable notifications for this app.
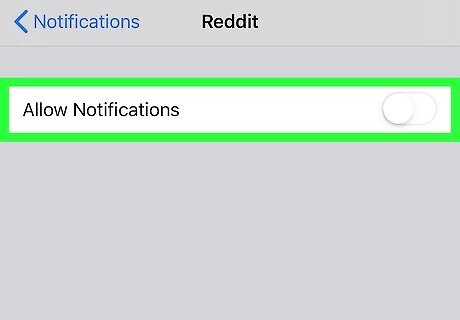
Slide the ″Allow Notifications″ switch Off iPhone Switch Off Icon to disable notifications for this app.
Choosing Where Notifications Appear

Open your iPhone or iPad’s Settings iPhone Settings App Icon. You’ll usually find it on the home screen or in the app drawer.
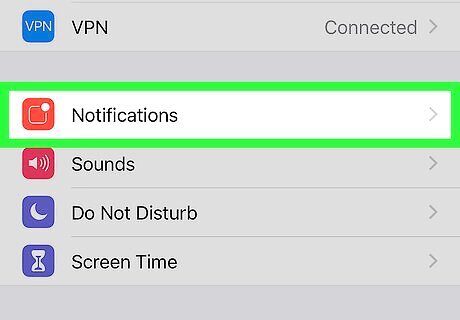
Scroll down and tap Notifications. It’s in the second group of settings.

Tap an app. The app’s notification options will appear. If you are not currently seeing notifications for this app, slide the ″Allow Notifications″ switch to the On/green position.
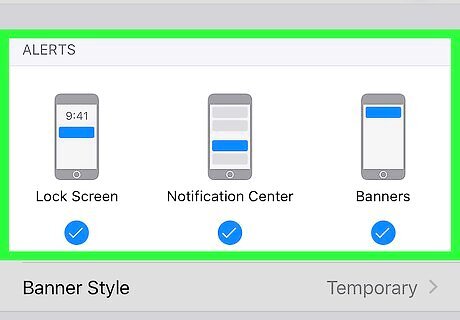
Select your preferences under ″ALERTS.″ Use the on-screen illustrations to help you decide where you’d like to see your notifications (Lock Screen, Notification Center, and/or Banners). Banners are the rectangular notifications that appear at the top of the screen.
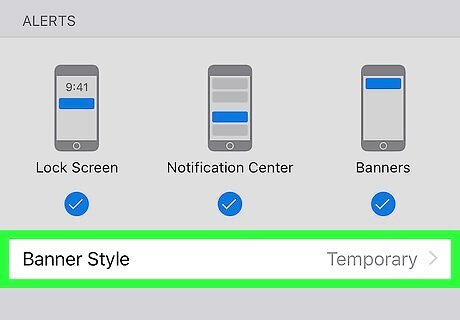
Tap Banner Style. If you selected Banner as one of your notification options, you’ll see this setting below the illustrations.
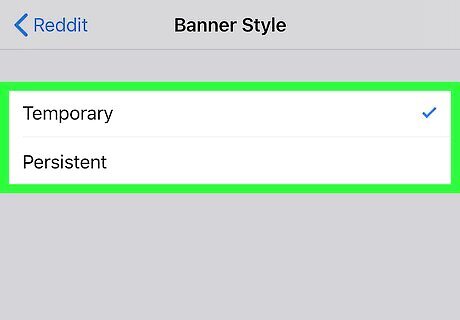
Select an option for how long a Banner notification should stay on the screen. This is only necessary if you selected Banner as one of your alert styles. Select Temporary if you want the notification to disappear after a few moments without you having to do anything. The notification will still be available in the Notification Center (just swipe down from the top of the home screen). Select Persistent if you want notifications to stay on the screen until you tap or dismiss them.
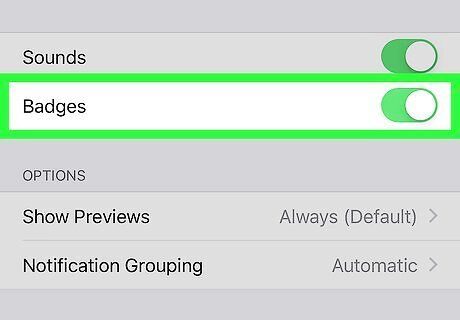
Choose whether you want to see notification badges on app icons. Badges are the numbers that appear over your icons, telling you how many notifications you have for each app. To enable badges, slide the ″Badges″ switch to the On (green) position . To disable badges, slide the switch to the Off (gray) position.
Enabling or Disabling Notification Sounds
Open your iPhone or iPad’s Settings iPhone Settings App Icon. You’ll usually find it on the home screen or in the app drawer. If you want to change the sound you hear when you receive notifications, see this wikiHow.

Scroll down and tap Notifications. It’s in the second group of settings.

Tap an app. The app’s notification options will appear. If you are not currently seeing notifications for this app, slide the ″Allow Notifications″ switch to the On/green position.
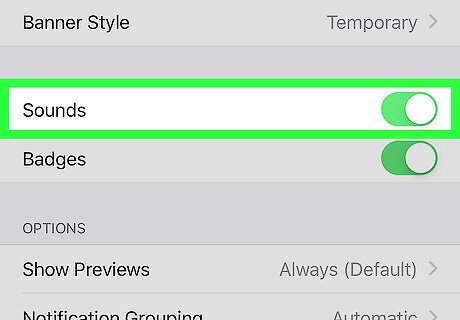
Slide the ″Sounds″ switch to On iPhone Switch On Icon if you want sound alerts.
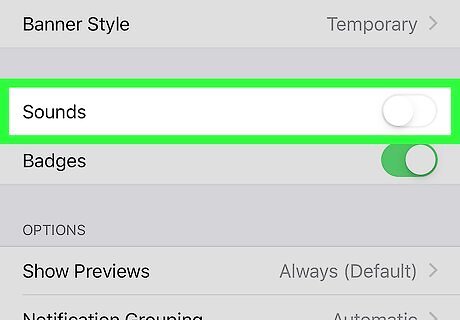
Slide the ″Sounds″ switch to Off iPhone Switch Off Icon to disable sound alerts.
Changing Notification Previews

Open your iPhone or iPad’s Settings iPhone Settings App Icon. You’ll usually find it on the home screen or in the app drawer. Use this method to enable or disable previews of each notification’s content on the screen.

Scroll down and tap Notifications. It’s in the second group of settings.
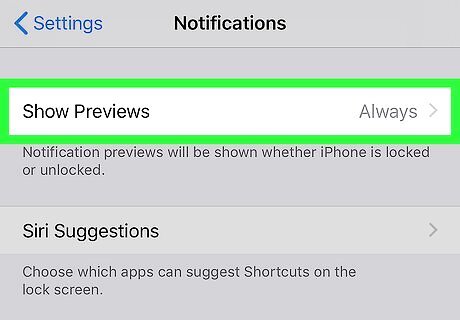
Tap Show Previews. It’s at the top of the menu. If you want to customize these options per app instead of for all apps at once, select the app first, and then scroll down and tap Show Previews.
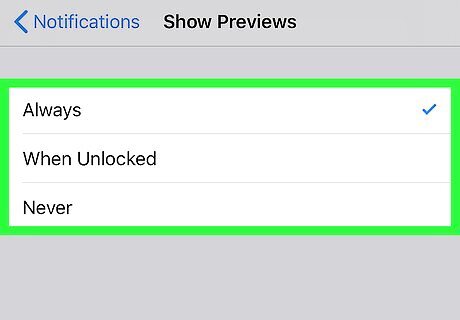
Choose a preview option. Select Always if you want to see what’s in the notification whether the screen is locked or unlocked. Select When Unlocked if you don’t want to display notification previews on the lock screen. You’ll still see that you have a notification, but the contents won’t appear until you unlock the screen. Select Never if you don’t want to see the contents of a notification until you open the app it came from.
Turning Notification Grouping On or Off

Open your iPhone or iPad’s Settings iPhone Settings App Icon. It’s usually on the home screen. If you have iOS 12 or later, you can reduce screen clutter by grouping notifications together. This feature is turned on by default, but you can disable it if you wish. Grouped notifications appear as a ″stack″ of notifications on the screen. To view all notifications in the stack, tap the top notification.

Scroll down and tap Notifications. It’s in the second group of settings.
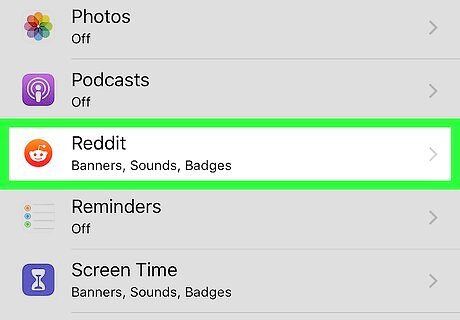
Tap an app. The app’s notification options will appear. If you are not currently seeing notifications for this app, slide the ″Allow Notifications″ switch to the On/green position.
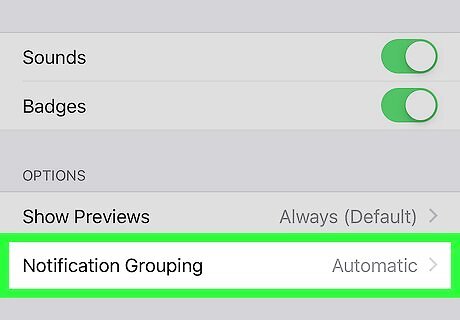
Scroll down and tap Notification Grouping.
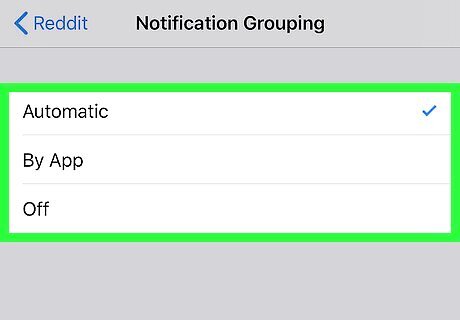
Select a grouping option. Select By App to group all notifications from this app together. Select Off if you want each notification to appear separately (no grouping). Select Automatic if you want your iPhone or iPad to determine whether to group these notifications.
Set your notification grouping options for other apps. Each app’s notification grouping settings must be edited separately.
Fine-Tuning Notifications from the Lock Screen
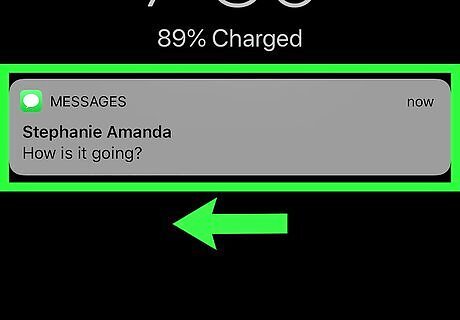
Swipe left on a lock-screen notification. Some new options will appear on the notification’s right side. As of iOS 12, you can edit your notification preferences for a specific app without having to open your Settings.
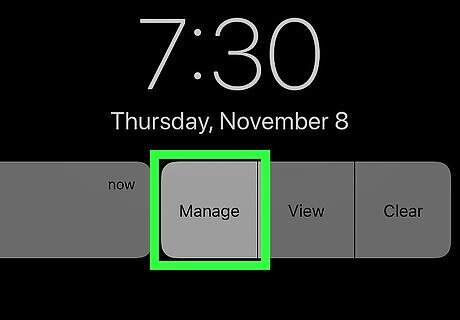
Tap Manage. It’s one of the options to the right of the notification.
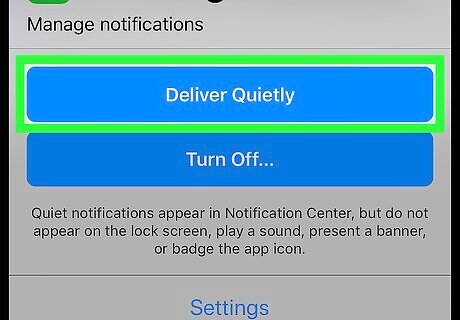
Tap Deliver Quietly to keep this type of notification off the lock screen (optional). You’ll still see notifications from this app when you unlock the screen.
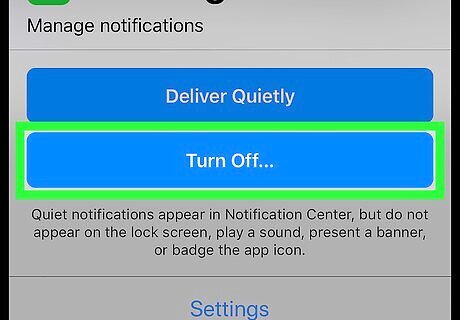
Tap Turn Off to disable notifications from this app (optional). If you don’t want to notifications from this app at all, select this option, and then follow the on-screen instructions.


Comments
0 comment