views
Can you edit DLL files in Visual Studio?
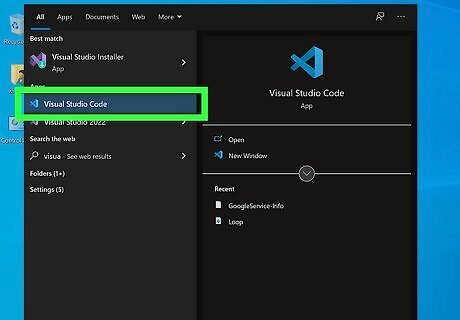
Yes, you can open and edit certain DLL resources within Visual Studio. You can use Visual Studio to add, extract or delete certain graphical or textual resources, but you cannot edit the functions of a DLL file.
Can I use Visual Studio to edit the code?
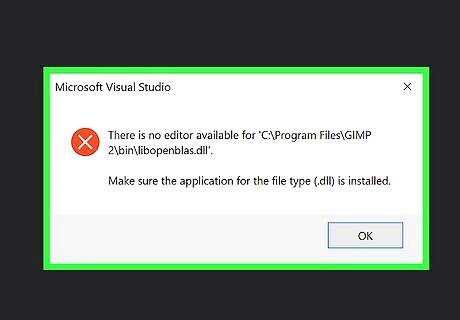
Not in most cases. Most DLL files do not contain any source code that can be edited. The code contained within most DLL files has already been compiled into binary or machine code. If the DLL file contains any intermediate language (IL), you can view the IL code using the IL Disassembler tool, which is installed alongside Visual Studio. You can also use CIL Disassembler to view common intermediate language within a DLL file. CIL Disassembler does not come with Visual Studio, but it is free to download from the Microsoft Store. If a DLL file is not functioning correctly and you need to edit it, you can do so by editing the original source code that was used to create the DLL file. This will be on a separate code file. You can use the original source code to create a new DLL file, which can be used to replace the DLL file that isn't working.
What If I don't have access to the original source code?

You can try to reconstruct it using a decompiler program. A decompiler program can take the machine language within a DLL file and convert it into a high-level language, such as C++ or C#. Warning: Any code you extract from a DLL file using a decompiler will be a reconstruction. There is no guarantee that it will match the original source code. If you attempt to replace a DLL file using code extracted from a decompiler program, you will likely need to do lots of testing to make sure all programs that depend on the DLL file still function correctly.
How do I open a DLL in Visual Studio?
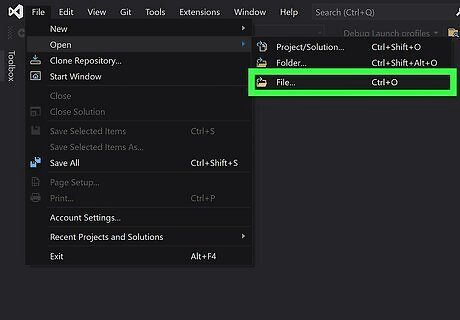
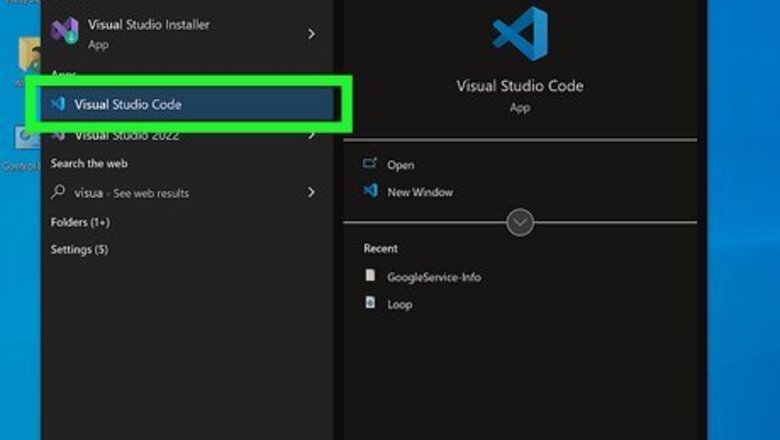
You can easily open a DLL file in Visual Studio the same way you would any other file. To do so, click File in the menu bar at the top, followed by Open. Then click File and select the DLL file you want to open and click Open. This will open the DLL file in a new Resource Editor window. Alternatively, you can use the following steps to open a DLL file: Make sure you have Visual Studio installed. Press Win + E to open File Explorer. Navigate to the folder containing the DLL file you want to open. Right-click the folder and click Open with Visual Studio. Expand the folder in the Solution Explorer window to the right. Double-click the DLL file you want to open.
How do I add a new resource to a DLL?
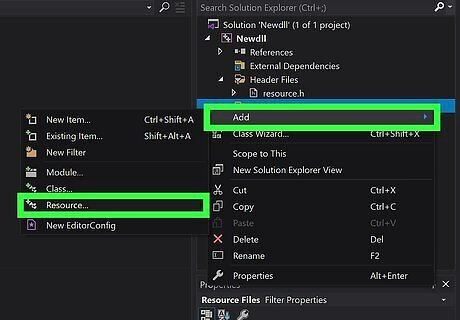
You can easily add a new resource to a DLL file in Visual Studio. These resources include keyboard shortcut accelerators, bitmap images, cursors, icons, dialogue boxes, menus, HTML files, audio (.wav) files, string tables, and the version number. Use the following steps to add a new resource to a DLL file. Open a DLL file in Visual Studio. Right-click the folder you want to add the resource to in the Resource Editor window. Click Add Resource. Double-click the resource type you want to add or click Import to import an existing file. Click File Click Save [filename].dll to overwrite the file or click Save [filename].dll as to save a copy.
How do I delete a resource in a DLL?
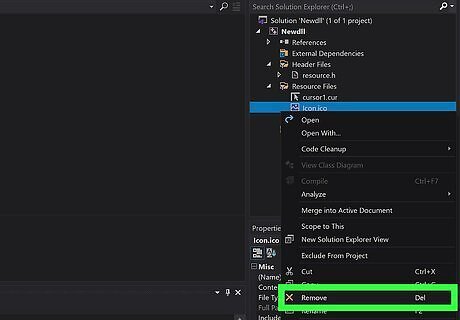
You can easily do so in Visual Studio. Warning: Editing or deleting contents from a DLL file may cause the programs that depend on that file to not function properly. Be sure to save a backup copy of the DLL file you are editing. Use the following steps to delete a resource from a DLL file: Open a DLL file in Visual Studio. Expand the folder that contains the resource you want to delete in the Resource Editor window. Right-click the resource you want to delete and click Delete. Click File Click Save [filename].dll to overwrite the file or click Save [filename].dll as to save a copy.
How do I create a new DLL file in Visual Studio?
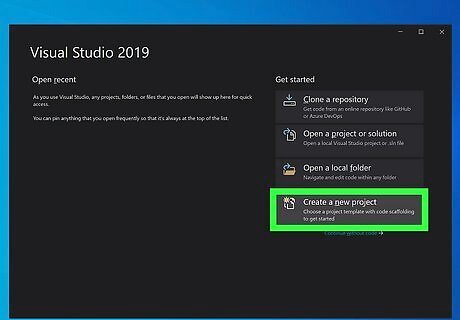
You can easily use Visual Studio to create new DLL files. You can do so using your own source code, or source code extracted from a decompiler program. Use the following steps to create a new DLL file in Visual Studio: Open Visual Studio. Click Create New Project. Type class in the search bar at the top. Scroll down and select Class Library (.NET Framework) and click Next. Type a name for your project and click Create. Enter the code for your DLL file. Click Build in the menu bar at the top. Click Build Solution to create a new DLL file. Check the Output window at the bottom to see where the DLL file was created.
How do I open a DLL file in the IL Disassembler tool?
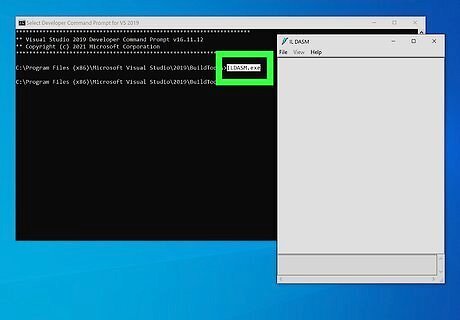
You can do so using the Developer Command Prompt. The IL Disassembler tool allows you to view intermediate language (IL) and assembly language in a DLL file. The IL Disassembler tool is installed alongside Visual Studio. Use the following steps to open a DLL file in IL Disassembler: Click the Windows Start menu. Type Developer Command Prompt. Click Developer Command Prompt for VS 2019 (or whichever version of Visual Studio you are using.) Type ILDASM.EXE and press Enter. Drag and drop the DLL file into the IL Disassembler window. Expand the filename below "MANIFEST' in the IL Disassembler window. Click a class or function to view the assembly code.
How do I decompile a DLL file?
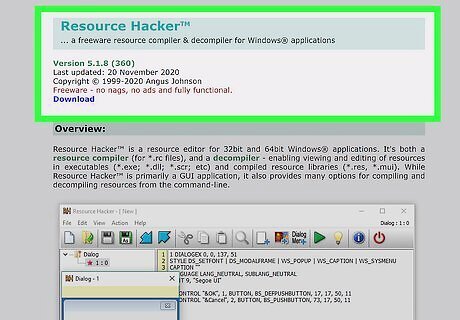
You will need to use a separate decompiler program outside of Visual Studio. These programs can convert machine code into a high-level language, like C++ or C#. Warning: The code these programs extract is a reconstruction and not guaranteed to match the original source code. Use the following steps to decompile a DLL file: Download and install a Decompiler program. Popular programs include Reflector, dotPeek, and JustDecompile. Open your decompiler program. Drag and drop the DLL file into the Decompiler program window. Expand the program or filename in the panel to the right. Expand the program name next to the bracket icons. Click the function or class name to view the code. Copy the code into a Visual Studio file, or click File followed by Export to Project.
How do I register a DLL file?
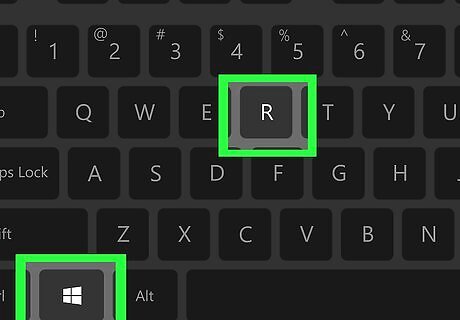
Some DLL files need to be registered in order to function. You can register a DLL file using the Run program. Use the following steps to register a DLL file in Windows 10: Press Win + R to open Run. Type regsvr32 next to "Open." Drag and drop the DLL file into the "Open" text box to add the path to the DLL file. Put quotations (" ") around the path to the DLL file. Click Ok.


Comments
0 comment