How to Create a Simple Webpage Using Notepad
Do you want to learn web design? You don't need fancy editing software to get started creating a web pages. You can create web pages using Notepad, which comes pre-installed on your Windows computer. The language used to create web pages is called "HTML," which stands for Hypertext Markup Language. You can write HTML using Notepad or any other text editing program. Then all you need to do is save the file as an HTML document. HTML is easy to learn, even if you have no programming skills. This wikiHow article teaches you how to create a simple webpage using Notepad.
Things You Should Know
  • HTML is the primary language used in web design.
  • You can easily write HTML using Notepad or any other text editing program.
  • Don't forget to save the file as an HTML (.html) document.

Creating a Document

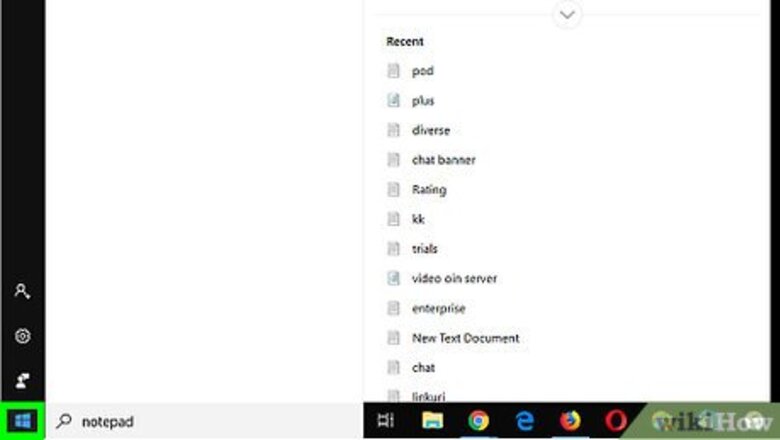
Open Start Windows Start. Click the Windows logo in the bottom-left corner of the screen. The Start menu will pop up.

Search for Notepad. Type in notepad to do so. You should see a list of matching results appear near the top of the Start menu.

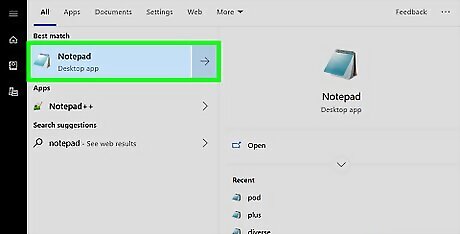
Click Notepad. It's a blue notepad icon at the top of the list of search results. Click this app to open a blank page in Notepad.

Click File. This is in the top-left corner of the Notepad window. Clicking it prompts a drop-down menu.

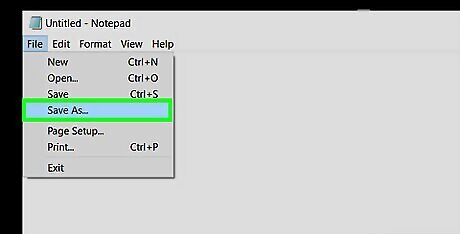
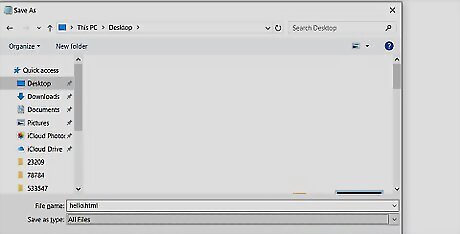
Click Save As…. It's in the drop-down menu. The Save As window will open.

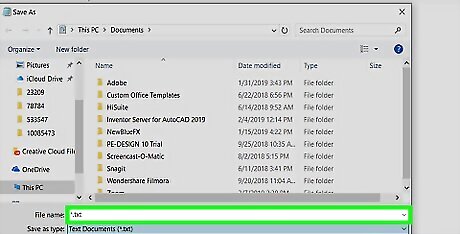
Click the "Save as type" drop-down box. This option is near the bottom of the window and should have "Text documents (*.txt)" written on it. Clicking it prompts a drop-down menu to appear.

Click All Files. It's in the drop-down menu. This will allow you to save your file as an HTML document.

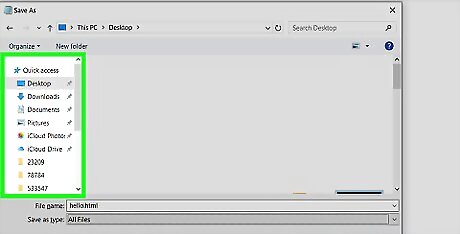
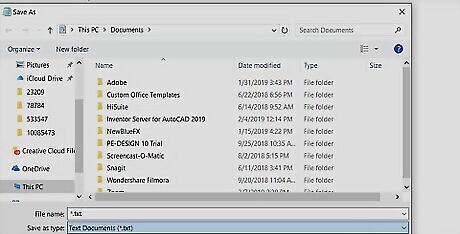
Select a save location. Click the name of the folder in which you want to save your document on the left side of the window. For example, to save your document on the desktop, you would scroll up and click Desktop in the left-hand sidebar.

Enter a name and the "html" file extension. Click the "File name" text box. Then type in whatever you want to name your file, followed by .html, which is the file extension for an HTML document. For example, to name your webpage's file "hello", you would type in hello.html.

Click Save. Doing so turns your current Notepad document into an HTML document. At this point, you can proceed with setting up your web page's initial structure. If Notepad inadvertently closes or you have to come back to your document later, you can right-click the HTML file and then click Edit in the resulting drop-down menu.

Adding Structural Code

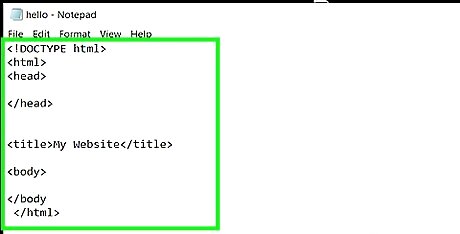
Add your webpage's language tag. The first tag you'll need to add is the language tag. This tells the web browser that this is an HTML document and that the language being used is HTML. Type the following into Notepad at the top of the page:

Add the "head" tags. The "head" section of an HTML document contains the metadata for the web page. This information is not displayed in your web browser. It can contain information such as the page title, style sheets (CSS), scripts, and more. For now, just type below the "" tag, press Enter twice to leave a space. Then type in . Each HTML element has an opening and closing tag. When we add a new element, such as the "" tag to open the head, we need to add a closing tag as well. For the head, this is the "" tag.

Add page title to your website. The title goes within the "head" section of your HTML document, so you will need to enter this in between the opening "" tag, and closing "" tag. To add a title, type the opening title tag, which is ". Then type your title text. Add the closing title tag immediately after, which is . For example, if you wanted to title your web page, "My Website," you'd enter the following: My Website

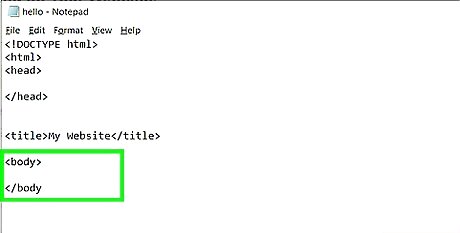
Add the "body" tags. Everything displayed in your web browser will go in the "body" section of your HTML document. The opening and closing body tags go below the closing "" tag. Add the opening and closing body tags, as shown below:

Close the HTML tag. The last tag to go in your document will be a closing HTML tag to signify the end of the page. Type at the bottom of the page below the closing "" tag.

Review your HTML document so far. At this point, your document should look something like the following: My Website

Save your document. To do so, click File in the menu bar at the top, followed by Save. Alternatively, you can press Ctrl + S to save your document. Be sure to save often.

Inserting Page Elements

Know that all of your webpage elements go between the "body" tags. Any element—be it a heading or a paragraph—needs to be written after the "" tag and before the "" tag.

Add your website's main heading. Type

in between the "body" tags, then type whatever you want your webpage's main heading to be in between the "

" tags. For example, to create a page with the heading "Welcome", you would add the following:

Welcome

You can use tags "

" through "
" to create smaller heading text. "

" is the largest heading text, and "

" is the smallest heading text.

Add paragraph text to the page. Type in the paragraph tags, which are "

", and then enter whatever you want to use as your paragraph text in between the tags. Your end result should look something like this:

This is my website. Vote for me for class president!

Force a paragraph break. If you want to add extra spaces between paragraphs or heading, type
after the line's closing tag. For example, to create a line break after a paragraph, you should end up with something like this:

This is my website. Vote for me for class president!


I also like potatoes.

You can add an additional "
" tag after the first one to create additional line spaces in between your paragraphs.. You do not need to add a closing tag for line breaks.

Add formatting to your text. You can apply bolding, italics, and underlining (as well as superscript and subscript) formatting to any word, sentence, or block of text as long as the text is between paragraph tags. The formatting tags you can use are as follows: Bold Text Italic Text Underlined Text Superscript Text Subscript Text

Add an image to your web page. To add an image to your web page, the image must be uploaded to a web server on the internet. You need to know the web address for the image. Once you have that, type bracket at the end. The following is an example of what this should look like: If the image is not online, but is saved to your computer, you can use the location it is saved to instead of the web address. For example,

Add a link to your web page. Links are a crucial aspect of web development. They allow users to navigate from one web page to another. To add a link, you need to have the web address for the web page you want to link to. Type bracket at the end. Then immediately after, type the text you want the link to say followed by the closing tag, which is . The following is an example of how to add a link to your web page: Next Page You can also add a link to an email address, or use an image as a link, instead of text.

Review your web page's appearance. While the web page's elements may vary, your document should look something like the following: My Website

Welcome!

Next Page

This is my website. I hope you like it here!

Here is some bold text for emphasis.

Italics can be creepy.

Testing Your Page

Save your document. To do so, click File in the menu bar at the top, followed by Save. This will ensure that the HTML document shows the most recent version of your web page when you open it.

Right-click your HTML document. Navigate to where you saved your HTML document, and right-click it. A drop-down menu will appear.

Select Open with. It's in the drop-down menu. Doing so opens a pop-out menu with a list of apps you can open the file with.

Select your preferred web browser. All web browsers can open HTML documents, so click any web browser you want to use in the pop-out menu. Your HTML document will open in your selected web browser.

Review your webpage. If the formatting looks good to you, you can go ahead and close Notepad. If you want to keep editing your HTML document, return to Notepad and make the necessary edits, making sure to save your changes often. You can adjust the webpage's background color, set a background image, or change the font color by using CSS in conjunction with your HTML document.

Original news source

What's your reaction?

Comments

https://umorina.info/assets/images/user-avatar-s.jpg

0 comment

Write the first comment for this!