views
Making a Plan
Decide how clean you want your house to be and how much time you have. This will help you decide how to set up your cleaning schedule. Be honest with yourself about what you can do, how much time you have, and how motivated you're feeling. Work from the top down, if at all possible. You don't want to vacuum and then get crumbs all over the floor, or dust the bottom of something and knock more dust down when you work your way up onto the previously uncleaned areas. If you don’t have much time, start with the clutter first and work your way to more serious things from there. For the "average" busy person it works better to do a little bit every day so that the work doesn't pile up, and also have major-cleaning day a few times a month. What style you prefer is up to you (unless you have roommates, of course). Keep a check on areas of the kitchen subject to grease and grime buildup that need regular but less frequent cleaning, such as the tops of cabinets and the kitchen exhaust fan. It can be easy to overlook higher features in the kitchen but grease and grime gather in these areas and attract dust and insects.

Make a checklist and a plan of attack. Know which rooms you plan to start and finish your cleaning in (generally back to front door works best). This will help expedite the process and ensure you are not duplicating your efforts, especially if more than one person is involved in the cleaning. You can follow the steps in the cleaning part in order. This way, you'll have a checklist already written out for you. Make a plan so that you can vacuum, sweep, and mop all rooms at the same time (and so that your hot water doesn't get cold) so you won't have to go from one task and then repeat the same thing again.

Attempt to delegate tasks. If you live with other people, cleaning the house should not be exclusively your responsibility! You may have to take on leadership by setting up a rotational cleaning schedule, but it's far better than having to do this backbreaking work alone. Make sure the tasks assigned are age-appropriate – i.e. grade school children can pick up their bedroom floors, teenagers can clean the garage or bathroom, etc. It should also be equal – cleaning the toilet is hardly on par with organizing the coffee table; include these areas in your plan, perhaps monthly or every few months.
Cleaning the Bathroom
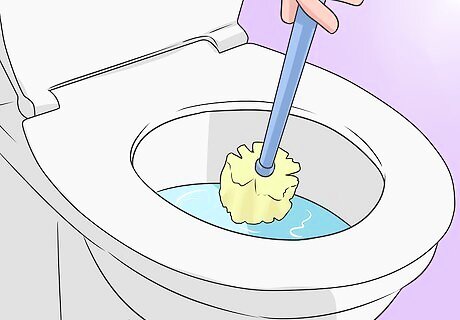
Clean the toilet. Ugh. Cleaning the toilet is never fun, so it’s best to get it over with as soon as possible. Put on a pair of rubber gloves (not the ones you use to clean the dishes!) to keep your hands safe from the grime and bacteria. Give the toilet a gentle wash-down with a sponge and hot water to loosen everything up. Let it soak in the hot water while you move onto the bowl. After that, squirt an acidic toilet cleaner into the inside of the bowl and around the rim. Let it soak for 10 minutes and then scrub it with a toilet brush. When you’re finished, give it a flush. Then, apply bleach spray to the entire toilet bowl, let it sit for 5 minutes, and give it another good scrub. As a final touch, use pumice to give the toilet a good, hard scrub—this should remove any hard water, calcium, or other difficult spots. A magic eraser may be used as well to brighten the area. When you’re done with the bowl, return back to the outside surfaces. Spray them down with a disinfectant spray and wipe dry with a cloth or paper towel.
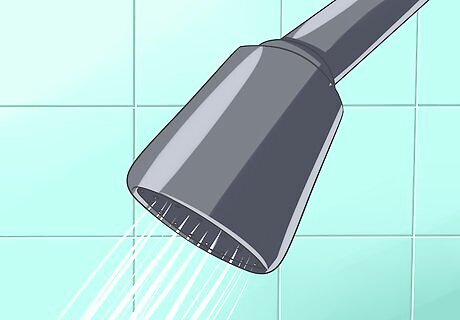
Clean the shower or tub. Showers are notorious for getting grimy quickly. A shower cleaner and bristled brush (and some muscle power) should work great. If you don’t have shower cleaner handy, dish washing liquid is an excellent way to get rid of the scum in the bottom of the tub, just like it cuts the grease off your dishes. Then continue cleaning as usual with Lysol or other antibacterial cleanser. Use car wax on showers to make it stay cleaner longer (not the floor; you might slip). For cleaning glass, use a half cup of ammonia and 8 drops of dish soap in a gallon of water to get it all cleansed. EXPERT TIP Jennifer Mueller, JD Jennifer Mueller, JD Doctor of Law, Indiana University Jennifer Mueller is an in-house legal expert at wikiHow. Jennifer reviews, fact-checks, and evaluates wikiHow's legal content to ensure thoroughness and accuracy. She received her JD from Indiana University Maurer School of Law in 2006. Jennifer Mueller, JD Jennifer Mueller, JD Doctor of Law, Indiana University "I highly recommend The Pink Stuff for any tough cleaning projects. It really is a miracle worker, especially with built-up soap scum in the bath or shower. As a bonus, there are no toxic fumes to worry about."
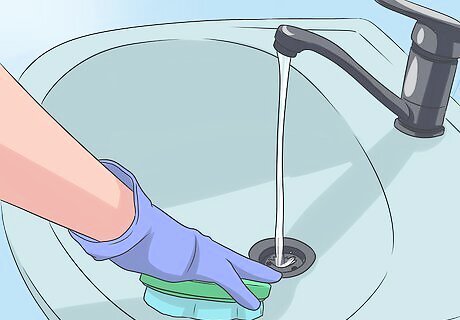
Clean the sink. Most sinks are pretty heavy duty, but before you go to use any cleaner, make sure it’s appropriate for your surface. Once you’re sure it is, spray it down. Leave it for a minute to start eating away the bacteria and mildew, and then scrub it down with some elbow grease and a sturdy sponge. When it seems to be sparkly and fresh, rinse it out with warm water and wipe dry with a clean cloth or paper towel. If you have some stubborn stains, you may need to use a brush to dig into them and loosen them. A wire-bristled brush (like one you use to clean your shower) is good.
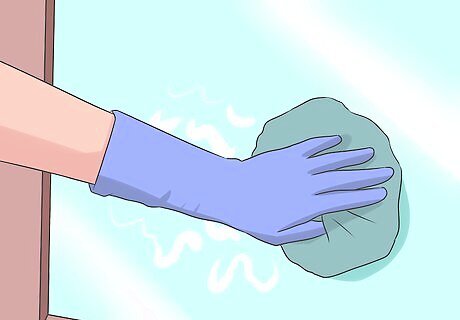
Clean the glass/mirrors. It is commonly thought that glass cleaner does the cleaning. In fact, it’s meant just to make it sparkly, not to get it clean. It's actually no substitute for soapy water, especially if your mirror is quite dirty. Here’s how you should clean your windows and mirrors: First, wash your glass with a solution of warm or hot water, dish soap with a rag, sponge, or squeegee. Powdered no-scratch cleaner works fantastic for cleaning mirrors, glass, ceramics, and metals because it scrubs off hard water residue without scratching the surface. Then wipe down the surface with a dry, lint-free cloth or lint-free paper towels. If you want to clean glass and be environmentally friendly, clean the glass with vinegar and water, dry with a lint-free cloth, and rub the glass with newspaper. No streaks! Make sure you use some elbow grease – it requires pressure to properly clean glass. Alternatively, spray glass cleaner on a paper towel and clean the glass surface. The glass cleaner acts as a shield to help keep spots and dust easy to remove. When misused, glass "cleaner" will leave streaks. You can also use old newspaper to wipe the glass surface after washing; the glass will be streak free and this is a great way to reuse old newspaper.
Cleaning the Kitchen
Wash the dishes. These save a lot of work when you use them right. Your dishwasher works best when you load it completely and run it right after you use your dishes. Big things like pots and pans are usually best hand-washed because they don't fit well in the dishwasher. Dishes wear out more quickly when washed by machine than by hand because the dishwasher's soap is abrasive; heirloom china, delicate wine glasses, and other really fragile things should be carefully hand-washed instead.
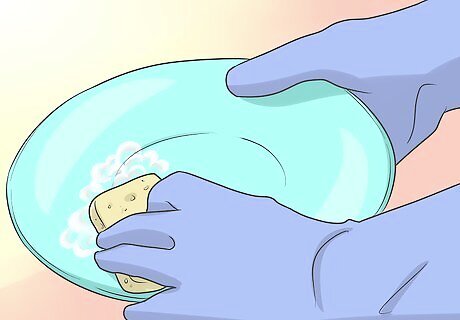
Try hand-washing dishes, too. It's much easier to wash your dishes if you do it right after you use them; you will rarely need to soak anything or scrub hard because the food juices won't have a chance to dry and harden. Just wet your sponge or scrubber brush with hot water, squirt on some dish soap, wipe each dish (both sides!), and rinse thoroughly with hot water. If you use the soaking method, picture this: a bucket of brown water with dirt, grease, food particles, millions of germs, and a lot of other things that come off your dirty dishes. Now you know how disgusting (and unsanitary) that soaking water can be. If you need to soak a casserole that has baked-on gunk for ten or fifteen minutes, that's okay, but when you can, it's usually better to just wash the dishes promptly and avoid soaking. Treat coffee-stained mugs with a baking soda paste. After applying the paste and letting it sit for 10 minutes, wash and dry the mugs as you normally would.
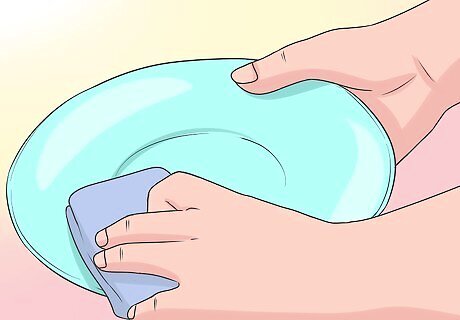
Dry your dishes, too. If you don’t dry the dishes, you risk water stains on glass or bacteria festering in the water. However you wash your dishes (if you wash them by hand), place the thoroughly rinsed dishes in a clean drying rack and allow to air dry. Be sure to let your brush, sponge, and dish towel dry between uses to keep them from accumulating germs, too.
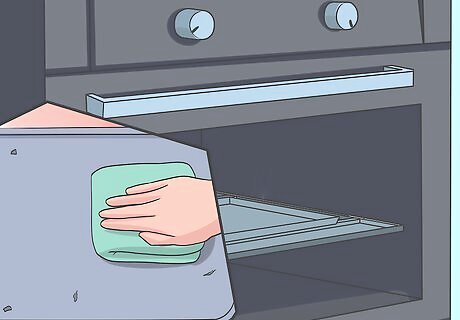
Clean the oven and microwave. Another not very fun task is the cleaning the microwave and the oven, especially if we don't clean them very often (they're easy to forget about). But it's one of the tasks where you'll notice the most difference– your kitchen may end up smelling better as you cook food, since there's no leftover residues cooking with it. Here are the details: For the oven, check if there's a self-cleaning setting. That could do the brunt of the work for you. If it does, remove the wire racks to soak in soapy water, complete the self-cleaning cycle and wipe out the ashes at the bottom and then wash it down with some cleaner and a wet rag. If it doesn't have a self-cleaning option, remove the racks to soak in soapy water, spray down the insides of the oven with a cleaning solution, let it sit, and then get to work with a sponge and a scraper. As for the microwave, you can use a bowl of vinegar, lemon and water, dish soap, or window cleaner. Just place it in the microwave, turn the microwave on for a few minutes, and then wipe it down with a rag. All that crusted gunk will come off easily, leaving your microwave looking like new. Cleaning the kitchen sink, just for the record, can be found in the above bathroom section. Sinks are sinks, after all.

Organize the cabinets. Now that you've got the hard part out of the way, it's time to get to your cabinets. This part is actually up to you and what you feel makes sense. Just make sure you can come up with a system that is fairly intuitive and sensible. Sometimes it's just easier to take everything back out and then put everything back in, rather than trying to work around everything and see what you can make work. When everything is out, clean the cabinet inside. Wet or dry, or dry then wet then dry; just simply get the dirt out. Put everything inside. Put your bowls with your bowls, your nice glasses with your nice glasses, your baking supplies with your baking supplies – you get the picture. Make sure what you use most is the most accessible, too. If there are unnecessary things, then think where they should be placed. Throw whatever is very much not needed anymore to make things easier. Do not keep trashes but also, do not throw useful things.
Cleaning the Bedroom
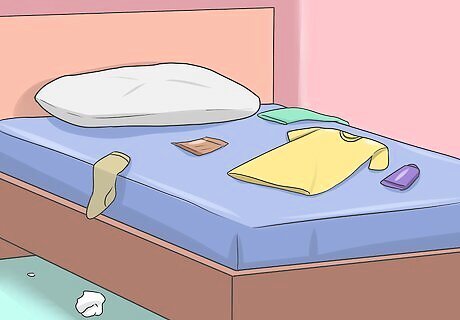
Organize all the clutter. Again, we’re starting from the top down here. The first step to organizing any room is to get rid of or organize all the small bits. So those papers you have thrown about, the clothes on the floor, the wrappers next to your bed? Get rid of ‘em. Then you can really start to get to work. As you are cleaning, walk around the house with a garbage bag and a laundry bag. This way you can pick up as you go and won't have to walk back and forth.
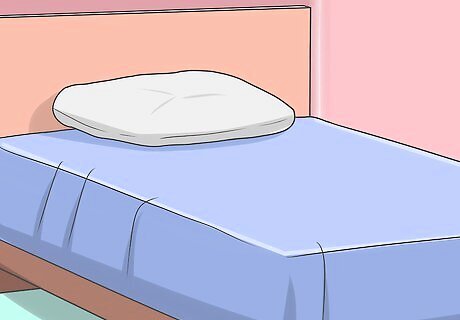
Make the bed. Sure, making the bed seems pretty pointless – after all, you’re just going to mess it up come nightfall – but once you have it, you’ll realize how much better it makes the room look and feel. It’ll give cleaning the rest of the room purpose, because once you’re done, it’ll look amazing. Of course, you may want to wash the sheets and then make your bed. This includes pillowcases and the comforter, too. Jumping into a made bed at night feels great, but jumping into a made, clean bed feels even better.
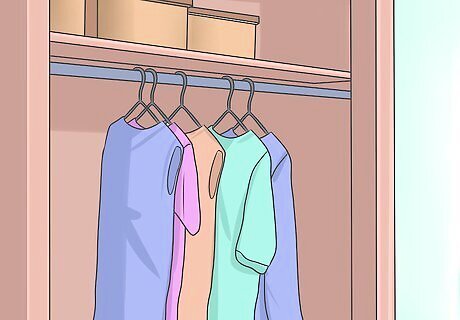
Organize your closet. This should really be something you do every day, but it’s easy to let it get a little out of control. Map out your closet in your brain – where are your pants, your tops, your accessories, your underwear? Then get to organizing, keeping like items together and the articles you wear most on top. It’s not a bad idea to go through your closet and figure out what you just want to throw out (random, non-apparel items included). Odds are there are at least a few pieces or things you’re not interested anymore, and they’re just cluttering up your space. But don’t throw them out – they can probably be donated.
Dust, vacuum or mop, and spray a nice scent into the room. All those shelves and nooks and crannies (not to mention under and behind the bed) are paradise for dust and dander. To get at them, a dust mitt or dust cloth works wonders, but you could also use dusting spray or a disinfecting wipe to get the job done. Once everything is dusted, corners of the floor included, you can vacuum or mop accordingly. Be gentle with certain pieces, like your lampshades and curtains. For these, you can take a blow dryer to them and gently blast away the dust. When you're done, top off all your hard with a nice, fresh scent, like lemon or lavender.
Cleaning General Living Areas
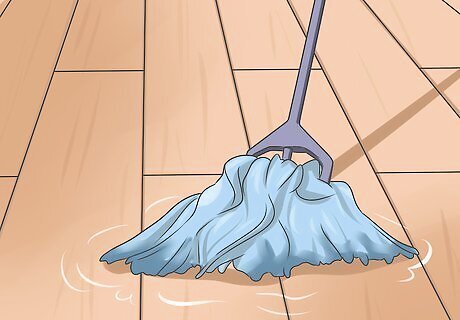
Clean the floor. This all depends on what kind of floor you have: wood, ceramic, linoleum, and carpet (just to name the generics) all require different methods of cleaning. What method is appropriate for your floor? Vacuuming is the most effective way to clean up all the dust and other loose junk that accumulates on your floor when you have carpet (and it's practically a daily necessity when you have shedding pets). Alternatively, try using a dry dust mop (the microfiber kind works well) if you have tile/wood floors. You can use a carpet sweeper (non-electric machine you push that has brushes underneath) if you have carpet. Both involve less fuss than getting out the vacuum and will let you go longer between vacuuming sessions, too.
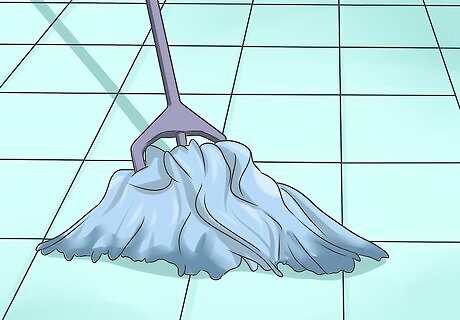
Mop your floor. Some of the new and innovative substitutes for mopping can be helpful, but they are still no substitute for a good rag mop for getting rid of glued-on grime. In your kitchen and other areas, this is a necessity to getting your floors looking sparkling clean. When it comes to tile or textured floors, nothing else will get the dirt out of the cracks and depressions. There are a vast number of options for rag mops. Rag mops with real fabric scrub better and last longer than mops with a sponge. With a good rag mop, one thing is guaranteed: when you use a little elbow grease, your floors will look fantastic. Use hot water and the appropriate cleaner for your floor (again, read the labels).
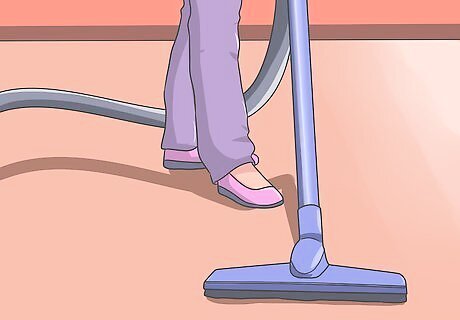
Fight against fleas, if you have pets. Your best defense against fleas is your vacuum cleaner, as well as not having carpet. Carpet is a breeding ground for fleas (not to mention all the other things it's good for holding). If you have pets, vacuum daily. This will keep fleas successful from breeding (to do so, they need pet and human dander). To kill fleas without using poisons, after each vacuuming, sprinkle borax on your carpets and let it work its way into the carpet backing. You'll never have fleas in the house if you do this. You can find the Borax in the laundry detergent area of grocery stores, usually on the top shelf.
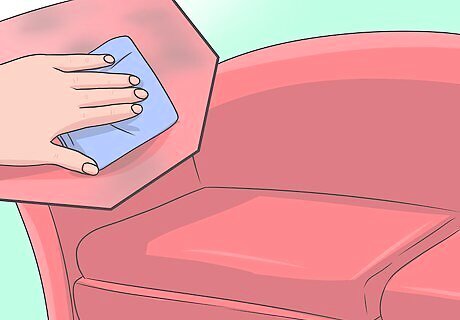
Dust the furniture. Teeny invisible dust mites are everywhere, and if we could see them, we would be dusting 24/7. They can be found just about anywhere in the home and can even cause sneezing, coughing, and asthma. In addition to dusting, vacuuming and mopping help, too. To dust your furniture, take a damp cloth or dusting mitt and carry it over your surfaces. Go in a continual motion on every surface so you don't miss any spots, and work in one direction around the room. You may want to use a scented furniture spray like Pledge to help you out.
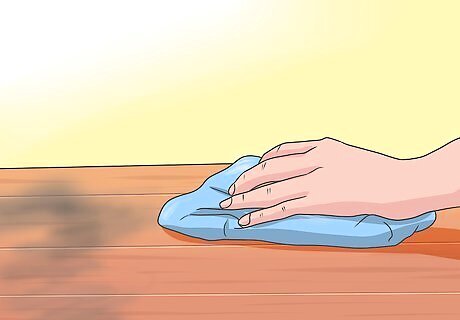
Polish the wood furniture. Like glass cleaner, furniture polish isn't meant to be a cleaner. However, it can be used for cleaning. If you'd like to use furniture polish, make sure to carefully read the labels and find one made specifically for what you need. Some furniture can handle water, and those that can should be used with the soapy solution from step two. Be sure to quickly dry off these surfaces. Next, apply the suggested amount of furniture polish and wipe away according to the directions. This will keep dust from magnetizing to your furniture.
Be careful using all-purpose cleaners. As a general rule of thumb, all-purpose cleaners aren't always safe for every purpose you'll have in mind. Make sure to thoroughly read labels before purchasing to ensure it fits your needs and to read the label to make sure it's right for the chore you have in mind at the time. The last thing you want to do is ruin a good piece of furniture. As another general rule, do not mix cleaners. Doing so could be very dangerous. Use them one at a time and follow the directions on the label.
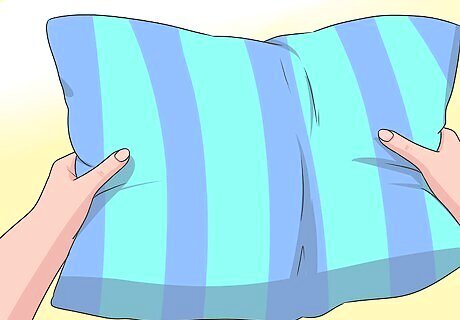
Organize the knickknacks and fluff the pillows. Now that you've got all the surfaces clean including the floor, it's time to hit the teeny stuff because you're almost done. Fluff the pillows, straighten the throw blankets, and organize everything in the room like you're about to put your house up for sale. If too many items are in sight, put some in storage in a labeled container – you may wind up forgetting where you placed them. When you're all done, spray a room spray and sit down and marvel at your work. Did you miss anything? Oil the door hinges? Clean the walls? Replace the light bulbs?
Wrapping Up Your Cleaning Session
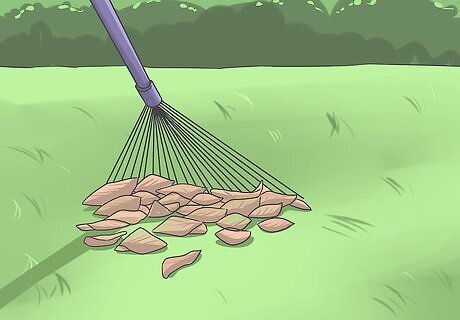
Don’t forget to clean outside, too. Outdoor tasks can help create a better living environment, though they're pretty easy to neglect. Raking leaves helps to prevent mold growth that happens in wet climates after raining. Doing so regularly will also assist in dropping the bug count in your yard and leave your yard looking neat and cared for. Did we also mention that it helps sunlight reach the grass and grow faster and healthier? That, too. Don't have a rake or feel like doing the back-breaking work? A leaf blower can be used as a time saving method, too. Trimming/pruning back plants (hedges, rose bushes, etc.) can help prevent water lines and dirt from getting on the walls of your home.
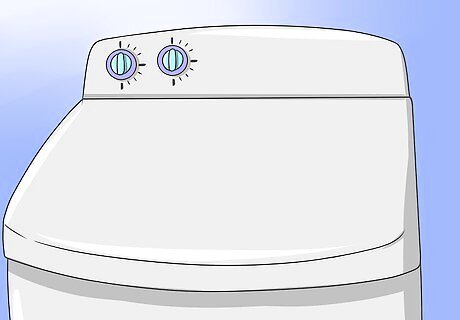
Do the laundry with a washing machine or by hand. That pile of dirty clothes on your bedroom floor had to go somewhere. The following are generic instructions for a washing machine: First, begin the water at the needed temperature and level. Next, pour in the needed amount of laundry detergent where the water is pouring. If you use fabric softener, a great thing to use is the fabric softener balls that you pour your softener into and just throw in at the beginning. (This saves you from having to wait for the rinse cycle.) If you use one, do this with the detergent. If you put your clothes in first, you risk staining your clothes with the coloring in these liquids.

Dry your laundry. The way you transfer your clothes into your dryer can affect the way they come out. Once the entire washing cycle is complete, shake to remove the twisting of fabric and the heavy wrinkles from the clothes and then toss them into your dryer. This process can help prevent wrinkling and helps your clothes dry more efficiently. It also helps to empty the dryer while your clothes are still warm. Not to mention the awesome feeling you get from holding a pile of still warm, extra clean clothes.
Walk through your house and complete any remaining room-specific cleaning necessary. Though this was a pretty big list, it was by no means exhaustive. Other tasks include: Emptying trash bins and taking out the trash Cleaning the kitchen table Changing bedsheets, pillowcases, and duvet covers Cleaning walls Clean the refrigerator







Comments
0 comment