
Purchase
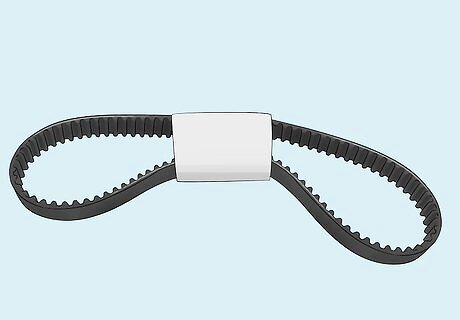
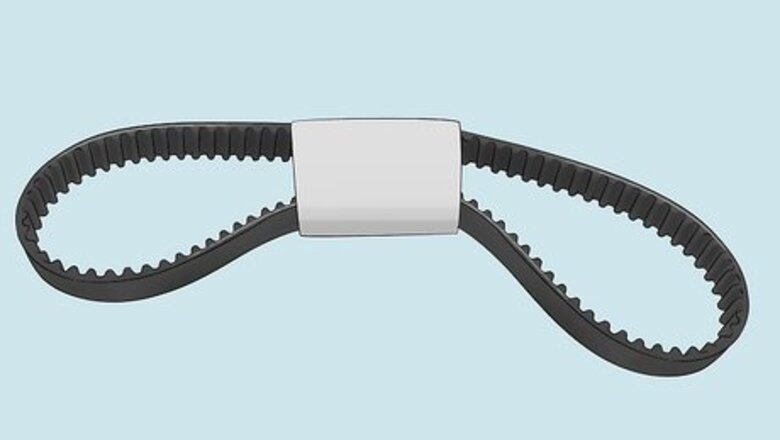
Buy a new belt before proceeding with removing the old one. If this is a maintenance service, you may want to locate a new belt before removing the old one. If the belt has broken or slipped, you can wait until the old one is removed before buying a new one so you can compare them to be sure the new one is the correct one for your vehicle. Most vehicles require rubber timing belts, as opposed to older steel timing chains. Available for a few dollars at any auto parts store, you'll likely need to change yours every 90,000 to 120,000 miles (140,000 to 190,000 km), depending on your engine.

Gather the information about your vehicle. You will need to know the make, model, and year model of the vehicle, as well as the engine type and size. Some models may have variations even during one model year, so your VIN may also be helpful. You can purchase a new belt at a dealer or an auto parts store.
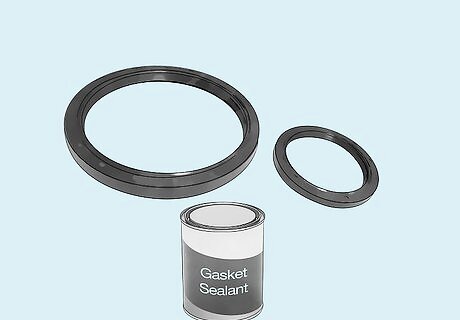
Make sure you also purchase gaskets and gasket adhesives required for reassembly. Your parts supplier should be able to tell you what you will need. Timing belt kits are also available that include replacement gaskets and other necessary materials to complete the job.
Fitting
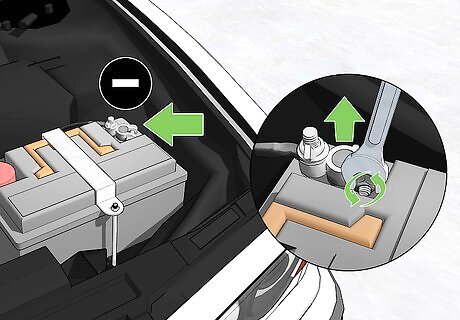
Disconnect the negative battery cable. Ensure you have your radio security code (if equipped) any preset radio stations on a piece of paper to allow for quick resetting once repairs are made.

Remove the alternator belt. Depending on your model, you may need to remove the serpentine belt to get to the timing belt. Loosen the nuts, pushing the alternator if necessary to create slack on the belt and remove it.
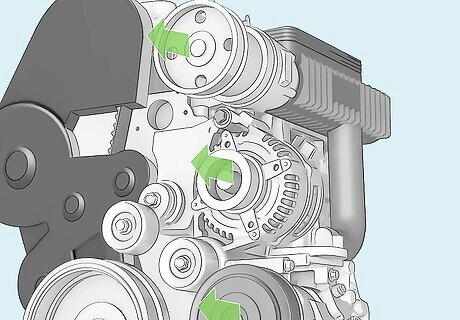
Remove any accessories such as the power steering pump, alternator, and air conditioning compressor so you can access the timing belt cover. Do not remove pressurized fittings from the air conditioning compressor, most can be unbolted and pushed out of the way without discharging the system. Remove valve cover assembly as required for access to timing belt.
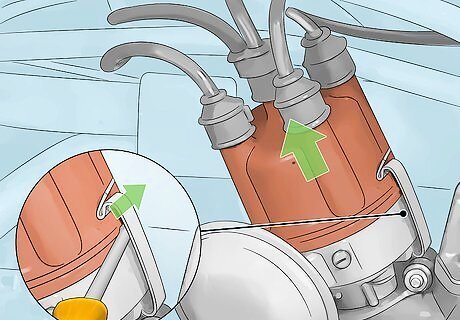
Remove the distributor cap if your vehicle is equipped with one. You may need to pry apart the retaining clips to free the distributor cap, as well as remove any screws holding the cap in place. Some modern cars with electronic ignitions don't have distributors. They will have a cam and crankshaft position sensor instead. The important thing is to be able to determine Top Dead Center (TDC) on the first cylinder. Consult the engine repair manual, since these will differ by model.

Line up the timing marks. Using a wrench or socket on the crankshaft bolt rotate the engine until the timing mark on the crankshaft pulley is aligned with the 0° mark on the timing scale. Verify the distributor rotor is aligned with the index mark on the distributor housing indicating the rotor is in position to fire the number one cylinder. If not, rotate the engine another full turn. Don't do this on interference engines unless you're sure the belt is still intact. If you have not already bent your valves with a broken timing belt, you will likely do so if you spin the crankshaft without the camshaft spinning.
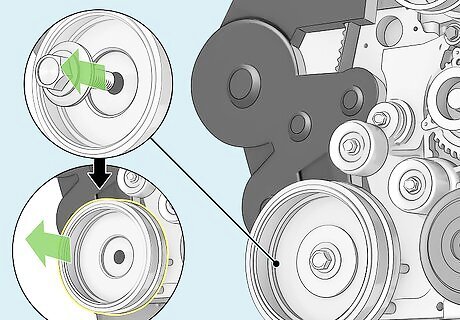
Determine if the harmonic balancer pulley needs to be removed to remove the timing belt cover. Often, the cover saddles over the end of the crankshaft, and this pulley will not allow you to remove the cover without first removing it. Note that an additional seal will be needed to reinstall it if this is the case and special crankshaft pulley and gear removal alignment tools may be needed.

Remove the bolts or screws holding the timing cover in place. Remove this cover off the engine. Some engines have a two-piece timing cover. Remove any components or accessory drive belts that interfere with removing the timing belt cover. This varies by model; consult your service manual to determine which parts need to be removed from your vehicle.
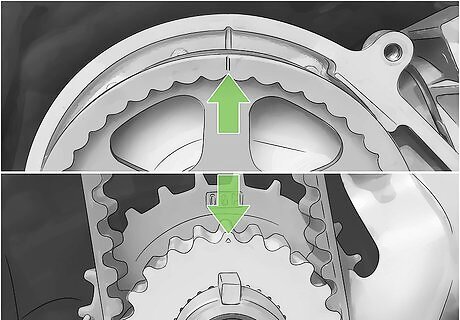
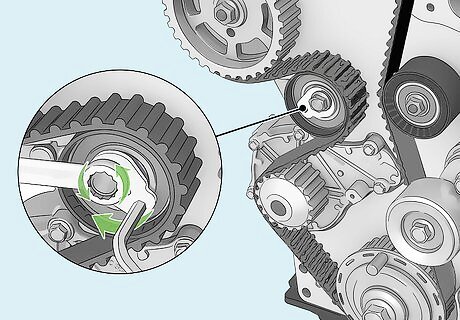
Check for proper alignment of the crank and camshaft timing marks. Many engines have a dot or index line on the pulleys and/or sprockets that must be lined up with corresponding marks on the block, cylinder head, or accessory shaft. On some engines, the index mark on the camshaft sprocket aligns with the parting line of the first camshaft-bearing tower. This is very important if you're replacing a timing belt that has broken. Consult your service manual for the correct alignment procedure for your vehicle and correct any misalignment before installing the new timing belt. These marks may also be displayed on a label on the timing belt cover on some engines.
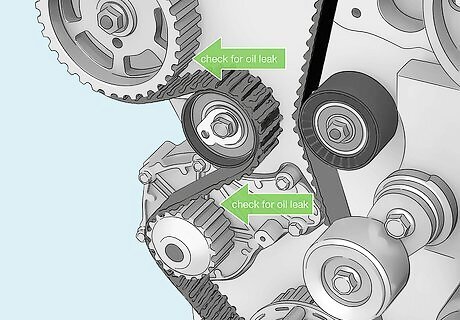
Check the area around the belt for signs of oil leakage. Look around the camshaft and crankshaft seals, as well as the valve cover and oil pan. Check for coolant leaks from the water pump and water pump by-pass hose. Leaks should be repaired before the new belt is installed.
Loosening
Loosen the mounting bolt(s) holding the belt tensioner using any special cam holding tools, while following the service manual. Do not remove the tensioner completely unless replacing it. Instead, pivot the spring-loaded tensioner away from the belt and then retighten the mounting bolt(s) to hold the tensioner in the loose position.

Examine the tensioner pulley for damage such as dents or cracks. Spin the tensioner pulley and listen for a rattle or humming noise that would indicate loose or worn bearings. Uneven wear at the rear of the old timing belt could indicate a misalignment between the tension pulley and timing belt due to worn bearings. If any indications of damage or worn bearings are found, replace the tensioner pulley. The permanently lubricated tensioner pulley bearing can become dry, worn, loose, broken or can freeze up, so the best practice is to replace it, if it's not new.
Installation
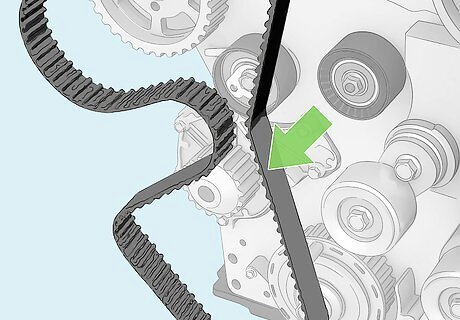
Slide the belt off the sprockets. With the tension on the timing belt relieved, the belt should slide easily off the sprockets. Timing belts that have been used for a long time may stick in the pulley grooves and require some gentle prying with a screwdriver to release. Inspect the timing belt pulleys and water pump for any need to replace before proceeding to install the new belt.
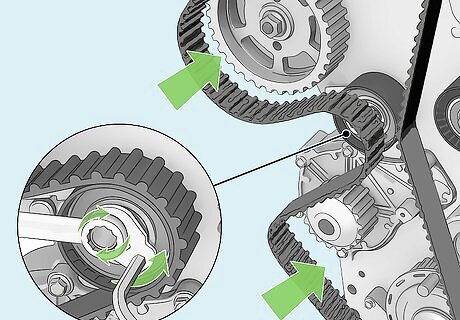
Replace with a new belt and reassemble. Torque the timing belt to the proper specifications, paying special attention to "torquing" specs on the engine manual, particularly the crankshaft pulley mounting bolt which usually has a very high torque spec. If equipped with a hydraulic timing belt tensioner, removal may be required to compress the piston back into the cylinder after a ratchet is released. Place into a vise and compress until holes line up to allow the insertion of a holding pin. Once the pin is in place, the tensioner can be re-installed when the belt is installed with the pin pulled to allow the tensioner to place tension onto the timing belt.


Comments
0 comment