views
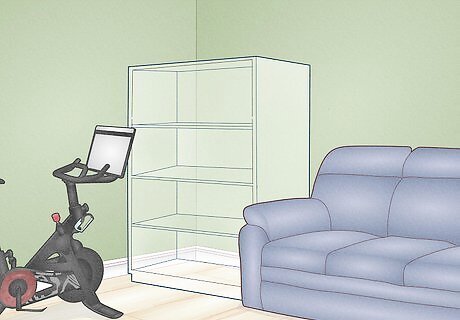
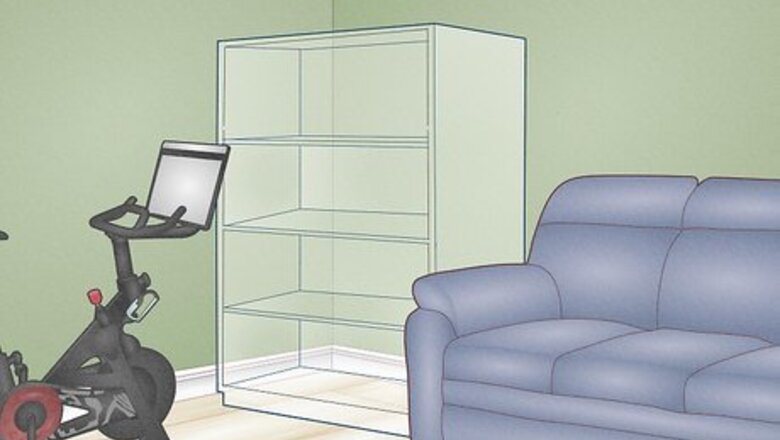
Design your shelving based on your available space. If you're making built-in bookcases, measure the space available, both at the bottom and the top- don't assume your walls are plumb and square. You will want to break up your shelving with vertical sections every 30" or less- anything more and your shelving will sag. Use no more than 18" to 24" spans for typical 1" wood. If they do start to sag, you can go back and cut small square 1" side panels and mount them vertically in the shelf below for additional support. For built-in bookshelves, design a box to fit the space, and then plan for vertical sections and the shelves to fit into it. You can build it and then slide it into place and mount it.
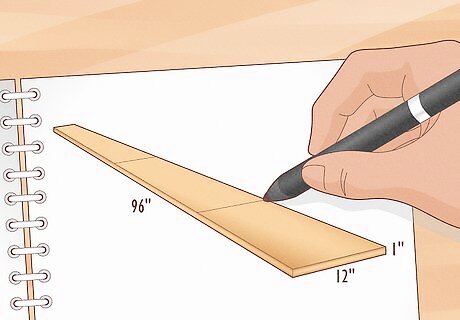
Make a shopping list for your base frame: 1" x 12" lumber, measuring the length of your outer box, your vertical supports, and your shelving. Remember most wood comes in 96" sections, so you will have some waste. If you plan ahead how you're going to cut them, you can buy some shorter (72") or longer (120") sections to fit your design. Use poplar or maple over the low-end pine boards, since the knots make the wood hard to work with and paint.
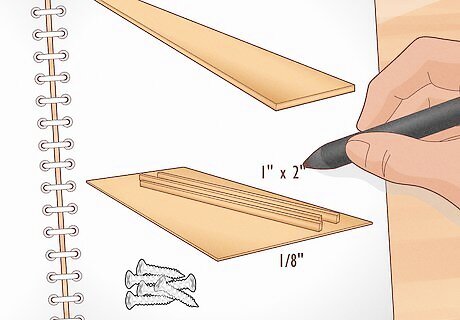
Make a list for your other materials- supporting 1" x 2" strips x the length of your shelving; 1/8" plywood to cover the back; 4 supporting pins per shelf; lots of wood screws (standard drywall screws work fine) and small wire brads to mount the back.
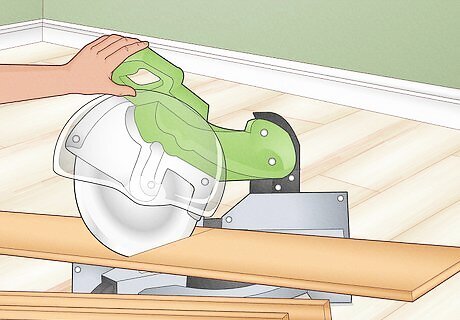
Cut the wood to fit the design of the base box. Remember to add/subtract the width of the wood itself depending on which way your joints lap. Assemble the box and mount on the plywood backing. Re-measure each vertical section and cut.
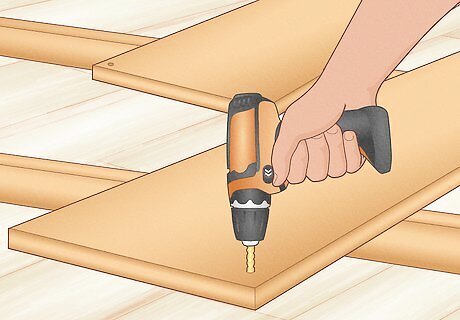
Drill the necessary holes. Before mounting the vertical sections in the box, either drill holes for the supporting pins or cut grooves (dados) to mount the shelves into. Measure the pin diameter with calipers and find the right bit for a somewhat loose fit, or do trial and error on a scrap of wood. Make sure to drill the holes perpendicular to the wood- use a drill press if you have one. A template to mark the holes is very helpful; If you're not tool-handy skip this step and you can use L-brackets to hold up the shelves later. It's ugly, but functional.
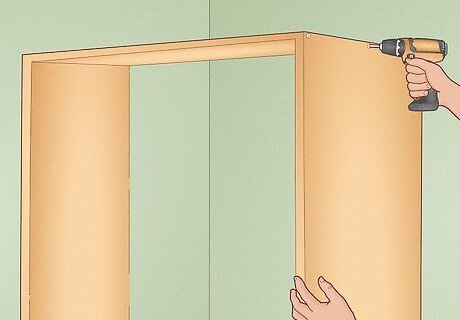
Mount the vertical sections. Test the joints to ensure they are square. Measure each shelf length and cut. Install pins and test fit. Remove shelves and add 1" x 2" supporting strip to the front for additional support. Re-install shelves and paint. Optionally, use 1-1/2" x 1/4" strips along the vertical supports, sides, and top to cover the joint-work.
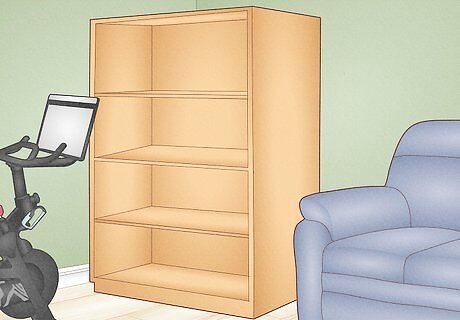
Finished.






Comments
0 comment