
Preparation
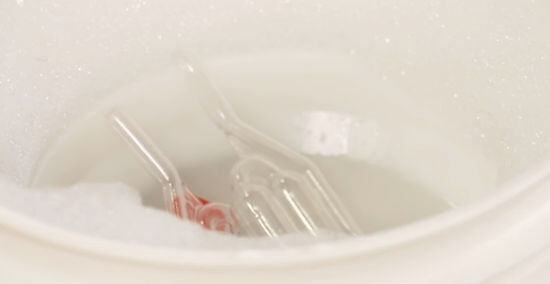
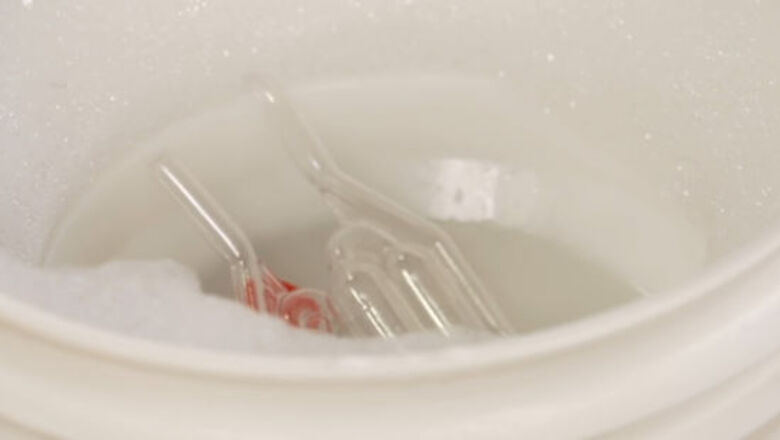
Keep it clean. As any experienced brewer will tell you, 80% of the secret of success is cleanliness. Thoroughly clean and sanitize everything that is going to come in contact with your beer. The easiest way to do that is to use an electric dishwasher set at the high heat setting or use a powdered cleanser such as PBW (Powdered Brewery Wash). Do not use a scrubber that will scratch the surface of whatever you're scrubbing—pathogens love to grow in the grooves left behind, and they're almost impossible to sanitize. Rinse well, then soak briefly in a bleach or iodine solution.
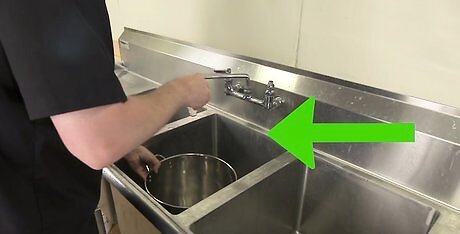
Rinse everything well. Rinse off bleach before using items using very clean potable or distilled water. Do not assume tap water is sanitized for rinsing brewing equipment. If you're using bleach to sanitize, add one ounce (30ml) of bleach to five gallons (19 liters) of cold water, followed by one ounce (30ml) of white vinegar. Do not mix the bleach and vinegar together before adding to the water! The vinegar will make the water more acidic, which helps the bleach sanitize. Do not rinse iodine solutions, let equipment drip dry instead. Note that bleach can cause unwanted flavours in your beer, and requires rinsing, which can introduce microorganisms to your sterilized equipment. If you want to sterilize your equipment properly, use either a food-grade cleanser or sanitizer such as One Step No-Rinse Sanitizer, which requires no rinsing; or an iodine solution such as BTF Iodophor. Remember, in beer brewing, you can do just about anything you want, and add anything you want, to make whatever kind of beer you want—but proper sanitizing is the MOST important thing you can do. Take the time and the energy to do it right.
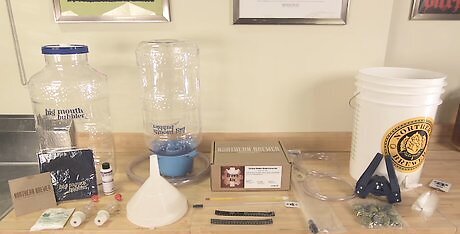
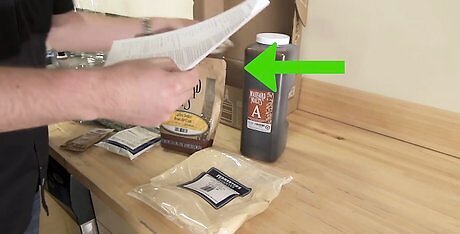
Prepare everything before you begin. That includes cleaning and sanitizing as outlined, and also includes having all your ingredients prepared and measured in advance.
Brewing
Take notes. Before you begin your foray into home brewing, get a notebook, and note down everything you do—the cleaning process, what strain of yeast, the amount and specific type of malt, what variety of hops, and any specialty grains or other ingredients used to produce your beer. This will allow you to reproduce any given brew, or provide a basis for experimentation and improvement.
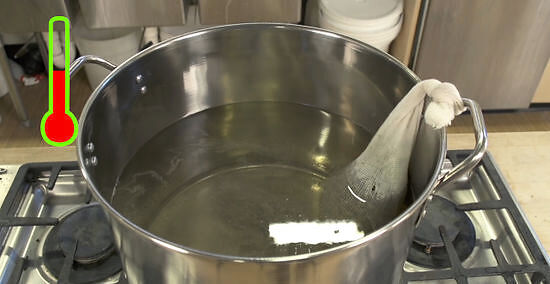
Steep your grains. Put any specialty grains into a grain bag (a mesh bag to contain the grains—like a tea bag, only a lot bigger) and steep them in the large stock pot in three gallons (10 liters) of hot water (around 150°F (66°C) for about 30 minutes. Remove the grains and allow the water to drip out of the grain bag, into the pot. Do not squeeze the bag, because you may extract tannins that will give your beer an astringent flavor.
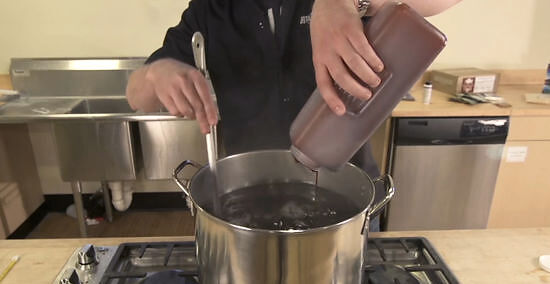
Add the malt extract and bring everything to a boil. The hops are usually added at various intervals to add flavor, bitterness, or aroma and the times will be spelled out for you in the kit's instructions for your style of beer. In general, hops added early in the boil will contribute more bitterness, but at the expense of flavor and aroma. Hops added at the end of the boil will have a more pronounced flavor and aroma, but will not contribute significantly to the bitterness of the beer. Consider dry hopping your beer if you are looking for a brighter and less bitter flavor.
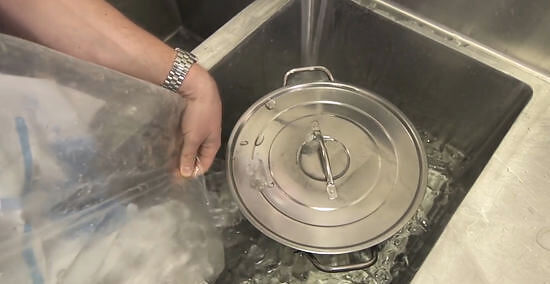
Chill your wort. After you have boiled the liquid (called wort—pronounced wərt), you need to cool it as quickly as possible. The easiest way is to put the whole pot in a sink or bathtub that is filled with ice water. You can gently stir the wort to help expedite the cooling, but try not to splash or aerate the wort while it's still hot (it can make for some funky flavors). Once it's around 80°F (27°C) you are ready to transfer it to the fermenter.
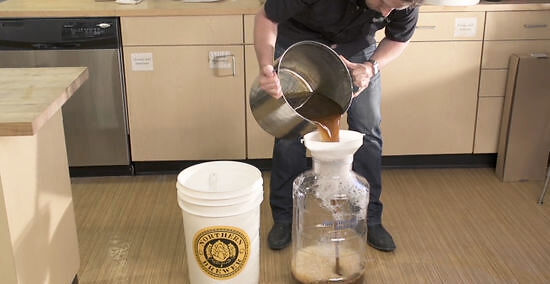
Pour the cooled wort into your fermenter. After the wort has cooled and before fermentation starts is the one and only time that splashing is encouraged. Yeast need oxygen, and splashing the wort as you pour it into the fermenter will deliver that. Once fermentation has started, you want to minimize exposure to air, as it will lead to off flavors and aromas. Using a large strainer (usually cheapest at restaurant supply stores), scoop the hops out—you've already got all the good stuff out of them. (If using a carboy, strain the wort as you pour it into the carboy). Add water to make five gallons (20 liters). You are now ready to "pitch" (add) the yeast. Some yeast requires that you "bloom" (stir with warm water to activate) them prior to pitching, others do not. You may find that even those that don't require blooming will start working faster if you do bloom them first, but it's usually no big deal. Put the lid on your fermenter (or stopper in your glass carboy) and affix the air-lock to the top. Put the fermenter in a dark area that stays a fairly consistent room temperature (for ales...lagers need refrigeration to ferment properly). In about 24 hours, you should notice the air-lock happily bubbling away, if it hasn't started doing anything after 48 hours, you might have a problem such as dead yeast.
Bottling
Prepare for bottling! After a week or so, the activity from the airlock will slow to a crawl. Leave it alone for two weeks measured from the time you first started the brewing/fermenting. The beer is now ready for bottling. Your kit probably came with some priming sugar or DME(dried malt extract). This is used to provide carbonation to your beer once it is in the bottle. Boil the sugar in a little water and cool it. Then, add it to the empty, cleaned and sanitized bucket with the spigot or to your fermented beer.
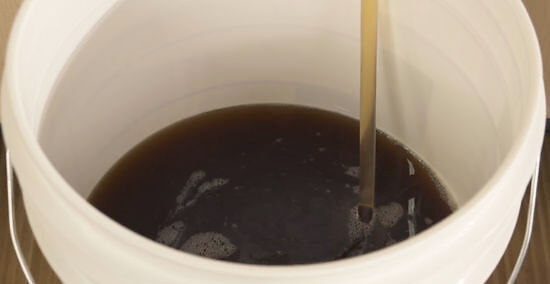
Transfer the brew. Use your cleaned and sanitized plastic tubing as a siphon to transfer the beer as gently as possible—so that there's little or no aeration—from the fermenter to the bottling bucket with the priming sugar solution in it. Try not to get any of the sediment (trub) from the fermenter into the bottling bucket. Attach your cleaned and sanitized bottle filler to your clean and sanitized plastic tubing, the other end of the tubing attaches to the bottom end of the spigot. (If you are only using one bucket, it is important to let the fermented beer settle after stirring in the priming sugar solution. There is sediment on the bottom (trub) that will lend an off flavor to your beer).
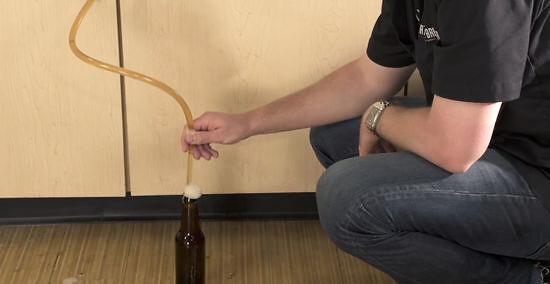
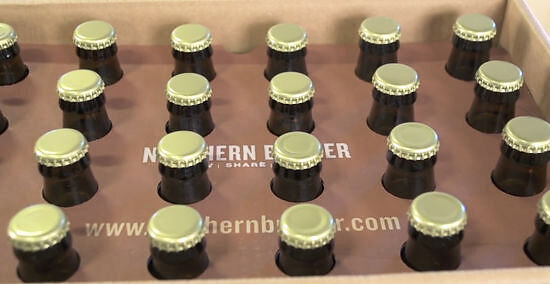
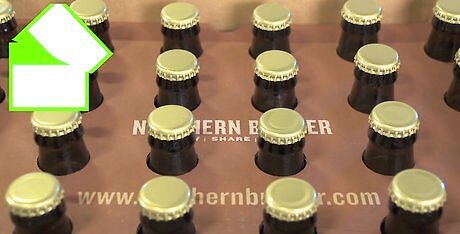
Get your thoroughly cleaned and sanitized bottles ready. If you are using a bottling bucket, just open the spigot and put the bottle filler in a bottle. Push the bottle filler to the bottom and that will let the beer flow. If using the one bucket method, fill the tube (attached to the bottle filler) with water and put the open end in the fermented beer and place the bottle filler in a glass, or a bottle or the sink, press down to let the water flow out and start the beer flowing in the tube like a siphon. Fill each bottle just to overflowing, then remove the bottle filler: this leaves an almost perfect airspace at the top of the bottle. Cap the bottle with your handy bottle capper, and repeat until all the bottles are full.
Age the brew—briefly! Store the bottles for at least a week preferably two at about room temperature, then refrigerate.
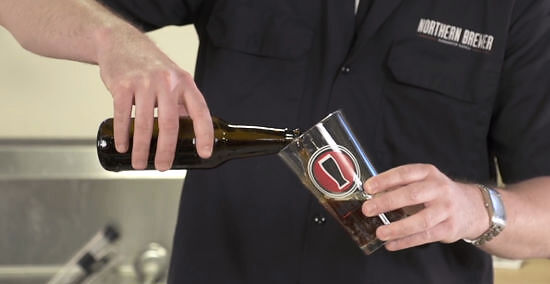
Get thirsty. When you're ready, open a bottle, and pour carefully into a glass. Leave about a quarter inch in the bottle—the sediment tastes a little yeasty, and will give you serious beer farts.
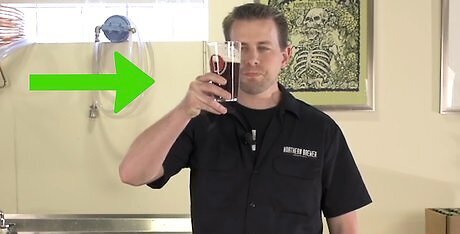
Enjoy!


Comments
0 comment