
Backup With iCloud
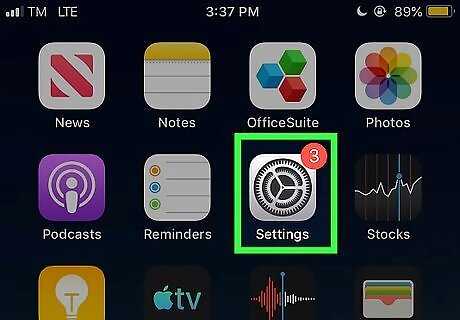
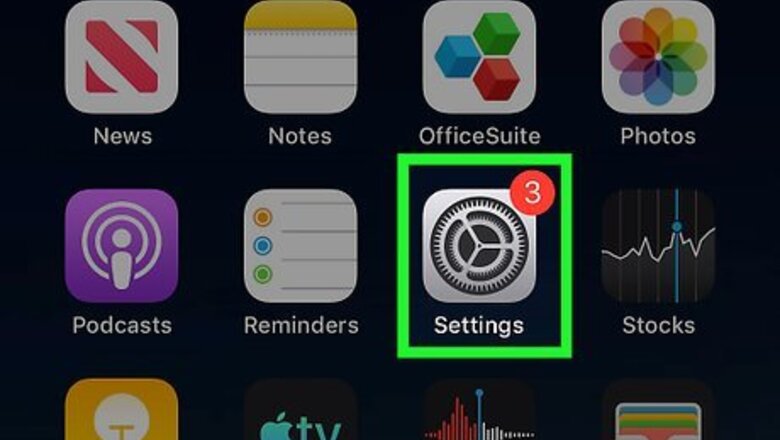
Navigate to your iPhone's settings. Your iPhone automatically backs up to the iCloud via Wi-Fi. But you can change this setting! Head to your phone's Settings menu to get started. Keep in mind that cellular data rate charges may apply when backing up without Wi-Fi. Also note that carriers may only offer this option in your settings if your iPhone model supports 5G.
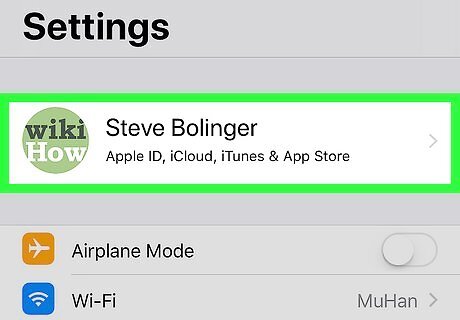
Tap Apple ID Profile. Your iCloud settings are stored under your Apple ID. Head to this section of your Settings app to continue.
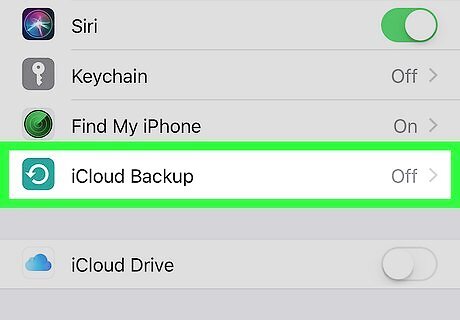
Tap iCloud and then iCloud Backup. This should open up a menu with a few options regarding how you'd like your iCloud to operate. Some options on this page may be greyed out momentarily, likely because your phone is in the process of restoring apps or other stored items from the iCloud backup.
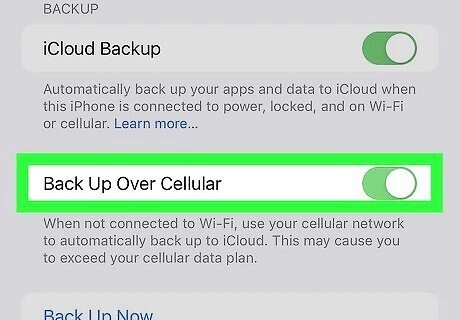
Select Use Cellular Data. The option we need on this page is to Use Cellular Data. This tells the iPhone to backup your storage even when you are not connected Wi-Fi. Moving forward, you should be able to backup your iPhone even when no Wi-Fi network is in sight. If you ever need to restore your phone to a previous backup, simply head to this same menu to retrieve it.
Backup to Your Mac

Connect your phone to your computer via USB or USB-C. If you need to backup your phone and haven't previously set it to back up via cellular data, you may need a method outside of the iCloud. Fortunately, you can use your Mac to do so! If you have a passcode, you may need to enter it at this time.

Open the Finder app from your Mac's sidebar. The Apple OS Finder automatically backs up your phone's data when the phone is connected. Allow some time for Finder to retrieve your phone's stored data. Using Finder to back up your iPhone requires MacOS 10.15 or newer. If you have an earlier version of MacOS, you can use iTunes to back up your iPhone.
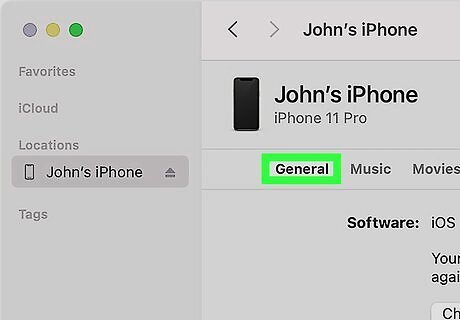
Click General at the top of the Finder window. From here, you will be able to initiate the backup of your iPhone.
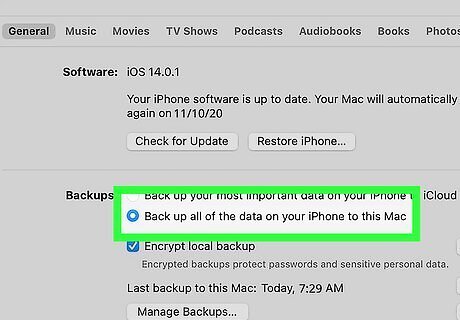
Click Back up all of the data on your iPhone to this Mac. Finder will immediately backup all of the data on your connected iPhone, no Wi-Fi needed. If you would like, you can encrypt this backup with a password as well. Find all of your backups on your computer under the "Devices" section of the "Preferences" tab. From here, you can restore any backup you like to your device.
Backup to Your PC
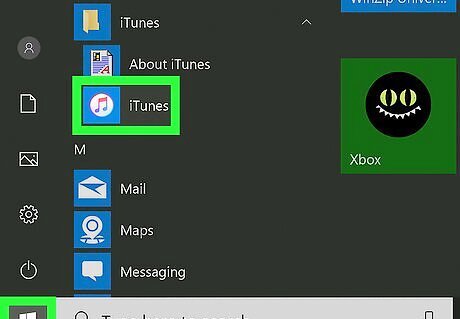
Open iTunes on your PC. If you need to backup your phone and haven't previously set it to back up via cellular data, you may need a method outside of the iCloud. Fortunately, iTunes is a viable option. Open it on your computer to get started.
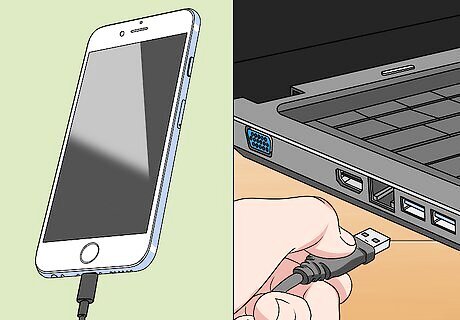
Connect your phone to your computer via USB or USB-C. Be sure you have the appropriate cable or adapter in doing so. If you have a passcode, you may need to enter it at this time.
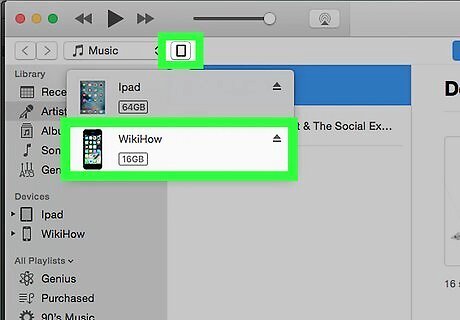
Click the iPhone button in the top left of the iTunes app on your PC. It is represented by a basic image of an iPhone.
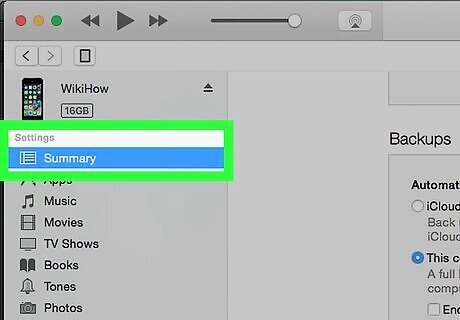
Click Summary on the iPhone landing page. This will pull up a summary of your phone's storage.
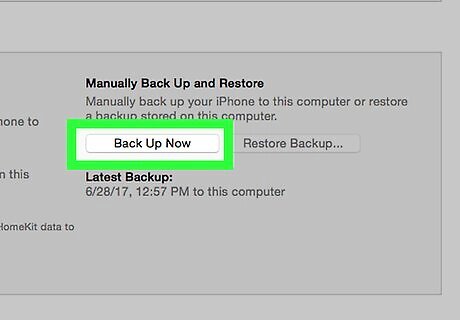
Click Back Up Now under the "Backups" section. Among the iTunes summary of your iPhone will be a Backups section. From that area of the summary, click Back Up Now to trigger a backup of your phone's data storage. If you would like, you can encrypt this backup with a password as well. Find all of your backups on your PC under the "Devices" section of the "Preferences" tab in the iTunes app. From here, you can restore any backup you like to your device.


Comments
0 comment