
Basics of Applying Blush

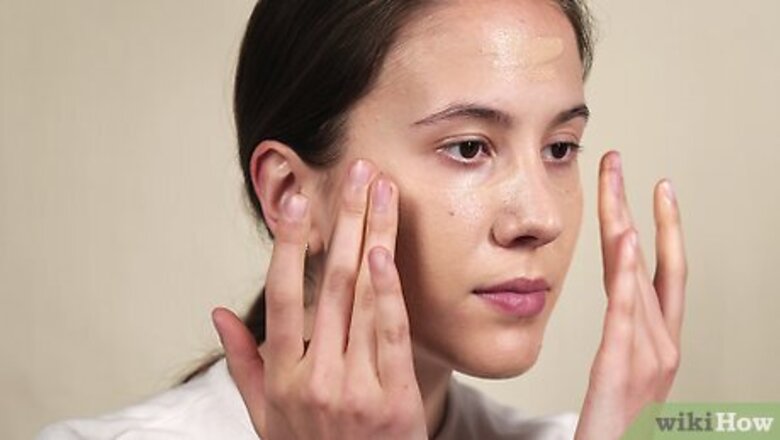
Moisturize and apply your base makeup before adding blush. When applying makeup, it’s best to start with a clean, moisturized face. Wash and moisturize according to your regular skincare routine, then apply your foundation, concealer, and bronzer before your blush. This ensures that your makeup looks balanced and that your blush will stay in place.
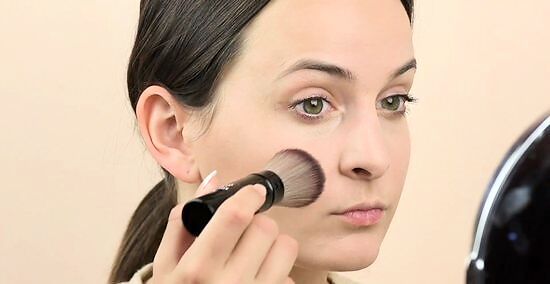
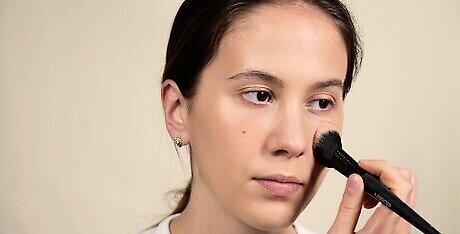
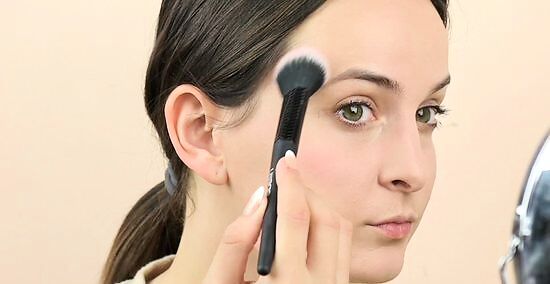
Lightly apply powder blush with a fluffy blush brush. Gently sweep a medium-sized fluffy blush brush through the powder blush so just a light dusting of the pigment sticks to the brush. You don’t need too much powder when it comes to blush, so lightly tap the brush to remove any excess. Then, brush the pigment across your cheeks using sweeping motions. In general, avoid applying blush in a circular motion, as it often makes the area too pigmented. If you want a more natural look, choosing a sweeping, back-and-forth motion is typically preferred.
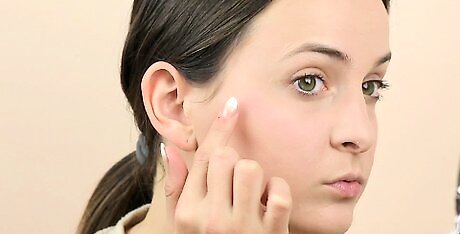
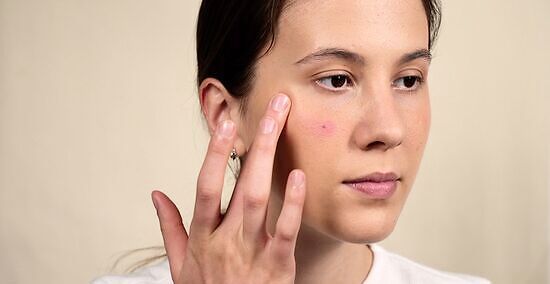
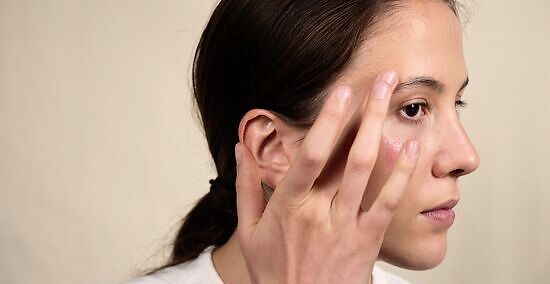
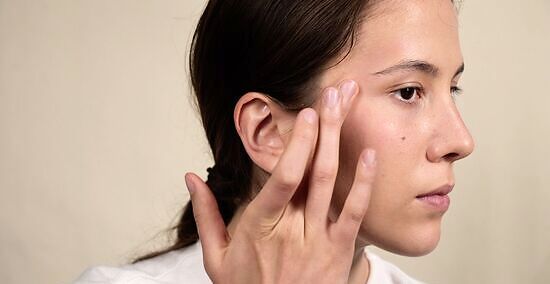
Or, dot and blend liquid blush with your finger. If you’re using a cream or gel blush, dab a little onto your ring finger. Dot the color onto your skin first, then use your finger or a makeup sponge to blend it in. For the most natural look, finish blending with a blush brush. Use a cream foundation if you’re using a cream blush for the best results.
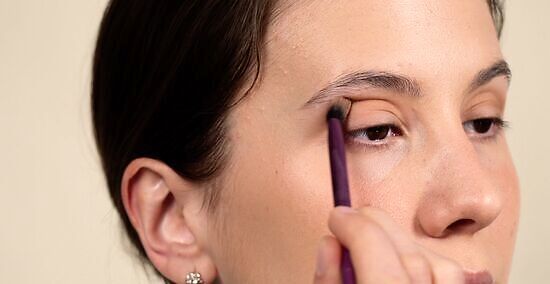
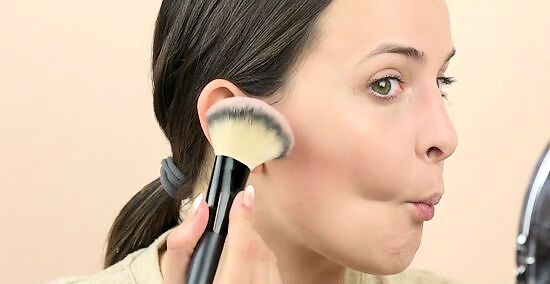
Blend your blush and apply the rest of your makeup. Use a new, clean blush brush to blend out the edges of your blush by sweeping back and forth. Keep blending until there are no noticeable edges between your blush and the rest of your makeup. Brush downward at the end of blending so your facial hairs lie smoothly against your skin. Then, apply the rest of your makeup, like eyebrow makeup, eyeshadow, eyeliner, and mascara. To ensure your blush, and the rest of your makeup, stays in place, finish your look with a setting spray.
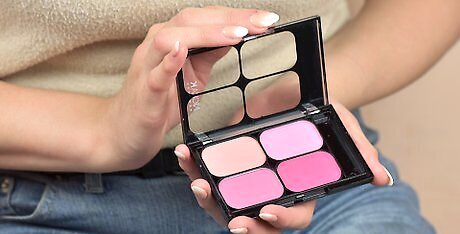
Layer different formulas for long-lasting results. If you need your blush to stay put for hours at a time, layer a powder blush over a cream or gel formula. Just remember, use double the formula, not double the color. If you choose to layer multiple blushes, use each product sparingly so the finished look isn’t too pigmented.

Blot excess with a tissue. Don’t soften your blush by going over it with a translucent powder, as this can make your face color look dull. Instead, hold a tissue or face wipe flat against your face and lightly and continually press a makeup sponge through it to your cheeks to remove a little powder. If you use cream blush, lightly dab your cheeks with just the tissue.
Don’t smile while you’re applying blush. While many have heard otherwise, most makeup experts advise against smiling when putting on blush. Smiling lifts the apples of your cheeks, which fall back into their natural resting place once you relax your face. This causes your blush to sit lower on your face than you initially expected. Instead, apply while your face is relaxed so you know exactly where to place your blush.
Applying Blush According to Your Face Shape

Use your face shape to determine where to apply blush. Not only is blush a great way to add color to your face, but it can highlight your best features, as well. Determine your face shape to learn where to apply your blush to ensure your makeup looks its best. If you don’t already know your face shape, read the descriptions below to help you determine which one you have: Oval: Oval faces have prominent cheekbones and a forehead that is slightly wider than the chin. Heart-shaped: Heart-shaped faces have a wide forehead, high cheekbones, and a narrow chin. Square: Square faces have a forehead that is about the same width as the cheekbones and chin. Round: Round faces are as wide as they are long. Oblong/long: Oblong/long faces (sometimes known as rectangular faces) are similar to oval and square faces, but oblong faces are longer and less wide. The forehead, cheeks, and jawline are basically the same width. Triangular: Triangular faces have a narrow, pointed chin and high, prominent cheekbones.
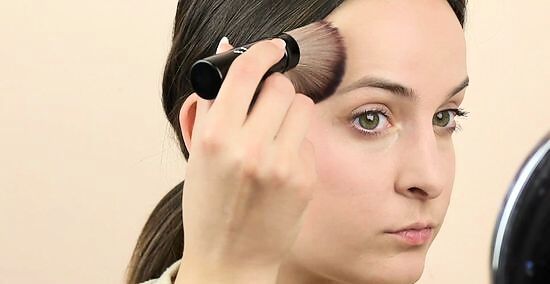
For heart-shaped faces If your face is more heart-shaped, apply your blush in a curved line from the top of your temple down to your cheek bone, like a “C” shape. Apply it softly on your temple and gradually increase pressure as you approach the cheekbone area. This method helps soften your features and makes the cheeks look rounder.
For round faces Apply the blush above the apples of your cheeks. By applying the blush slightly higher on your face, the shape will appear lifted and more defined. Use the outer corners of your eyes as a guideline to sweep the blush across the tops of the apples of your cheeks. Don’t apply it directly to the apples of your cheeks, as this will make your face look more round. Alternatively, suck in your cheeks and lightly sweet the blush brush in a line underneath your cheekbones to add more definition to your face.
For oval faces Go from the cheekbone to the temple if you have an oval face. Use soft strokes to apply blush from the most prominent part of your cheekbone down toward the earlobe, then add a touch of blush above the temple as well. Place the color just above the cheekbone rather than the hollow below to help raise the height of your cheekbones. The goal of applying blush to oval faces is to help widen and round your facial features.
For square faces If you have a square face, apply blush in a circular motion. Because square faces are more angular than other face shapes, blush softens the face by creating the illusion of rounded features. Apply your blush directly to the apples of your cheeks in a circular motion to soften angular features and draw attention to the most round part of your face. Kevyn Aucoin Kevyn Aucoin, Make-Up Artist When applying blush, remember that less is often more. Start with a small amount of pigment tapped onto the apples of the cheeks using a large, fluffy brush. Slowly build color in thin layers, blending up towards the temples. Avoid applying blush too low or far back, which can make the face appear swollen. When blending, lightly sweep the blush outward toward the ears. Try not to apply your blush too close to your nose. Try to align your blush with your pupils to ensure your blush application stops in line with the center of your eyes.
For long faces To help shorten your features, apply your blush to the tops of your cheekbones, aligned with the outer corners of your eyes. Blend out toward your ears, and make sure the blush doesn’t extend lower than the tip of your nose.
For triangular faces Apply blush in a sideways “V” on the cheekbones. Blend your blush up from your cheekbones to your temple. Then, slightly extend it over your brow toward the center of your forehead. This helps balance the width of your forehead with the rest of your features.
Choosing a Blush Color for Your Skin Tone
For fair skin, try baby pink, peach, or sheer plum. Light pink and peach tend to be the best for lighter skin because they are the most natural-looking blush colors. Anything sheer, especially plum, also works well on fair skin because it’s on the translucent side and not so overwhelming in contrast.
For medium skin, go for apricot, mauve, or bright pink. Colors like apricot add a subtle warming effect to those with medium skin tones, while mauve provides a more bold sense of depth. Because medium skin tones generally have a warm undertone, they often look good with bright, punchy pinks, as well.
For olive skin, try rose or bronze. Rose provides a delicate, natural flush for olive skin, and bronze blush adds a little warmth while also brightening. Like medium skin tones, the warm undertones of olive skin often work well with bright pinks.
For dark skin, choose shades like raisin, brick, or bright tangerine. Bold colors like raisin or brick highlight darker skin tones well without looking too over-the-top. For a neutral look, try a bright tangerine blush. Brighter hues with warm undertones often make dark skin look glowy and radiant.
Choosing a Blush Formula for Your Skin Type
For normal to oily skin, use a powder blush. Powder blush is a good go-to because it works well on nearly all skin types, goes on silky, and leaves a matte finish. Additionally, powder blush is very likely to stay on and doesn’t typically need reapplication over long periods of time.
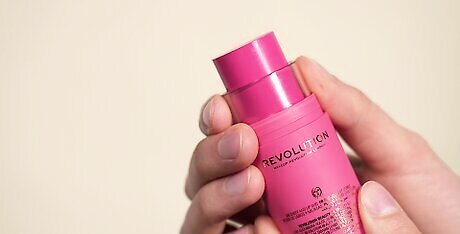
For dry or aging skin, use a cream blush. Cream blush can hydrate your skin to keep it from looking too dry. It tends to look a little dewy when applied and feels very lightweight, which helps to provide a more authentic blush look. Cream blushes can crack when they dry, however, which sometimes makes dry skin look even drier. If you have dry skin, experiment with both powder blush and cream blush to determine which one works best for you.
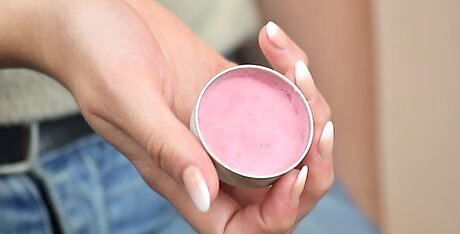
For oily skin, use a cheek stain. Cheek stains are water-resistant, look dewy, and last for a long time, even if you tend to sweat or have naturally oily skin. Only apply a little at a time, as cheek stains are difficult to blend out once they’ve set into your skin.


Comments
0 comment