
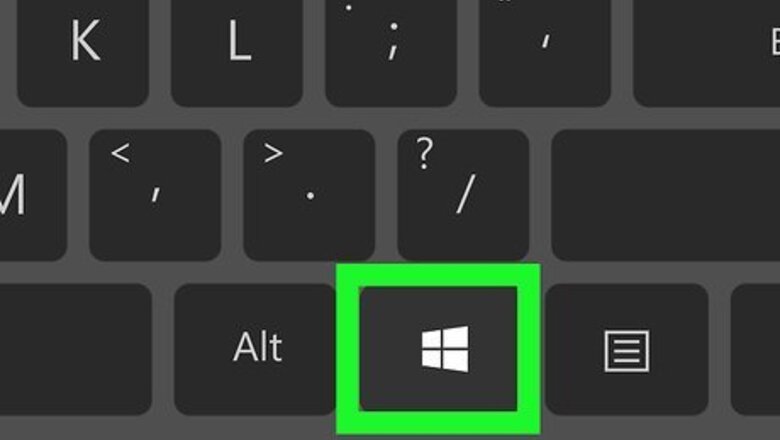
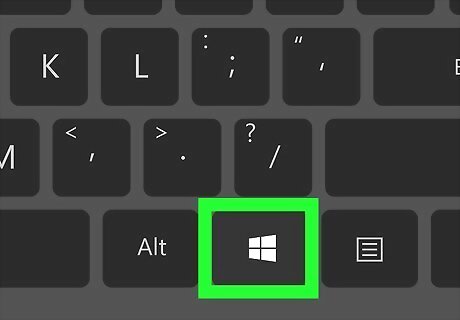
Press ⊞ Win. You'll see this key with the Windows logo on your keyboard near Alt and Ctrl. You can also use the mouse to click the Windows logo and open the Start menu that way.

Type "Command Prompt". As you type, you'll see search results display above the Start Menu.
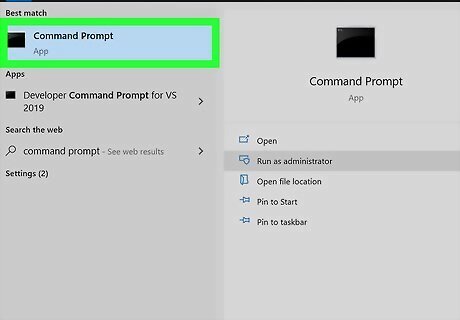
Right-click the "Command Prompt - App" result. It lists under the "Best match" header and a menu will pop up.
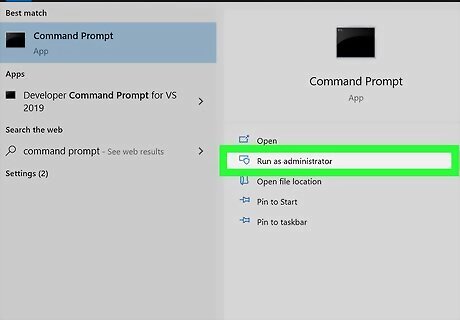
Click Run as administrator. A Command Prompt window will open. If you're prompted to allow the app to make changes, click Yes.
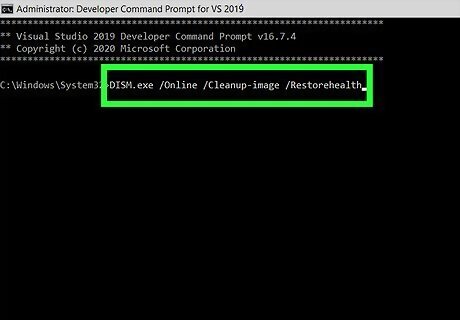
Type "DISM.exe /Online /Cleanup-image /Restorehealth" and press Enter. There is a space before each "/" and make sure you type the command exactly as shown so DISM.exe will run. It will take a minute or two to start up and about 30 minutes to finish. When it's done, you'll see "The operation has completed successfully."

Enter "sfc /scannow" and press Enter. The DSIM.exe should fix whatever corrupt files or damaged files it finds, and the SFC scan will make sure there are no damaged or corrupt files left. If you see "Windows Resource Protection found corrupt files and repaired them," you may want to enter "sfc /scannow" again until you see "Windows did not find any integrity violations." Type "Exit" and press Enter to close the Command Prompt window.


Comments
0 comment