views
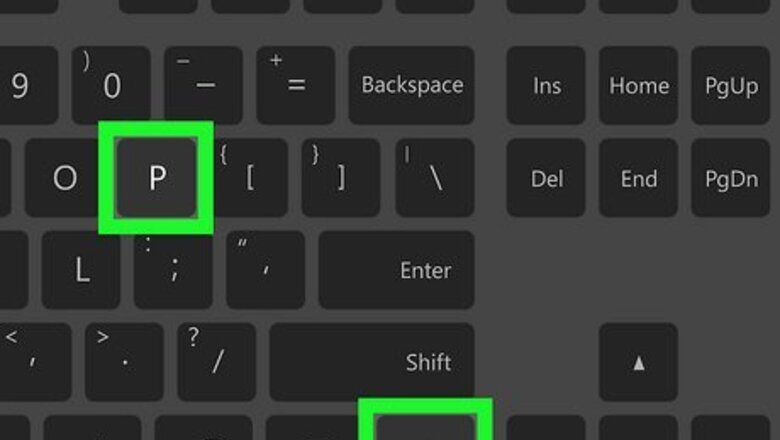
- For Windows, press Ctrl + P to open the Print dialog, then select “Microsoft Print to PDF” as the destination.
- For Mac, open the PDF in Google Chrome. Then print it, selecting “Save as PDF” for the destination.
- In Adobe Acrobat, you can use the Preflight feature to flatten form fields and transparencies.
Using Print to PDF (Windows)
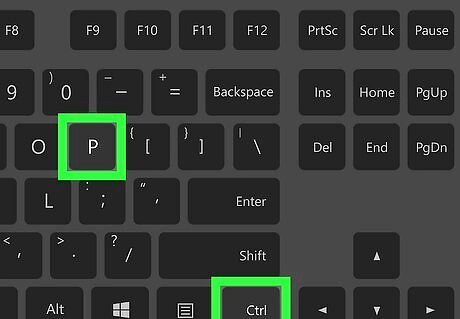
Press Ctrl+P. With the PDF open in a PDF viewer (such as Google Chrome), press this keyboard combination to open the print window. This method uses the built-in “Microsoft Print to PDF” feature found in Windows 10 and 11. Using this will make fillable fields no longer editable, while keeping what you’ve already entered, effectively flattening the PDF. If you need additional, complex flattening options, see the Adobe Acrobat method below.
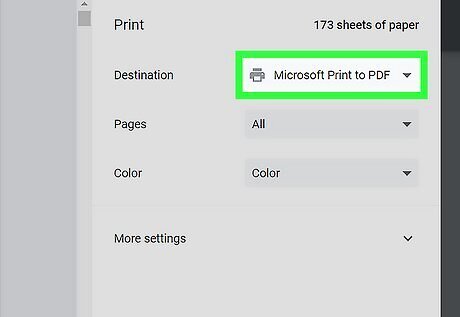
Change the Destination to Microsoft Print to PDF. If this option isn’t listed, click See more in the drop-down menu.
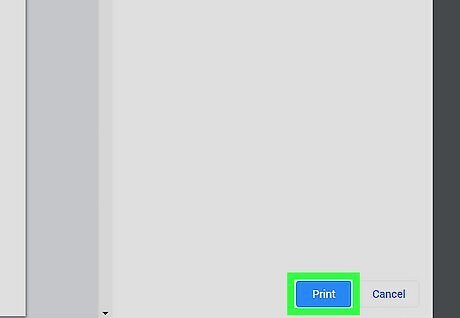
Click Print.
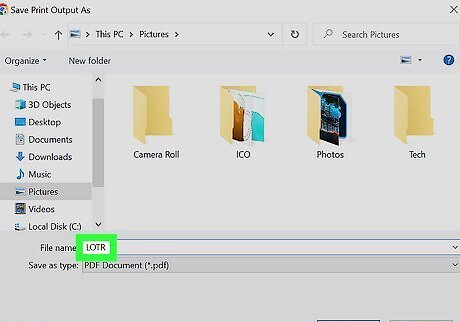
Enter a name for the PDF. Type in a name for the flattened PDF next to “File name.”
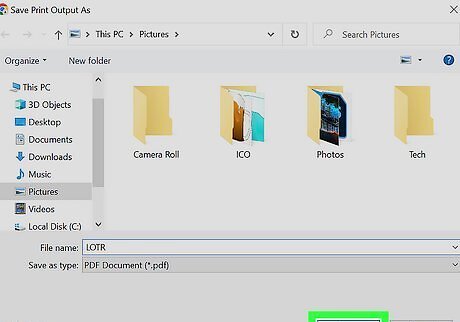
Select a file location and click Save. Choose a file location like “Desktop” or “Documents.” This will create a new, flattened PDF. The fillable fields will no longer be editable, and your entered text will be saved.
Using Google Chrome (Mac)
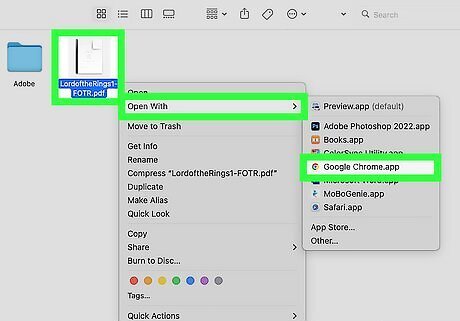
Open the PDF in Google Chrome. If you don’t have Chrome on your Mac, you can install it from https://www.google.com/chrome. To open the PDF in Google Chrome instead of Preview, follow these steps: Right-click the PDF file. Hover your cursor over Open With. Select Google Chrome. If you don’t see Google Chrome, click Other and select Google Chrome from the applications list.
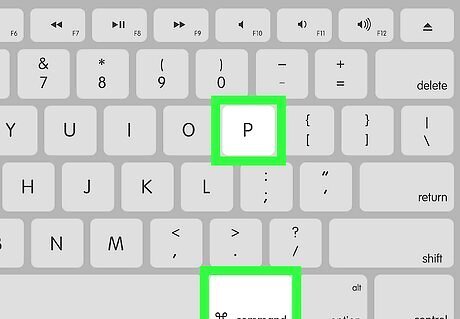
Press ⌘ Command+P. This will open the print window. This method uses the built-in “Save as PDF” feature found in Google Chrome for Mac. Using this will make fillable fields no longer editable, while maintaining what you’ve already entered, effectively flattening the PDF. If you need additional, complex flattening options, see the Adobe Acrobat method below.
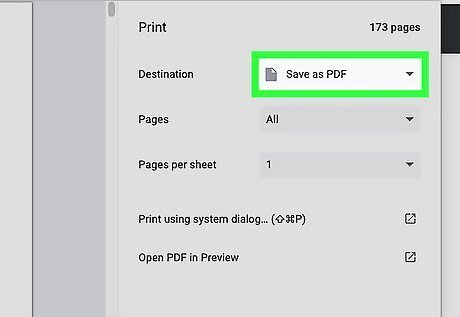
Change the Destination to “Save as PDF”. If this option isn’t listed, click See more in the drop down menu.
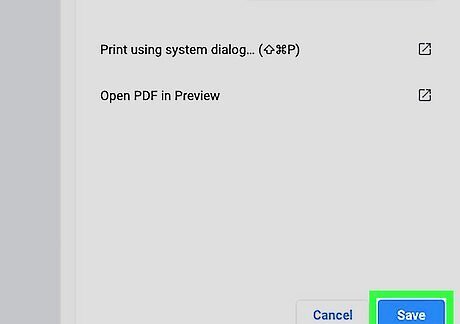
Click Save.
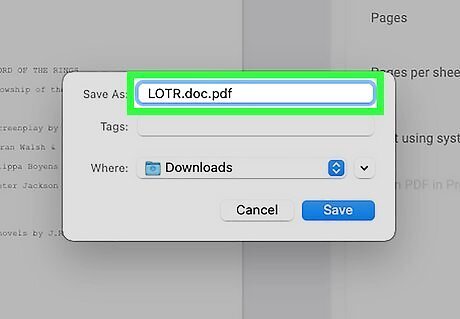
Enter a name for the PDF. Type in a name for the flattened PDF next to “Save As:”.
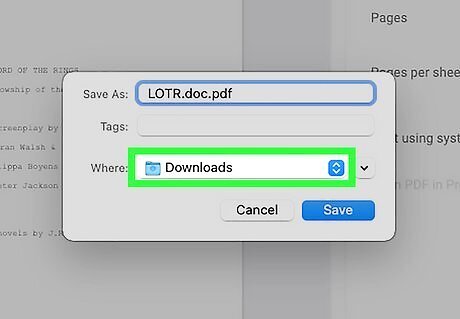
Select a file location. Click the blue button with two arrows to see recent and favorite file locations. Alternatively, click the down-arrow button to choose from any location on your Mac.
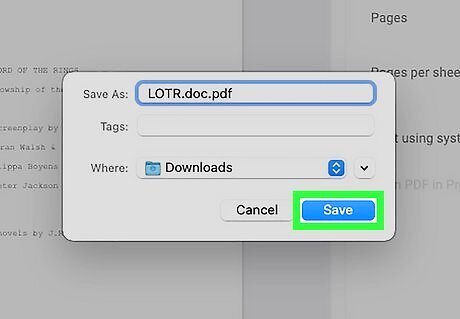
Click Save. This will create a new, flattened PDF. The fillable fields will no longer be editable, and your entered text will be saved.
Using Adobe Acrobat
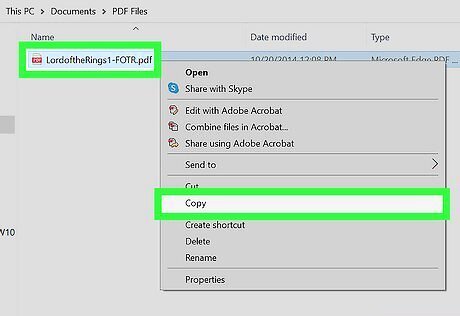
Make a copy of your PDF before flattening it. This is an optional step. Flattening a PDF in Adobe Acrobat prevents you from editing it and making changes to fields. Making a copy preserves the original file so you can go back to it if needed. This method will only work in the paid versions of Adobe Acrobat, such as Acrobat Pro and Acrobat DC. This will not work in Adobe Acrobat Reader, the free reader version of Acrobat.
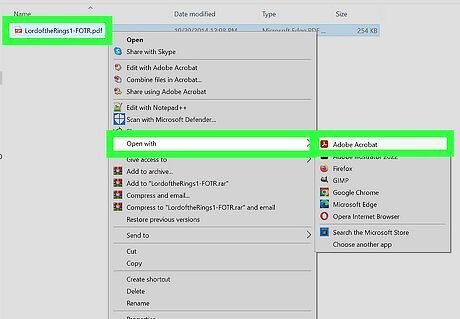
Open your PDF file in Adobe Acrobat. You can do so by right-clicking the PDF and selecting Open with > Adobe Acrobat.
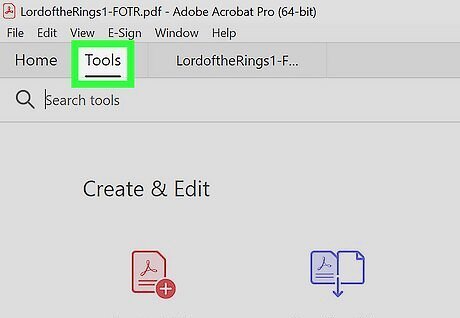
Click the Tools tab at the top. A list of options will appear. Make sure you’re done editing the text, deleting items, and completing final changes before flattening.
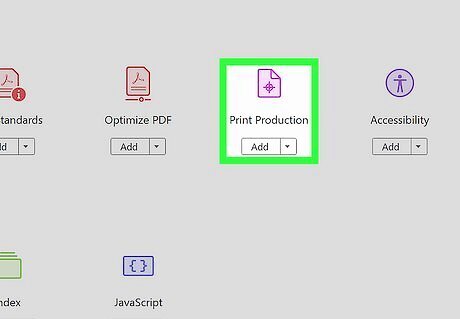
Select Print Production.
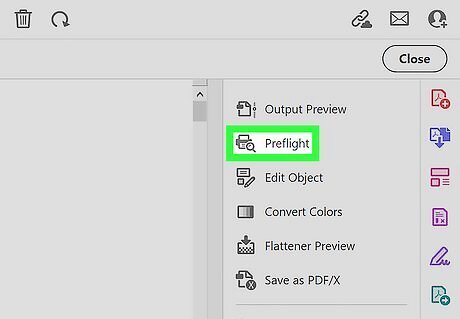
Click Preflight. Preflight contains several options for perfecting your PDF file, including an option to flatten annotations, form fields, and transparencies.
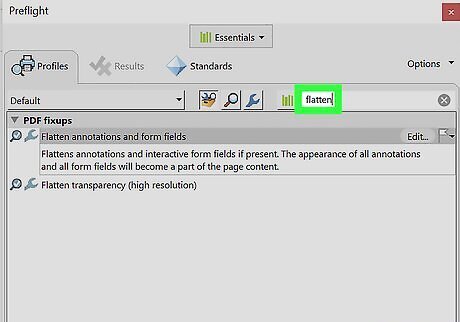
Search for flatten in the "Find" bar. This sorts the list to display only flattening options.
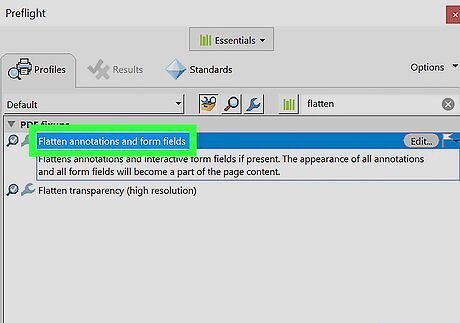
Select Flatten annotations and form fields. If you also want to flatten transparencies, choose that option as well.
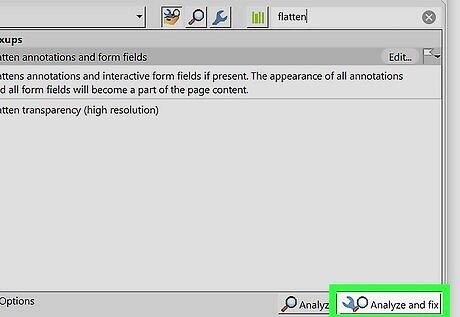
Click the Analyze and Fix button. This locates all items that can be flattened and combines them into a single layer. Now that the document is flattened, you can save it, print it, and upload it to databases that require text-searchable PDFs.


Comments
0 comment