views
Prep time: 5 minutes
Cook time: 3-20 minutes
Total time: 8-25 minutes
- Place your eggs at the bottom of a heavy-bottomed saucepan. Then, cover the eggs gently with at least one inch (3 cm) of water and add a pinch of salt.
- Turn the burner to medium heat and cover the pan with a lid. Let the water come to a gentle boil.
- As soon as the water reaches a full boil, turn the heat off and leave the eggs to sit for 10-15 minutes for a hard-boiled finish.
Boiling Eggs on the Stove
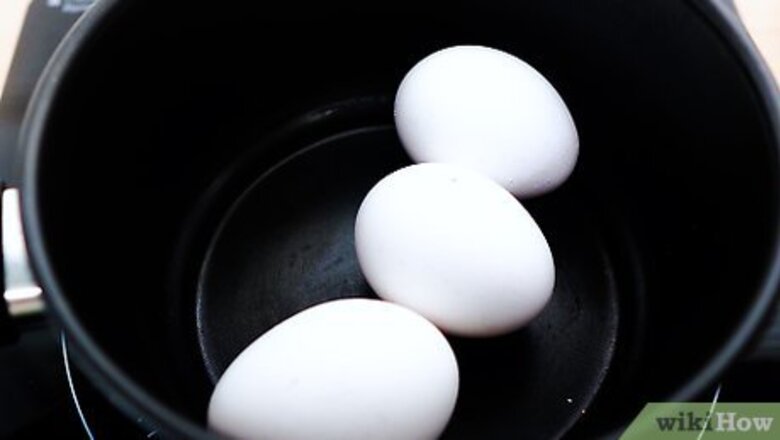
Sort the eggs and place them in a saucepan or pot. Gently place your eggs at the bottom of a heavy-bottomed saucepan. Stack them very gently to avoid breaking. Don't stack them more than four-deep. If you're unsure whether your eggs are fresh, test them by placing them in a bowl of salt water. If the egg sinks to the bottom, it's fresh. If it floats to the top, get rid of it. To keep the eggs from cracking as they boil, you can try placing a folded cheesecloth at the bottom of the pot to pad them. However, this isn't required.
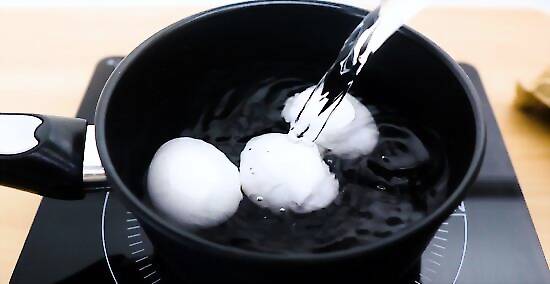
Fill the pan with cold tap water. Cover the eggs gently with at least one inch (3 cm) of water. Add a pinch of salt. You can steady the eggs with your hand as you add the water to keep the eggs from breaking. Alternatively, just point the stream of water at the side of the pan. Cold water helps to keep the eggs from overcooking. Never drop eggs directly into a pot of hot water, or the shells will crack and the egg will run (giving you poached eggs). Salted water helps to make the egg white firm up more quickly. It also helps plug small leaks if the shell cracks during the cooking process.
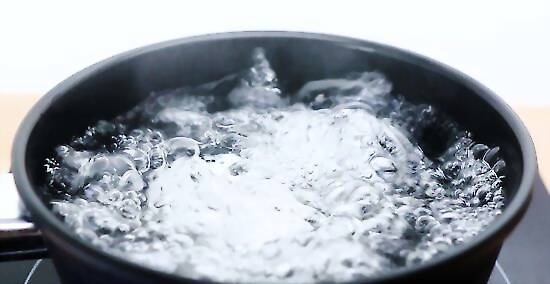
Place the pan on medium heat. Cover the pan with a lid. Let the water come to a gentle boil. The water will boil a bit more quickly with the lid on, but it's fine to leave it off if you'd rather keep an eye on the eggs. You can stir the eggs very gently every now and then to make sure they've not settled at the bottom, where they'll cook less evenly and break more easily. Use a wooden spoon to stir and be very gentle.
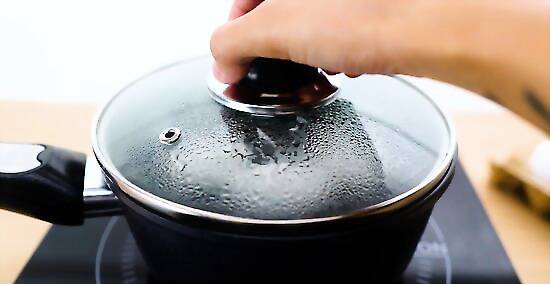
Remove from heat when the water boils. As soon as the water reaches a full boil, turn the heat off. Leave the lid on the pan. The heat of the water and the remaining warmth from the burner will be enough to finish cooking your eggs. Depending on how hard or soft you like your eggs, you can leave them like this for about 3-20 minutes: If you like your eggs soft-boiled, remove them from the water in three minutes or less. The whites should be set, while the yolks should be runny and warm. If you like your eggs medium-boiled, remove them from the water in 5-7 minutes. The yolks should be semi-soft in the very center and the whites should be very firm. If you like your eggs hard-boiled, leave the eggs in the hot water for up to 10-15 minutes. The yolks should be firm all the way through. It's difficult to overcook eggs this way.
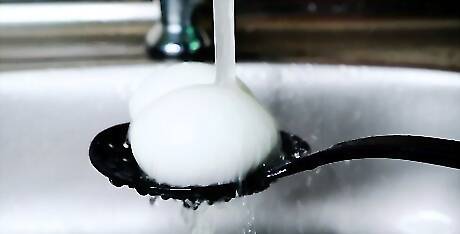
Chill the eggs to stop the cooking process. As soon as you've waited for your eggs to finish cooking, drain the hot water from the pan gently. You can also remove the eggs one by one with a slotted spoon. Place the eggs under cold running water or drop them carefully into a bowl of ice water to bring their temperature down quickly. Let them sit in cool water for about five minutes. Once the eggs are cool enough to hold in your hand comfortably, put them in the refrigerator for 20-30 minutes to loosen the shells. If you're not particular about how pretty your peeled eggs are, you can skip the refrigerator and start peeling them right after chilling them. To test whether an egg is hard-boiled without breaking it, whirl it on a table. If it spins fast and easy, it is hard boiled. If it wobbles, it needs more time.
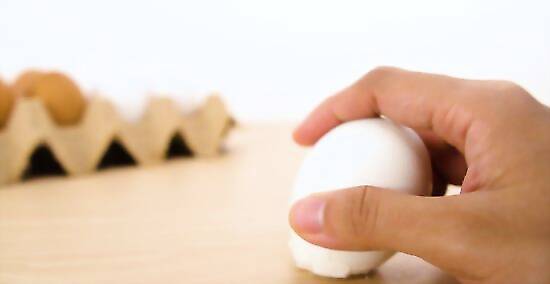
Peel the eggs when you're ready to eat them. Press each egg into a clean, flat surface and roll it in your hand to crack the shell. Start peeling from the fatter end of the egg, where there should be a small empty space under the shell. This makes it slightly easier to peel. Rinse the eggs under cold water as you peel them to keep bits of shell and membrane from sticking to the egg. Quick peeling tip: Put the eggs back in the pan you cooked them in and put the lid back on. Shake the pan back and forth to crack all the shells at once.
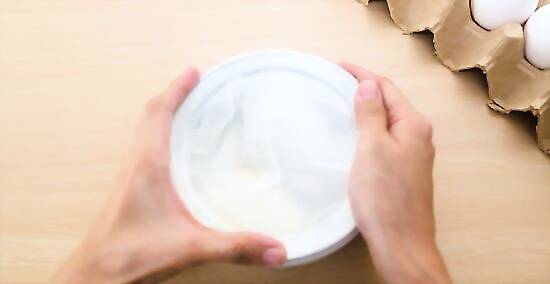
Store eggs in the refrigerator for 5 days. After peeling the eggs, they're ready to eat. You can store leftovers in a bowl with a plate on top or a sealed container. In both cases, cover the eggs with a wet paper towel. Change the paper towel each day to keep the eggs from drying out. Eat the eggs within four to five days. You can also store the eggs in cold water. Change the water each day to keep the eggs from breaking down. Hard-boiled eggs can be stored several days before cracking and peeling them, but they tend to get a little rubbery and dried out. It's usually better to keep peeled eggs moist in the fridge with water or a paper towel.
Alternate Microwave Method
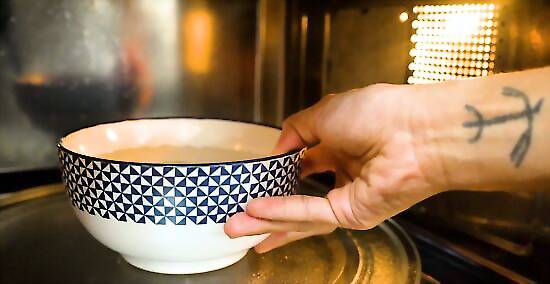
Heat water to boiling in a microwave-safe bowl. The microwave generally doesn't work quite as well as the stove for hard-boiled eggs, but with a little patience it can work in a pinch. Here, you'll want to boil the water in the microwave without the eggs first. See our guide to boiling water in the microwave safely for important information. This bears repeating: don't heat unbeaten eggs in the microwave. Even out of the shell, a build-up of pressure in the yolk can cause them to explode, damaging your microwave.
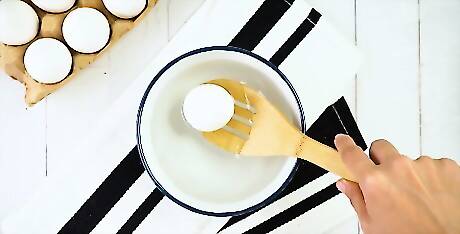
Remove the bowl and carefully add the eggs. Using a towel or oven mitt, take the bowl out of the microwave. Use a slotted spoon to add the eggs one by one. Make sure each is covered completely by the water. Don't drop the eggs directly into the water. Not only can they break when they hit the bottom, but they can also splash boiling-hot water upward.
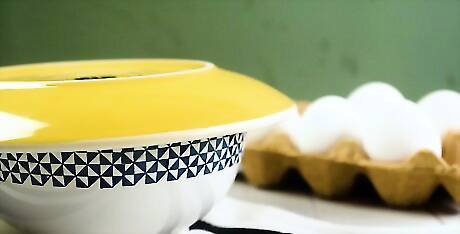
Cover the bowl and let sit. Once all the eggs are added, cover the bowl with a lid or a plate. Let it sit — the eggs will cook in the heat of the near-boiling water. Your cooking time will vary depending on how hard you want your eggs. In general, you should expect your eggs to take slightly more time than they would on the stove. This is because they did not have a chance to cook while the water was heating up. If you like your eggs soft-boiled, let them sit for 10 minutes or less. The yolk should still be somewhat runny. If you like your eggs medium-boiled, let them sit for about 15 minutes. The yolk should be semi-soft and the whites should be quite firm. If you like your eggs hard-boiled, let them sit for 20 minutes or more. The white and yolk should be completely firm without being an unappealing grey-green color.
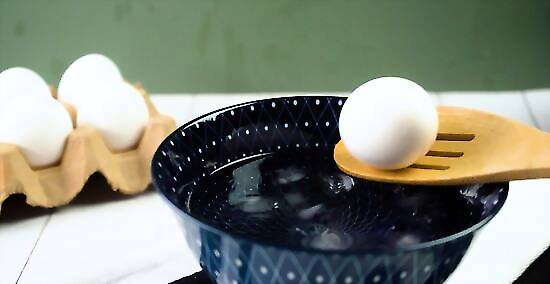
Remove the eggs and chill as normal. After you've let your eggs sit, remove them from the water with a strainer or a slotted spoon. At this point, the rest of the process is the same as for eggs you've cooked on the stove. See below: Cover the eggs with cold water or set them in an ice bath for about five minutes so that they cool. When the eggs can be comfortably held, you can crack and peel them right away or stick them in the fridge for 20-30 minutes to make this easier. Store the eggs under a moist paper towel or submerged in water in the fridge. Eat the eggs within four or five days, changing the towel or water every day.
Troubleshooting
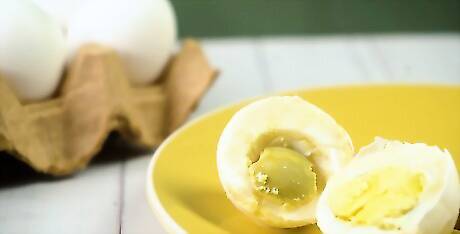
If your yolks are grayish-green, cook for less time. Letting boiled eggs cook for too long will give the yolks a gray-green ring and a sulfur-like smell. There's nothing wrong with these eggs and they are perfectly safe for eating. However, if you find this unappetizing, simply reduce the amount of time you let your eggs cook for next time. The gray-green color is formed when iron from the yolk reacts with hydrogen sulfide from the white. This reaction occurs after the rest of the egg has finished cooking. Extra heat also tends to over-coagulate the proteins in the egg. This can give rubbery whites and dry yolks.
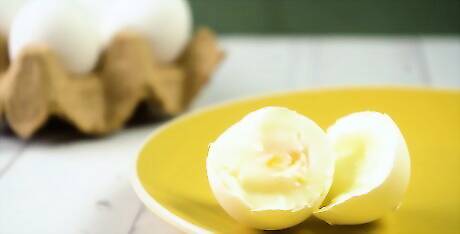
If your egg is too runny, cook for more time. If you don't use enough heat when cooking your eggs, you may find yourself with the opposite problem as the gray-green yolks above. Eggs that don't cook long enough may have yolks that aren't as firm as you'd like. Extremely undercooked eggs may even have whites that aren't completely set. If you notice that the first egg you peel and crack is undercooked, return the rest to hot water and allow to sit. Undercooked eggs can pose a risk of salmonella infection. The FDA recommends cooking all eggs until the yolks are firm or using eggs that have been in-shell pasteurized. As noted above, you can spin an egg on a hard surface to test whether it is hard boiled. If it spins evenly (like a top), the egg is finished. Undercooked or uncooked eggs will wobble or spiral off to one side.
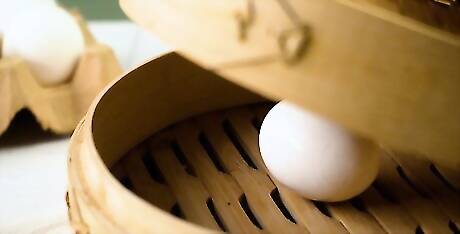
Steam fresh eggs to make them easier to peel. When eggs are just a day or two old, the membrane sticks to the shell, making the egg difficult to peel. The best eggs for hard-boiling are about 7-10 days old. If you have to boil very fresh eggs, try steaming them first to help separate the membrane from the shell: Place the eggs in a metal colander and rest the colander on top of a pan. Boil an inch or so of water in the pan for about 10 minutes, turning the eggs frequently. After, boil the eggs as normal. Some people also like to add a teaspoon of baking soda to the water when boiling eggs that are very fresh. This can add a sulfuric taste to the eggs, however.
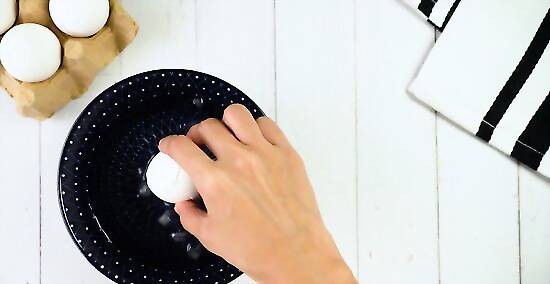
Crack and soak eggs that are difficult to peel. If you notice the white of the egg sticking to the shell as you peel it, roll the egg around to make lots of little cracks in the surface of the shell. Then, place the egg in a bowl of cold water and let it sit for 5-10 minutes. This often helps to loosen the shell up and separate the membrane, making it much easier to peel.
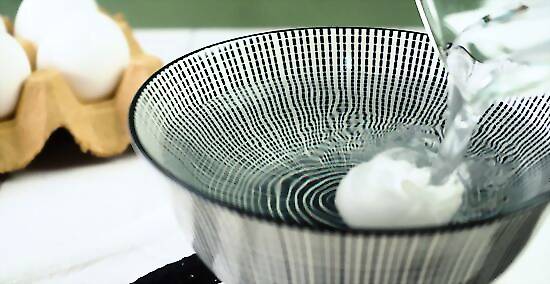
Add vinegar if an egg cracks in the water. This is a common problem, especially with eggs that are very cold. If you notice that an egg has cracked, a teaspoon of vinegar in the water helps the proteins in the egg white coagulate faster, plugging the cracks in the shell. Try to be quick here — if you add the vinegar to the water as soon as you notice a crack, the egg should still boil evenly. You may notice a little whiteness creeping out of a cracked egg. If you don't get to it with the vinegar in time, don't worry. It should still boil fine, but it may look a little funky.



Comments
0 comment