views
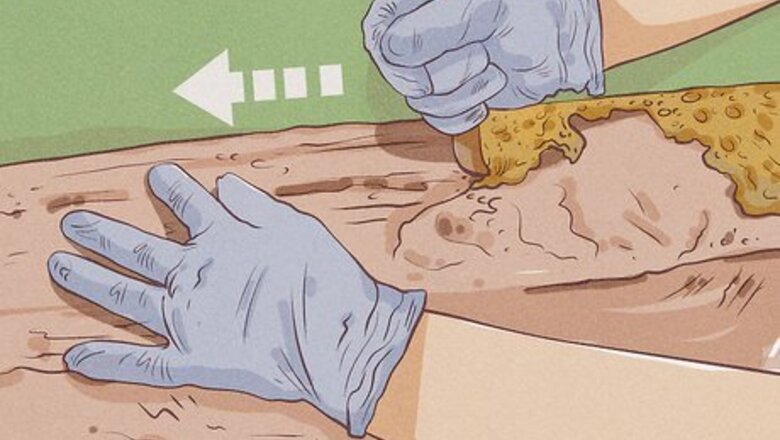
- To prepare the hide for tanning, place the hide on a fleshing beam and use a knife to remove the flesh. Rinse the hide with soapy water and dry it on a wooden rack.
- Apply brain oil on the hide and let it soak for 24 hours. Then, stretch and soften the hide with a stick and smoke it over a small fire.
- Alternatively, salt the hide after fleshing it, and soak it in a tanning solution made of battery acid, bran flakes, salt, and water. After 40 minutes, rinse the hide off and hang it to dry.
Using Tanning Chemicals
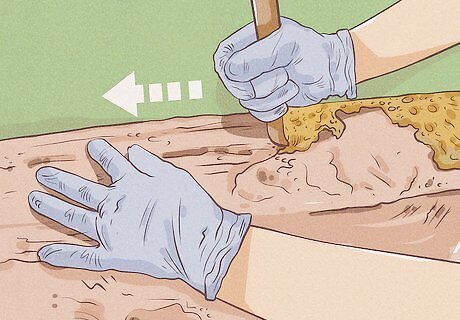
Flesh the hide. To prevent the hide from rotting, place it on a fleshing beam (or any other flat surface) and use a fleshing knife to scrape off any flesh and fat. Scrape the flesh away from your body, using strong, short strokes. You can also place the hide on a large plastic bucket and use a pressure washer to flesh it. Just be sure to move the hose around quickly so you don’t puncture the hide, and use a knife to get rid of any remaining bits of flesh. Don't wait too long to flesh the hide after you've removed it from the animal’s body. If the hide starts to decompose, it won't hold up during the tanning process.
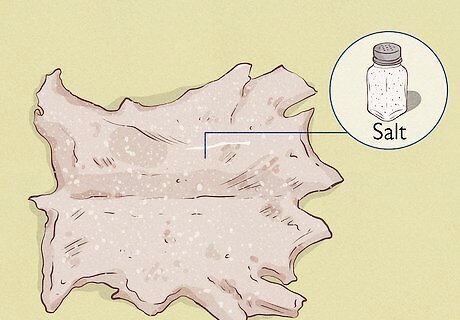
Salt the hide to remove any excess moisture. After fleshing, move to a shaded area and spread the hide on a tarp, hair side down. Sprinkle an even layer of salt over the flesh to preserve the hide, using a pound of salt for each pound of hide. After the hide is completely covered, leave it to dry for 24 hours until the salt becomes soaked with moisture. Over the course of a couple weeks, continue salting the hide until it becomes crispy. If you see a pool of liquid emerge from an area of the hide, cover it with more salt. Most people can get away with using 3-5 pounds of salt for medium-sized hides. Pay extra attention when you’re salting the neck, legs, and cut edges—any unsalted area will rot over time.
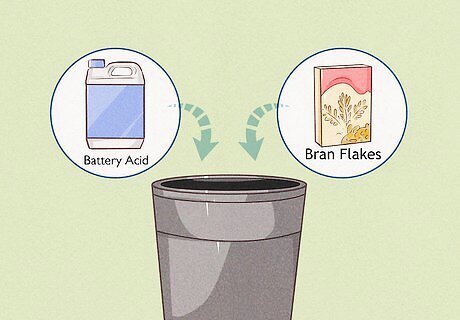
Make a tanning solution with battery acid, bran flakes, salt, and water. In a large trash can, dissolve 8 cups (250 mL) of salt into 2 gallons (7.6 L) of boiling water. Pour in 1.5 gallons (5.7 L) of bran flake water and 1 1/4 cups (0.3 L) of battery acid, then stir.Alternatively, make a salt and alum tanning solution. Dissolve 1 pound (0.45 kg) of alum powder into 1 gallon (3.8 L) of water, and dissolve 4 ounces (110 g) of washing soda and 8 ounces (230 g) of salt into 0.5 gallons (1.9 L) of water. Slowly pour the soda-salt solution into the alum solution while stirring vigorously. To make the bran flake water, boil 1.5 gallons (5.7 L) of water and pour it over a pound of bran flakes; let the mixture sit for one hour, then strain and reserve the water. Always wear gloves and safety goggles when working with battery acid!

Leave the hide in the tanning solution for 40 minutes. To prepare the hide for the tanning chemicals, soak it in clean water until it’s soft and pliable. Wring out any excess water, then peel off its dried inner skin. Place the hide in the trash can filled with solution, and punch it down with a wooden stick to ensure it’s submerged in liquid.
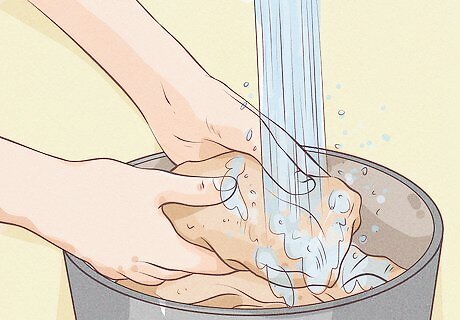
Rinse the hide in clean water. Fill a separate trash can with clean water while the hide is soaking in the tanning solution. After 40 minutes have passed, use the stick to transfer hide from the tanning solution to the clean water, then swish it around to wash off the solution. When the water looks dirty, pour it out, refill it with clean water, and wash the hide for another 5 minutes. If you plan to use the hide to make clothing, add a box of baking soda to the rinse to neutralize the remaining acid and ensure it won’t harm your skin.
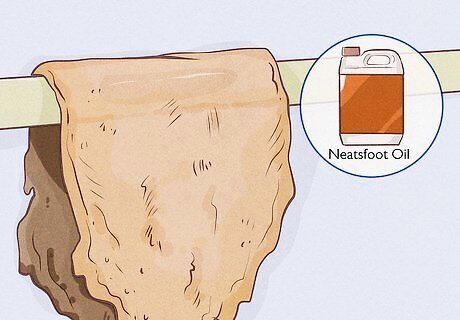
Condition the hide with neatsfoot oil. After you rinse your hide, remove it from the trash can and hang it over a beam to dry off. While it’s still damp, apply a thin, even layer of neatsfoot oil on both sides to preserve the hide.
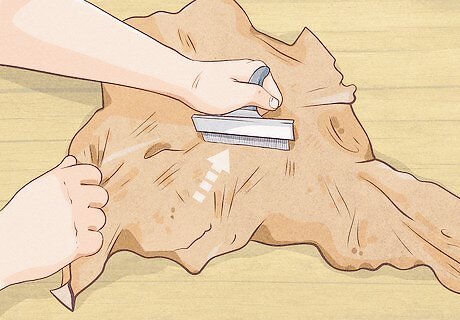
Dry the hide on a hide stretcher for 3-4 days. While the hide is still flexible, take it down from the stretcher and comb the skin with a wire brush until it has a suede-like appearance. Then, let it dry for a few more days until it’s completely dry to the touch.
Using Brain Oils
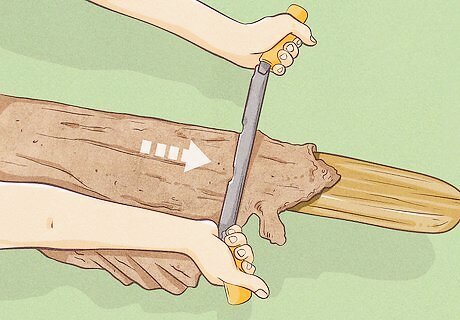
Flesh the hide. To prepare the hide for tanning, place the hide on a fleshing beam (a beam designed to hold the hide in place as you work) or on a tarp on the ground. With a fleshing knife, scrape off all visible traces of flesh and fat, using quick, strong strokes. If you’re working on a beam, use your body to firmly pin the hide down so it doesn’t move around during the fleshing process. Always use a knife intended for fleshing, and scrape the flesh away from your body, instead of pulling the blade towards you. Alternatively, drape the hide over a large plastic bucket and use a pressure washer to remove the flesh and fat. Move the hose over the hide quickly so you don’t create any holes, and use a knife to get rid of any remaining bits of flesh.Flesh the hide immediately after cutting the hide from the animal's body. If you wait more than a few hours, the hide will begin to decompose, and it will fall apart during the tanning process.
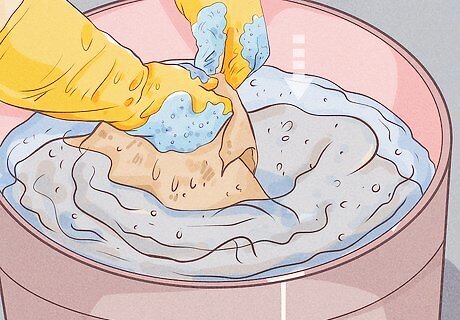
Rinse the hide in soapy water to remove any impurities. In a large bucket, pour enough water to fully submerge the hide, then add a tablespoon of mild dish soap per gallon of water. Stir until suds emerge, and wash the hide to remove any oil, dirt, and blood.

Dry the hide on a wooden rack for 3-4 days. Using a sewing needle, pierce holes every 1–2 inches (2.5–5.1 cm) along the edge of the hide, and thread twine through the holes. Pull the twine until it's taut, then securely tie it to a drying rack—you can find these at your local hunting shop or make one at home using scrap wood. To build a wooden drying rack at home, form a rectangular frame with 4 pieces of flat scrap wood. Hammer nails every 2–3 inches (5.1–7.6 cm) along each side, then wrap the corners with a thick cord to ensure the frame is stable. Depending on your climate, the drying process might take up to a week—be sure to leave the hide in a well-ventilated area like a garage or barn.
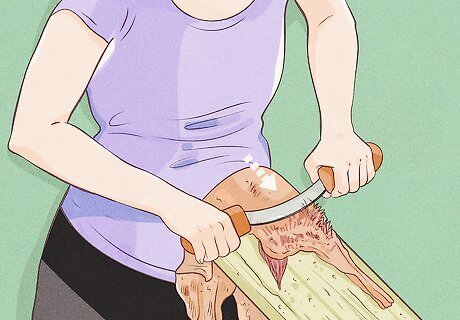
De-hair the hide with a rounded steel blade. After the hide is dry, untie it from your drying rack and place it on your fleshing beam. Use a rounded steel blade or hide scraper to remove the hair and epidermis layer, scraping against the grain of the hair. If the hair is extremely long, trim it with a pair of scissors before scraping it off with a blade. Be careful scraping near the belly area—the skin there is much thinner than the skin on the rest of the hide. Although this step is optional, removing the hair allows the tanning solution to soak the skin more thoroughly, increasing the lifespan of your hide.

Make a brain oil solution and apply it to the hide. In a saucepan, bring a cup of water to a boil, then add in your animal's brain. Cook the mixture until it breaks down and resembles a soup, and let it cool. Blend it until it’s completely smooth, then apply it directly to the hide: Wash the hide with water to remove any remaining grease and debris. Wring the hide out so it can absorb the oils better—squeeze out the excess water by placing the hide between 2 towels and squeezing, then repeat the process with 2 dry towels. Rub the brain mixture into the hide, making sure you cover every inch. Roll up the hide and store it in a large plastic freezer bag or food storage bag. Then, put it in the refrigerator to let the brains soak for at least 24 hours.
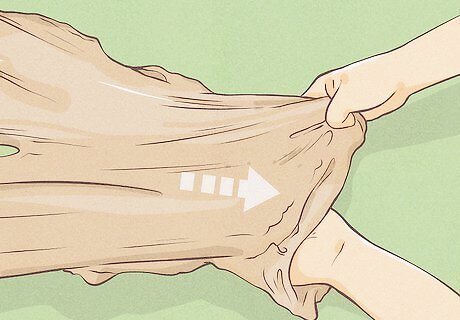
Hit the hide with a heavy stick to soften it. Once the oils have soaked into the hide, take the hide out of the refrigerator and place it back on the drying rack. Wipe off as much of the brain mixture as possible, then use a heavy stick or a hide breaker to soften the hide by running the tool back and forth across it. You can also ask a partner to help you stretch and soften it by taking it off the drying rack and pulling on the edges from either side. Continue doing this until you’re tired, then place it back on the rack and use the hide breaker to keep working the hide. You can also use a heavy rope to soften the hide. Ask someone to hold one side of the rope and work together to rub it back and forth against the hide.
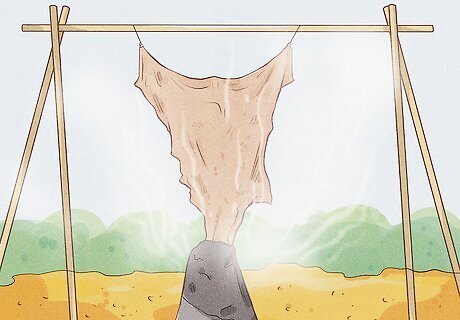
Smoke the hide over a small fire. When the skin is soft and dry, sew up the sides to make a bag. Close one end so it’s tight enough to hold the smoke, then invert the hide bag over a hole about 1 foot (0.3 m) wide and 0.5 foot (0.2 m) deep. Use sticks to hold the hide bag open like a tee-pee and tie the closed end to a tree or another long stick. Then, build a small fire directly underneath the bag so the smoke rises and preserves the hide. To prevent your fire from flaring up, soak a stock of cedar wood in water for 30 minutes. Once the small fire has a coal bed built up, add smoke chips to it and peg the skin around the hole. Keep the fire supplied through the small channel tunneled out of the side of the hide. After smoking the first side for half an hour, turn the bag inside out and smoke the other side. While smoking isn’t necessary, it adds a nice color to your hide and keeps it soft (in case it gets wet).


Comments
0 comment