
Crafting a Wooden Toy Handgun

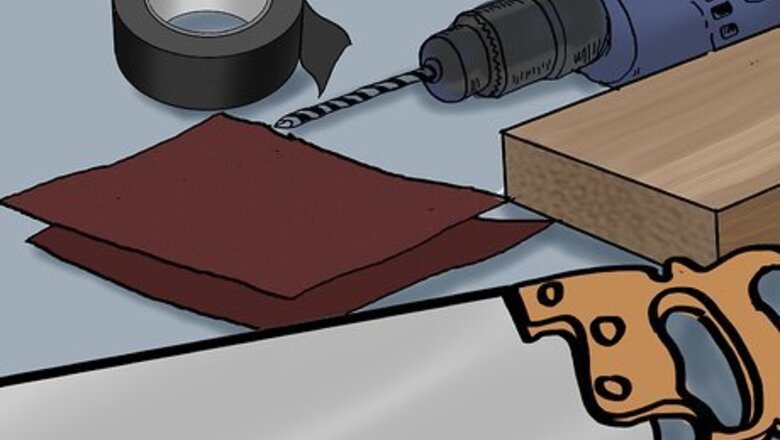
Set up your workstation. To build this toy gun, you will need a wooden 2x4 length of board, a saw, black tape, sandpaper, a drill and screws.
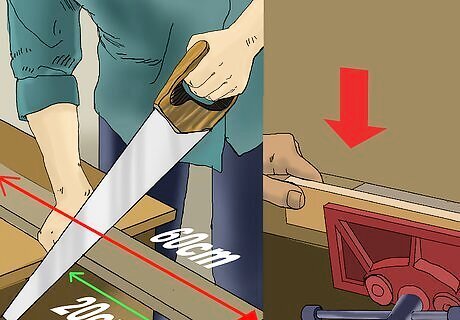
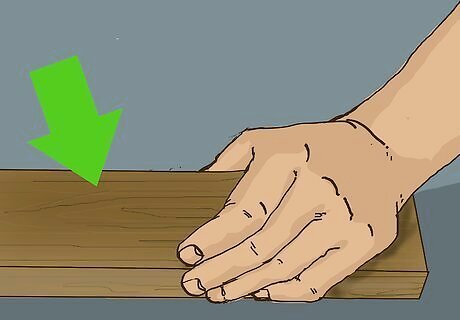
Saw the board into two pieces. Start with a 2x4 piece of wood about 60 centimeter (23.6 in) long. Cut the board into two pieces, one 40 centimeter (15.7 in) and the other 20 centimeter (7.9 in) long. Place the longer board in a vice.
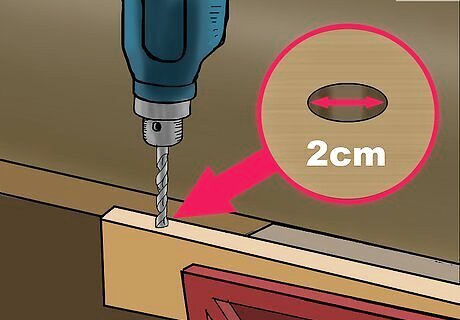
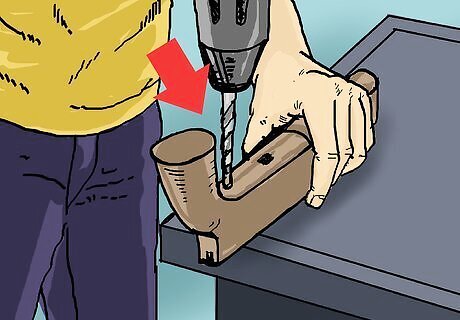
Drill a 2 centimeter (0.8 in) hole in the wood. Place the hole in the center of the plank about 9 centimeter (3.5 in) away from one end of the board.
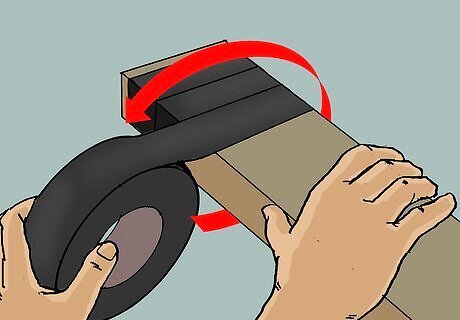
Wrap black tape around the board. You should wrap tape around the board from the opposite end of the hole to just before you reach the hole. Make sure the hole is still exposed.

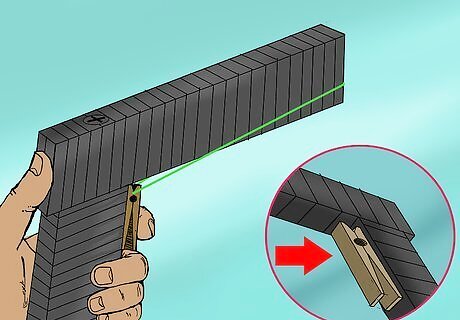
Connect the two boards. Place the longer board over the smaller, making sure the hole is on top. The boards should be positioned to form a right angle. Just envision the longer board as the barrel and the shorter board as the stock of a gun.

Screw the boards together. Using your drill, attach a small screw though the previously-drilled hole and into the shorter board underneath. Be sure the head of the screw is larger than the hole so it doesn't slip through.
Finish the toy. You can either sand the "stock" of the toy gun, wrap it with black tape or leave it as it is. Feel free to add further decoration with paint or markers. If your child likes playing cowboys or armies, this would be a great birthday or Christmas present. You can make the gun a more realistic toy by adding a "trigger." Glue a wooden clothespin under the "barrel" of the toy gun, making sure that the shorter "clip" end is pointed outward. Later, your child can even stretch a rubber band from the clothes pin to the end of the gun's "barrel," releasing and "shooting" the rubber band by opening the clothespin "trigger."
Carving a Toy Gun from Wood
Choose a piece of wood. Select a piece of wood that is big enough to accommodate the size of the gun you plan to carve. Choose a wood such as pine that is soft enough to carve, but tough enough to be a durable toy. You can even try to find a board with a natural grain suitable for a gun's stock.

Mark the basic outline of the gun's profile on the wood. Using a photograph from a book or magazine as a guide, draw the basic shape of the gun you hope to replicate, be it a hand gun or a rifle. Unless you are trying to make a scale replica, a free-handed outline should be sufficient.
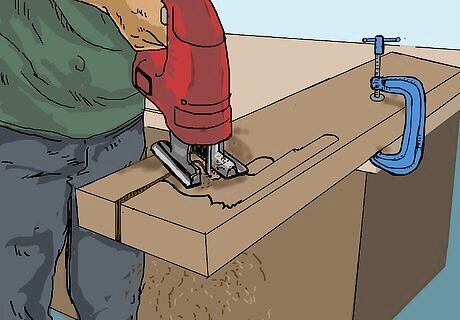
Cut the gun from the wood. Saw around the gun shape you drew. Use a jig saw for curves and short angles or straight edges. If you have longer lengths to cut, you might prefer a circular saw.

Sand the wood. Smooth over the contours of the gun shape with a small hand grinder and a coarse sanding disc. If you don't have a hand grinder, you can use coarse sand paper and some elbow grease.
Cut appropriate holes in the gun. Use a drill to create holes where they should occur on the gun, such as the trigger area and in the stock. The location of the holes will vary based upon the gun you are carving. Reference the original photograph to determine where to cut. Use a small saw to expand the small holes to the appropriate size and shape. Sand the edges of the holes by hand.
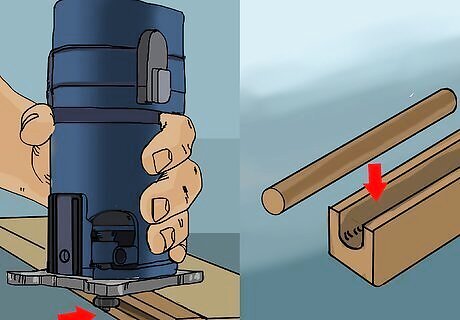
Attach a barrel. You can extend the barrel of the gun using a wooden dowel. Cut a wooden dowel to desired length and sand the ends. Mark a center line on the top of the gun's body. Carefully use a router to cut a groove along this line for the dowel barrel. The groove should be just wide enough to set the dowel in it. Run a bead of wood glue down the groove and position the dowel in groove.
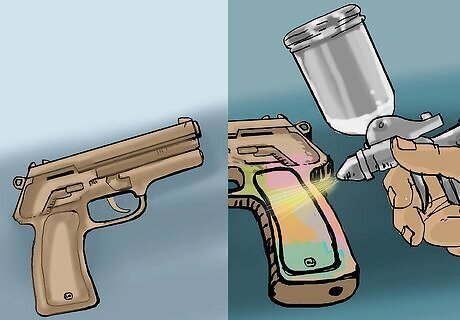
Finish the toy gun. You can choose to decorate the gun using paint or markers, drawing details, making the gun camouflaged or painting it a solid color. If you prefer the natural wood look, you can either leave the wooden gun unfinished or rub a wood stain over it.
Making a Wooden Click-clack Gun
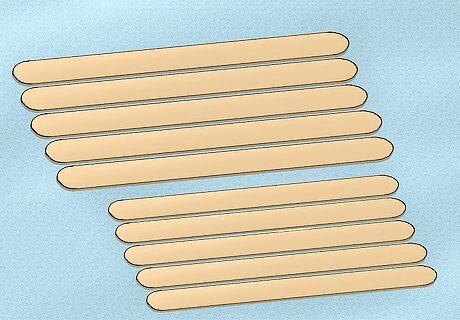
Create a toy gun that makes noise. A wooden click-clack gun can be made using two sizes of tongue depressors or Popsicle sticks, toothpicks, glue and rubber bands. Separate the sticks into two groups of five sticks each, one of large sized and the other of the smaller size.
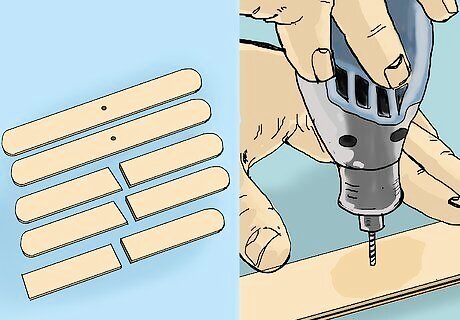
Cut five large sticks. Using a drill with a small wood bit, bore a hole in the center of two of the sticks. Cut the other three sticks in half, then cut one rounded edge off of three of those halves, creating an angled corner.

Stack the three cut halves. Place them so the newly-cut angles match up. Glue the stack together to make the handle of your toy gun using wood glue or super glue.
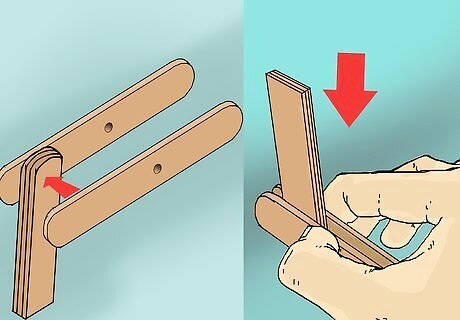
Attach the first two sticks to the newly-made gun handle. Create the body of your toy gun by placing one of the bore-holed sticks on each side of the stacked handle. Angle the sticks as a gun's body would be positioned against its stock. Make sure each side of the body is lined up with the other, and glue them to the handle.

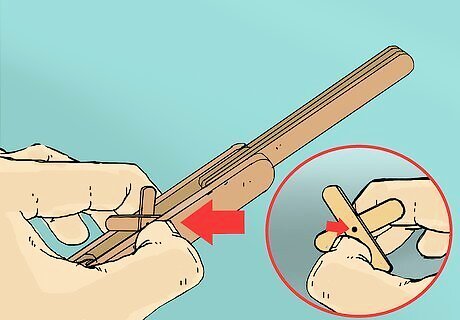
Create the barrel of the gun with smaller sticks. Stack three of the smaller Popsicle sticks and glue them together, much as you did with the gun's handle. Glue the stack in between the two body sticks to extend the gun's "barrel." Make sure you place the barrel beyond the holes you drilled through the gun's body so it is not in between the holes you drilled through the larger sticks.

Create a trigger for your gun with two more small sticks. Form a cross shape with two of the smaller-sized Popsicle sticks, gluing them together in the center. Bore a hole large enough to insert a toothpick through the center of the cross.
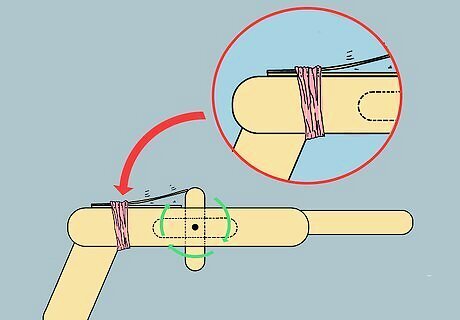
Place the "trigger" in between the two sides of the gun's body. Line the hole in the middle of the trigger up with the holes you previously bored through the center of those two larger sticks. Insert a toothpick through the gun body and the trigger hole. Glue the toothpick to the gun body, but be careful not to let the trigger stick to the toothpick. Once the glue is dry, cut away the extra sections of the toothpick on either side of the gun. The trigger should rotate freely inside the body of the gun without sliding in either direction.
Attach one of the leftover segments from a small Popsicle stick to the gun. Place the segment lengthwise across the back side of the gun, just behind the trigger. Attach the segment to the gun using a rubber band. Simply spin the trigger to make a clacking sound as it drags across the final segment.


Comments
0 comment